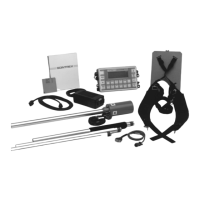
Installation procedure
ENVI-MAG Manual C2-5
Installation
The menu screen
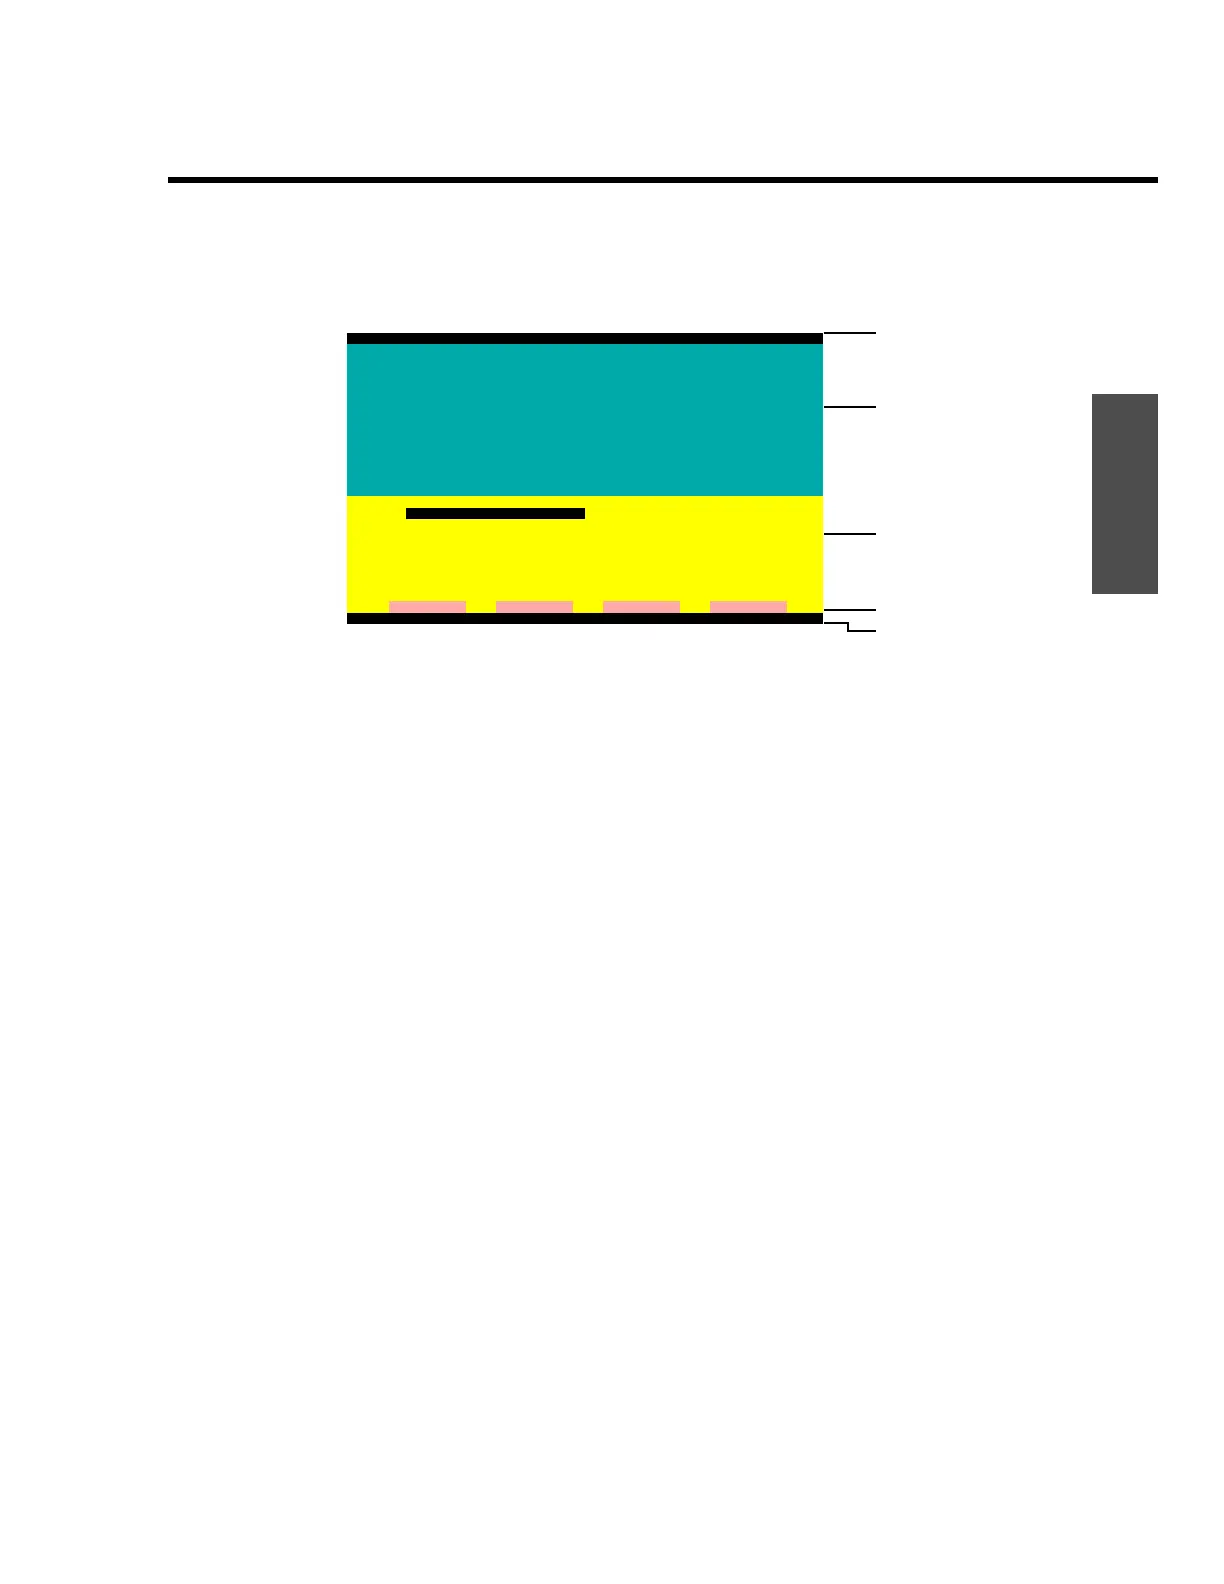
Figure C-2 ENVIMAP screen components
The above screen image is an ENVIMAP menu screen (the main menu, in fact).
It has five horizontal sections, each indicated by a separate background color.
These sections are, starting at the top:
1. ENVIMAP banner—this section contains the program name and
current version number.
2. Menu banner—this area contains descriptive text about the selected
menu, such as instructions on what steps to take and so on.
3. Menu section—the currently selected section or item is highlighted. If
a menu item has a sub-menu, it will appear to the right. Selecting the
various entries can be done with either the keyboard cursor keys or a
mouse pointer.
4. Button bar—the buttons on this line indicate what actions are avail-
able to you. The actions are triggered by either pressing the
F
key, in
combination with the highlighted letter on the button, or by clicking on
the button using the mouse.
5. Status bar — this line displays your current working directory and any
ENVIMAP messages.
ENVIMAP banner
Menu banner
Menu section
Button bar
Status bar
ENVIMAP Version 3.02.00
E N V I M A P
Instructions: 1. Use the cursor keys or mouse to highlight menu items.
2. Press Enter, or double-click mouse to select a menu
item and enter a dialogue entry screen.
3. Select dialogue items that you want to change.
4. Press Alt-H or click on Help for parameter help.
5. Press F1, Alt-L or click on LIST to display lists of
options or lists of files.
6. Press Alt-G or click on GO to complete a dialogue
entry screen.
System Configuration AUTOEXEC.BAT and CONFIG.SYS
Prepare the data Video and Printer setup
Create a map Reset to all defaults
Plot
Command Dos Help eXit
G:\ENVIMAP
 Loading...