• Samples are stable for 16–24 hours on the instrument.
• Load a maximum of 48 samples per plate if you use a long run module (Long
Seq, Long Seq BDX, and Long Frag Analysis). The long fragment analysis run
modules can take >24 hours to run an entire 96-well plate.
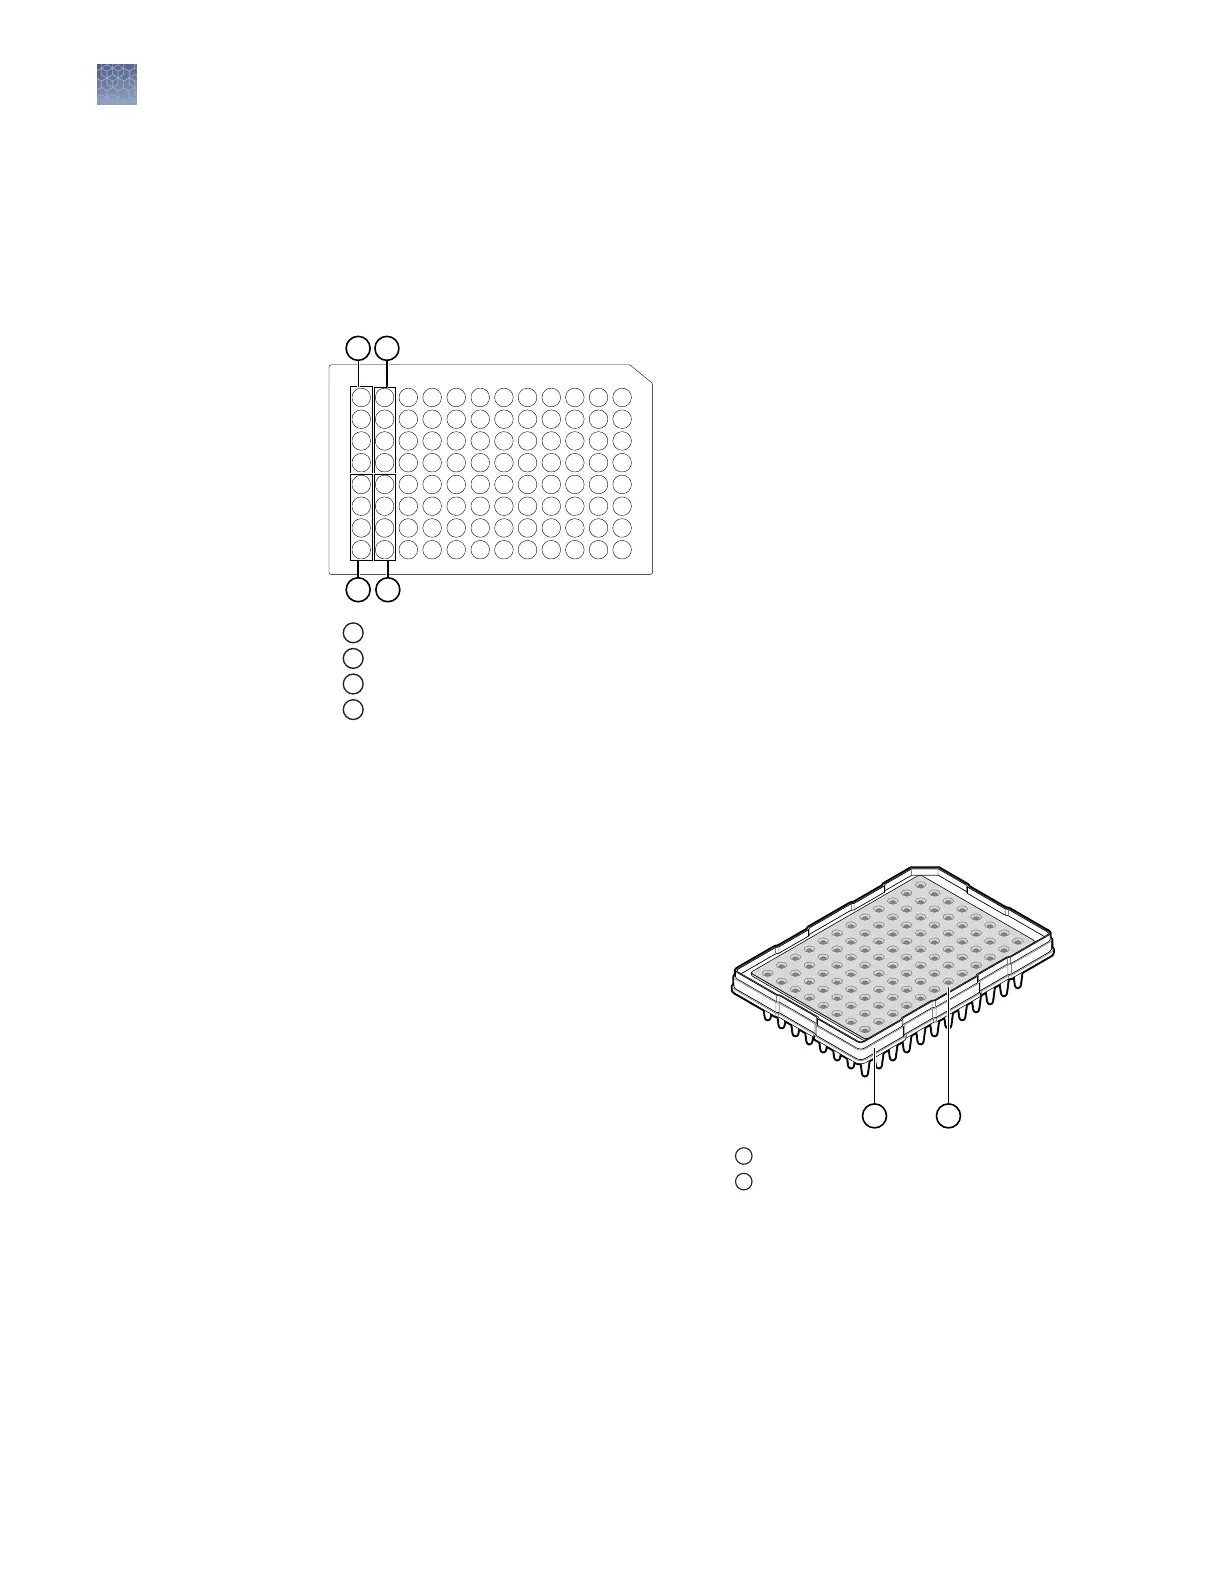
• Add samples to plates in columns. The default injection order is: A1–D1, E1–H1,
A2–D2, E2–H2....A12–D12, E12–H12.
1
Injection group 1, wells A1–D1
2
Injection group 2, wells E1–H1
3
Injection group 3, wells A2–D2
4
Injection group 4, wells E2–H2
On a clean and level surface:
1.
Prepare the sample according to your application protocol, then pipet the sample
into the plate.
2.
Place a septum onto the plate.
a.
Align the holes of the septa with
the wells.
b.
Press gently until the septum is
inserted into position in each
well.
3.
Centrifuge the plate assembly briey
to collect the contents at the boom
of each well.
Centrifuge the plate assembly again
if the contents are not at the boom
of the wells.
4.
Heat-denature as required.
5.
Place the plate on ice for 3 minutes.
Load the plate onto the instrument immediately or keep the plate on ice and protected
from light until it is loaded onto the instrument.
Plate layout and
loading guidelines
Prepare the plate
1
Plate
2
Septum
Chapter 2 Prepare the samples and the instrument
Prepare the samples
2
38
SeqStudio
™
Genetic Analyzer Instrument and Software User Guide