Engine (continued)
3. Raise the hood and remove the TCM or TCS; refer to Removing and Installing
the TCM, page 6–20 or Removing and Installing the TCS, page 6–22.
4. Locate the throttle cable connection to the engine.
5. Disconnect the cable from the linkage clamp (Figure 15, item 1), housing clamp
(Figure 15, item 2).
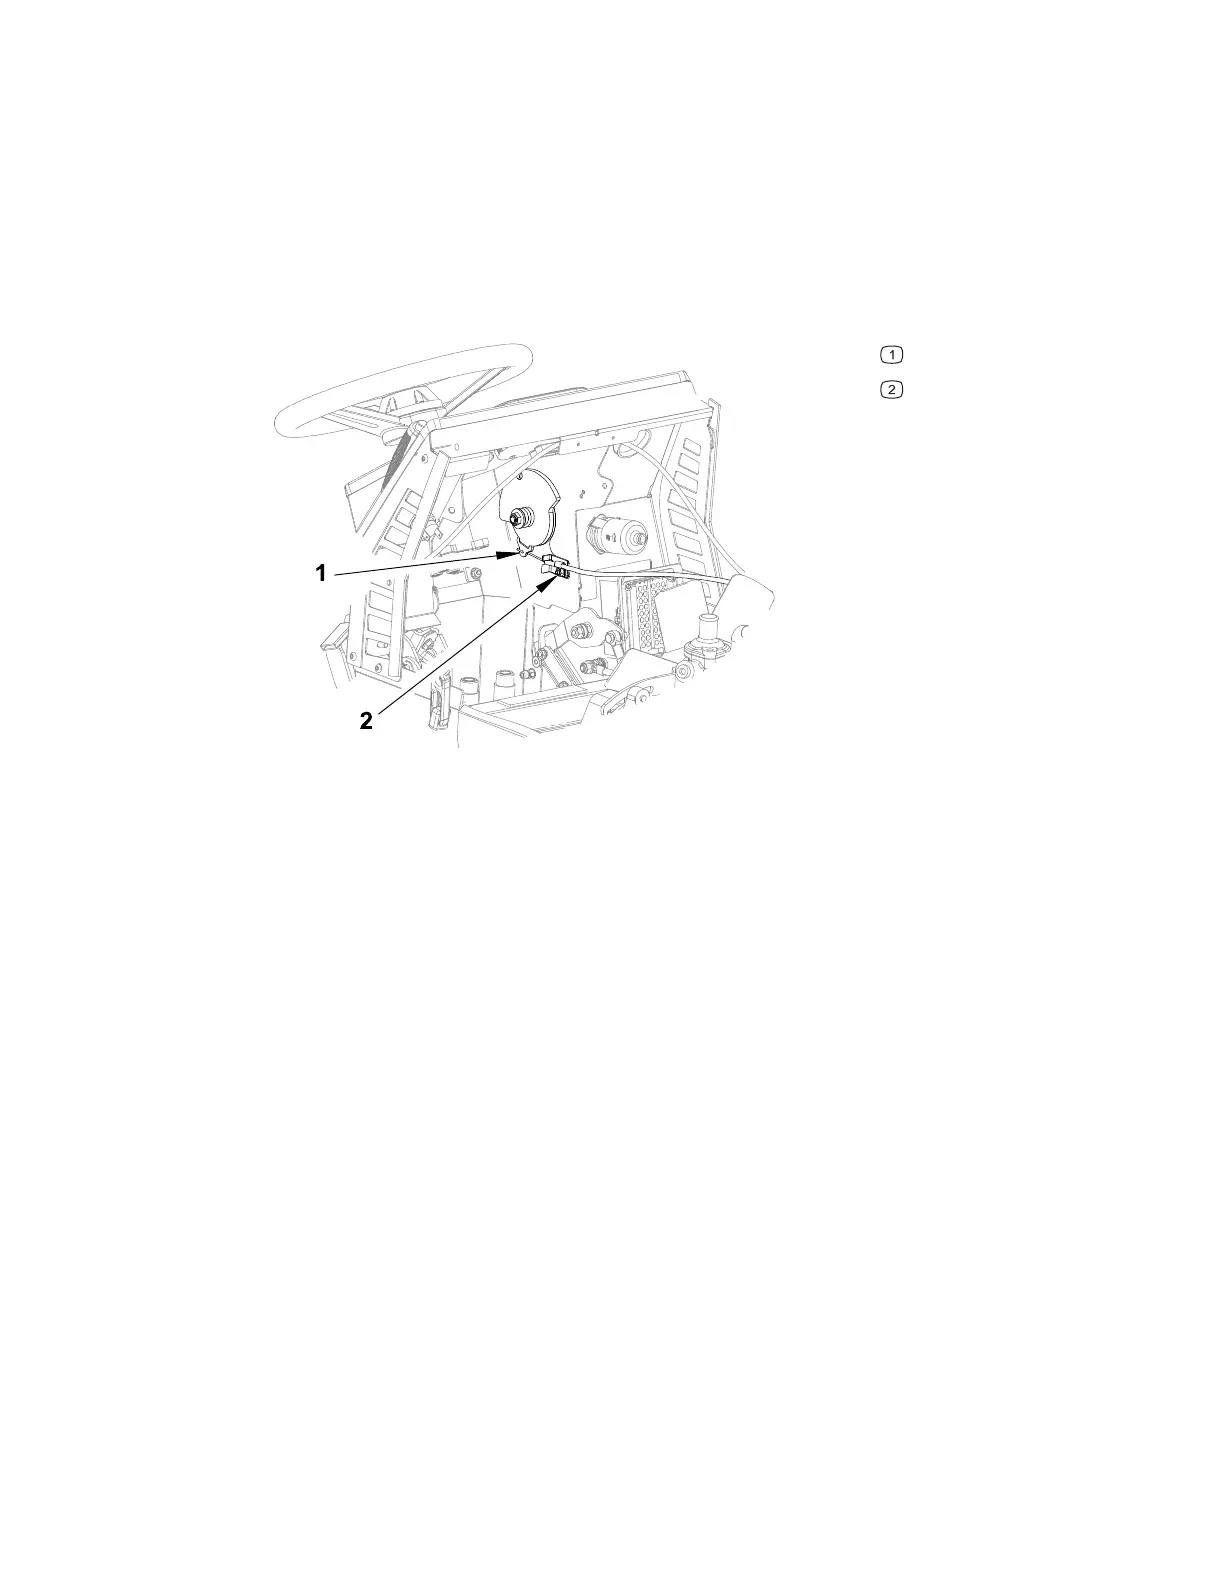
Figure 16
G432616
Throttle lever connection
Clamp
6. Locate the throttle cable under the dash and remove the clamp (Figure 16, item
2).
7. Disconnect the throttle cable from the throttle lever connection (Figure 16, item
1).
8. Remove the throttle cable from the machine.
9. To install the throttle cable, locate the throttle lever under the dash.
10. Connect the throttle cable to the throttle lever connection (Figure 16, item 1).
11. Loosely install the clamp (Figure 16, item 2) around the cable under the dash.
12. Route the cable from under the dash around the left side of the radiator to the
throttle linkage on the engine.
13. Ensure that the throttle lever is in the low idle position.
14. Route the cable through the housing clamp (Figure 15, item 2) and through the
linkage clamp(Figure 15, item 1).
15. Tighten all the clamps.
16. Check the throttle lever function. Ensure that the throttle lever moves smoothly,
and the cable does not bind.
17. Close and secure the hood.
18. Switch the main circuit breaker to the O
N position, to energize the electrical
system.
4520P Page 4–21 Engine: Engine Service and Repairs
09.40003Rev 00