7. Power Input
7.6 Mounting the new mains switch
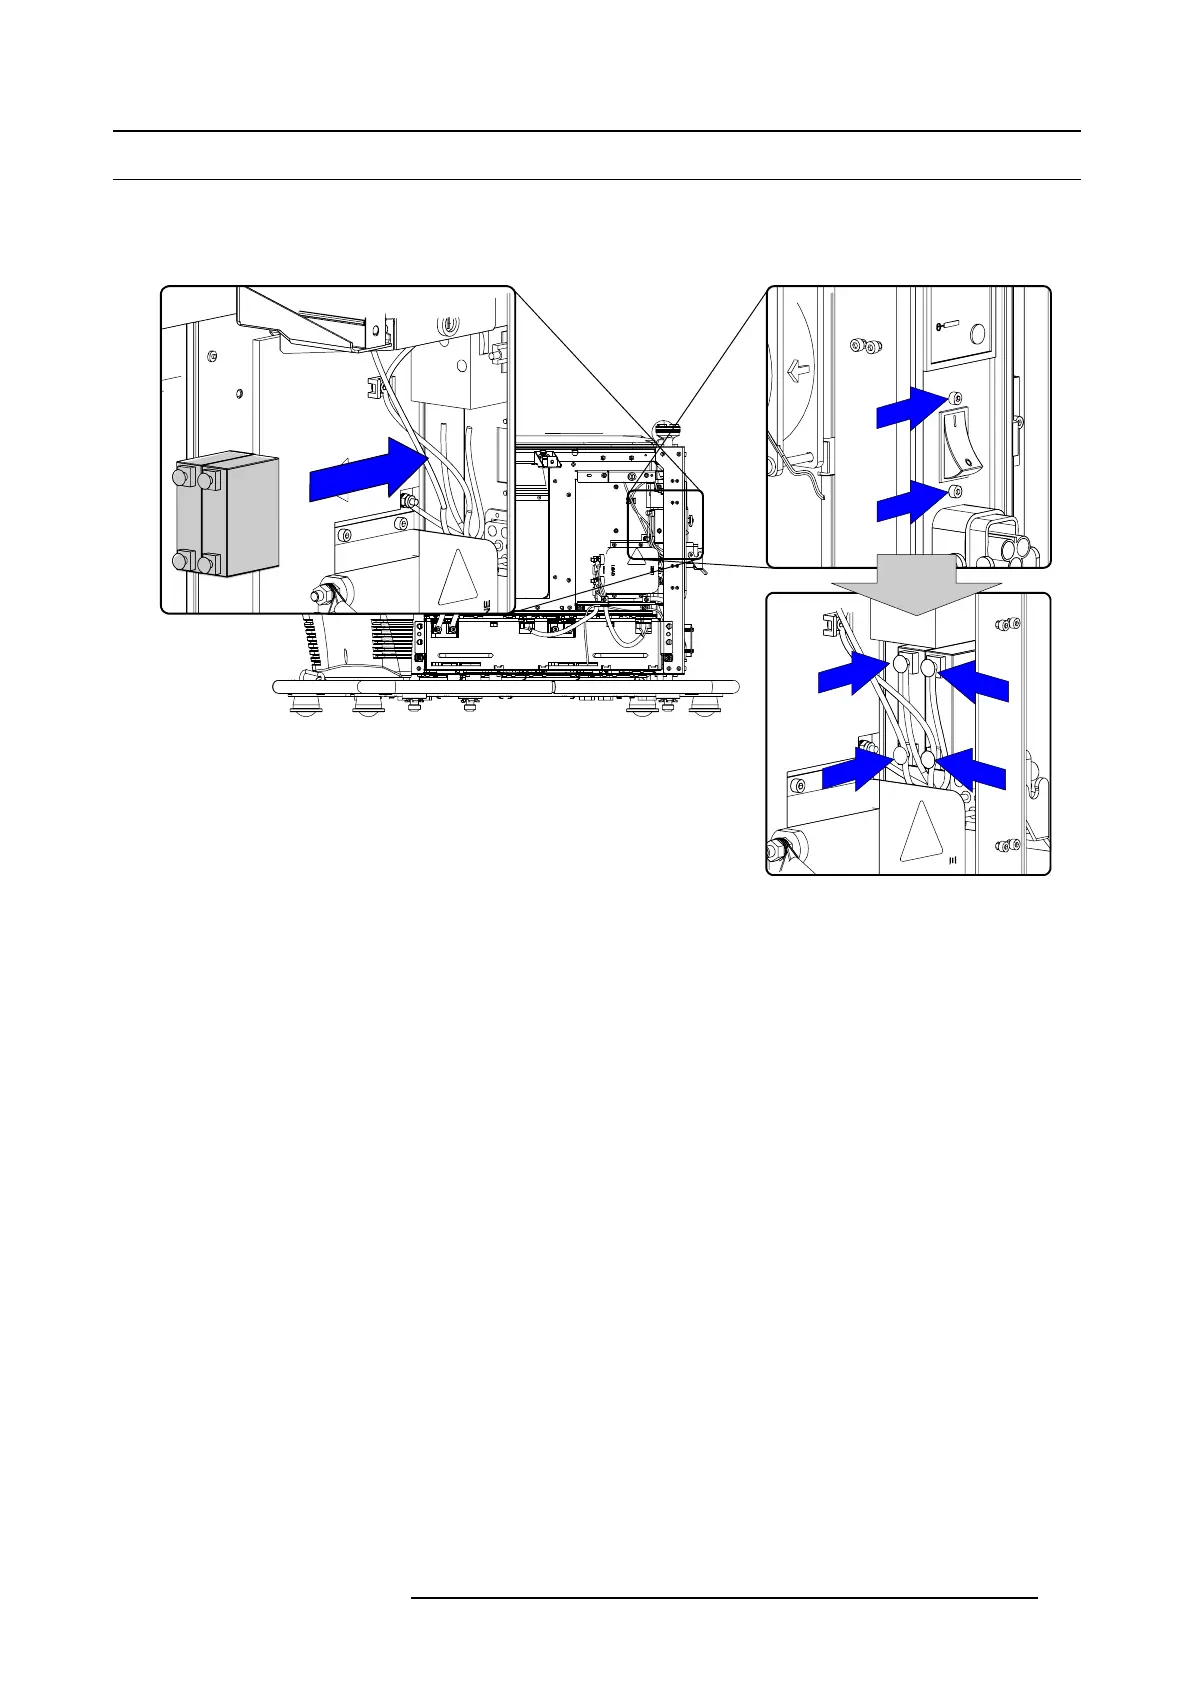
How to mount
1. S lide the new mains switch from the inside of the projector through the cabinet. Make s ure that the indication “1” (on state) points
to the top of the projector.
a
b
c
d
Image 7-10
Mounting mains switch
2. Turn in both screws o n the outside of the projector.
3. Turn out the first bottom screw (a), slide a lock w asher, followed by a wa sher over the screw. Then slide the first eye connector
coming from the m ains input also over the screw followed by the ey e c onnector co ming from the voltmeter. Turn in the screw
and tighten completely.
4. Turn out the next bottom screw (b), slide a lock w asher, followed by a washer over the screw. T hen slide the fir st eye connector
coming from the m ains input also over the screw followed by the ey e c onnector co ming from the voltmeter. Turn in the screw
and tighten completely.
5. Turn out the first top screw (c), slide a lock washer, followed by a washer over the screw. Then slide the eye connector com ing
from the mains filter o ver the screw. Turn in the screw and tighten completely.
6. Turn out the first top screw (d), slide a lock washer, followed by a washer over the screw. T hen slide the eye connec tor coming
from the mains filter o ver the screw. Turn in the screw and tighten completely.
7. R einstall the removed c overs..
R5905312 HDF W SERIES 24/01/2013
115

 Loading...


