15. Liquid cooling circuit
2
2
3
3
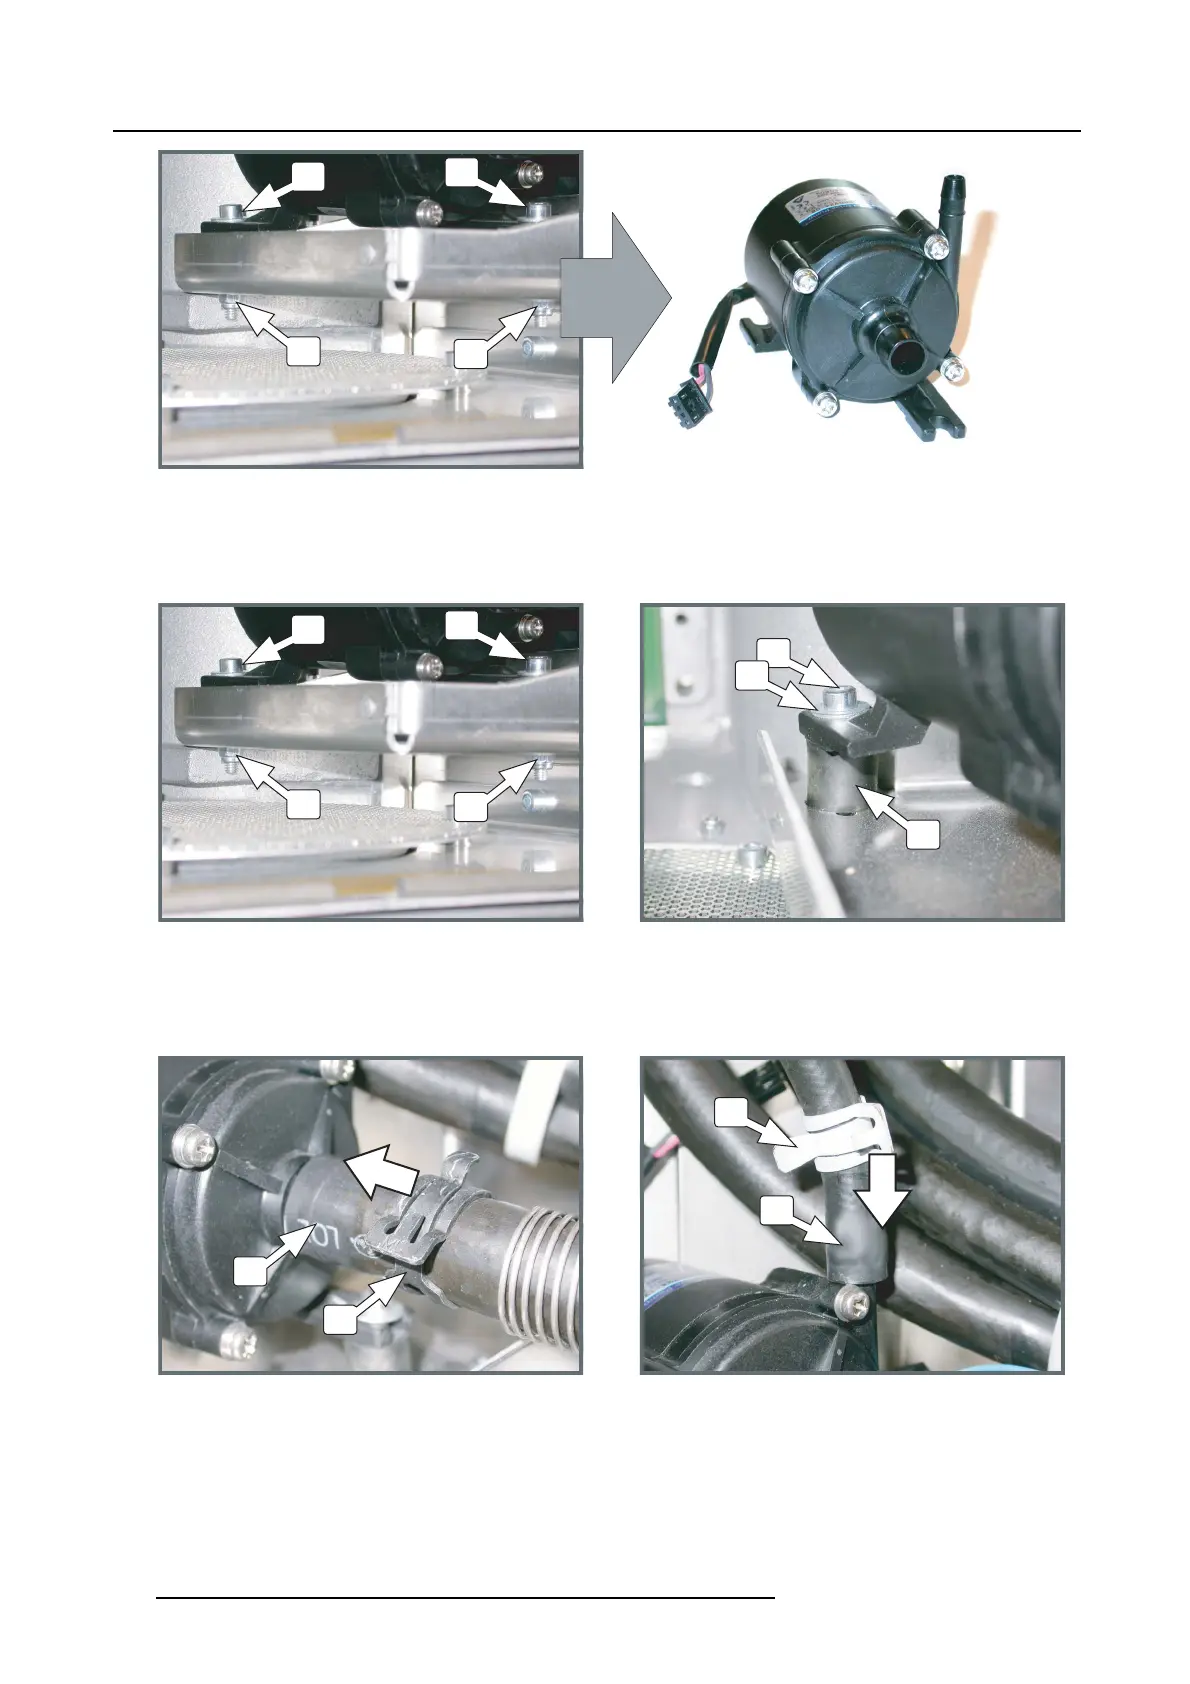
Image 15-42
Pump, removal
5. Install a new pump on the seating and fasten with two screws (reference 2), two rubbers reference 4), two washers (reference 5)
andtwonuts(reference3).Usea3mmAllenwrenchtofastenthescrewsanda7mmopen-end wr ench to hold the nut while
fasten the screw.
Caution: Make sure that the pum p is mounted upon two rubber vibration rings.
2
2
2
5
3
4
3
Image 15-43
Pump, mounting
6. P rovide both hoses with a clip (reference 7 & 9) and push the ho ses over their respective nipple of the pump house. Note that
the thick nipple (reference 6) is the input side o f the pump house and has to be connected with the thick hose that comes from
the pr essure vessel. The sm all nipple ( reference 8) is the output side of the pump house and should be connected with the hose
that come s from the Light Processor.
7
6
9
8
Image 15-44
Hose connection
7. S lide the clip of both hoses over the connection. Use an univ ersal pair of pliers to push both clip tongs to each other in order to
open the clip and to move the clip over the connection.
8. R econnect the wire unit of the pump.
264
R5905312 HDF W SERIES 24/01/2013

 Loading...


