Chapter 7: Maintenance
Troubleshooting
7-10 011-003-991 EN
7.4 Troubleshooting
When the 2000X Power Supply encounters a situation that is outside of the normal conditions, an alarm is
generated. If there is any alarm condition, the Front Panel displays the number of alarms and generates an
audible alarm.
If you have been directed to this Section from an alarm message on the Power Supply screen,
go directly to the table for the alarm type specified in the message. Location of the alarm
tables is detailed in the following text. If your alarm pop up is from the Print menu, run another
cycle and try to re-print your graph. These tables do not include Printer alarms.
This section details the alarm conditions that you can encounter while using the 2000X Power Supply.
There are eight classes of alarms: Cycle Modified, Failure of, No Cycle, Setup, and Suspect, Reject,
Overload, and Note. Following is a brief description of each type of alarm, followed by Tables 7-4 through
7-12 which detail alarm messages, causes, and corrective actions for each type of alarm.
•A
Cycle Modified alarm ( Table 7.4 op pagina 12) occurs when the most recent weld cycle has been mod-
ified by some event. For example, if the amplitude step did not occur as requested.The specific alarm
that has occurred is indicated by the message on your display or your printer, and will advance the gen-
eral alarm counter. If you encounter numerous or successive cycle modified alarms, review your weld
parameter setup. See individual alarms for advancement of cycle counter.
•A
Failure of alarms, Equipment Failure, ( Table 7.5 op pagina 14) are those which might occur for hard-
ware failure, or hardware disconnected. For example, if the door were open to replace a stack, a Door/
Trigger Switch alarm would occur. The specific equipment failure that has occurred is indicated by the
message on your display or your printer. Repair or replace the equipment before you run another weld
cycle. Failure Of: alarms will advance the general alarm counter. Call Branson Product Support at (203)
796-0551 or (203) 796-0355 for more detailed information on repairing your equipment.
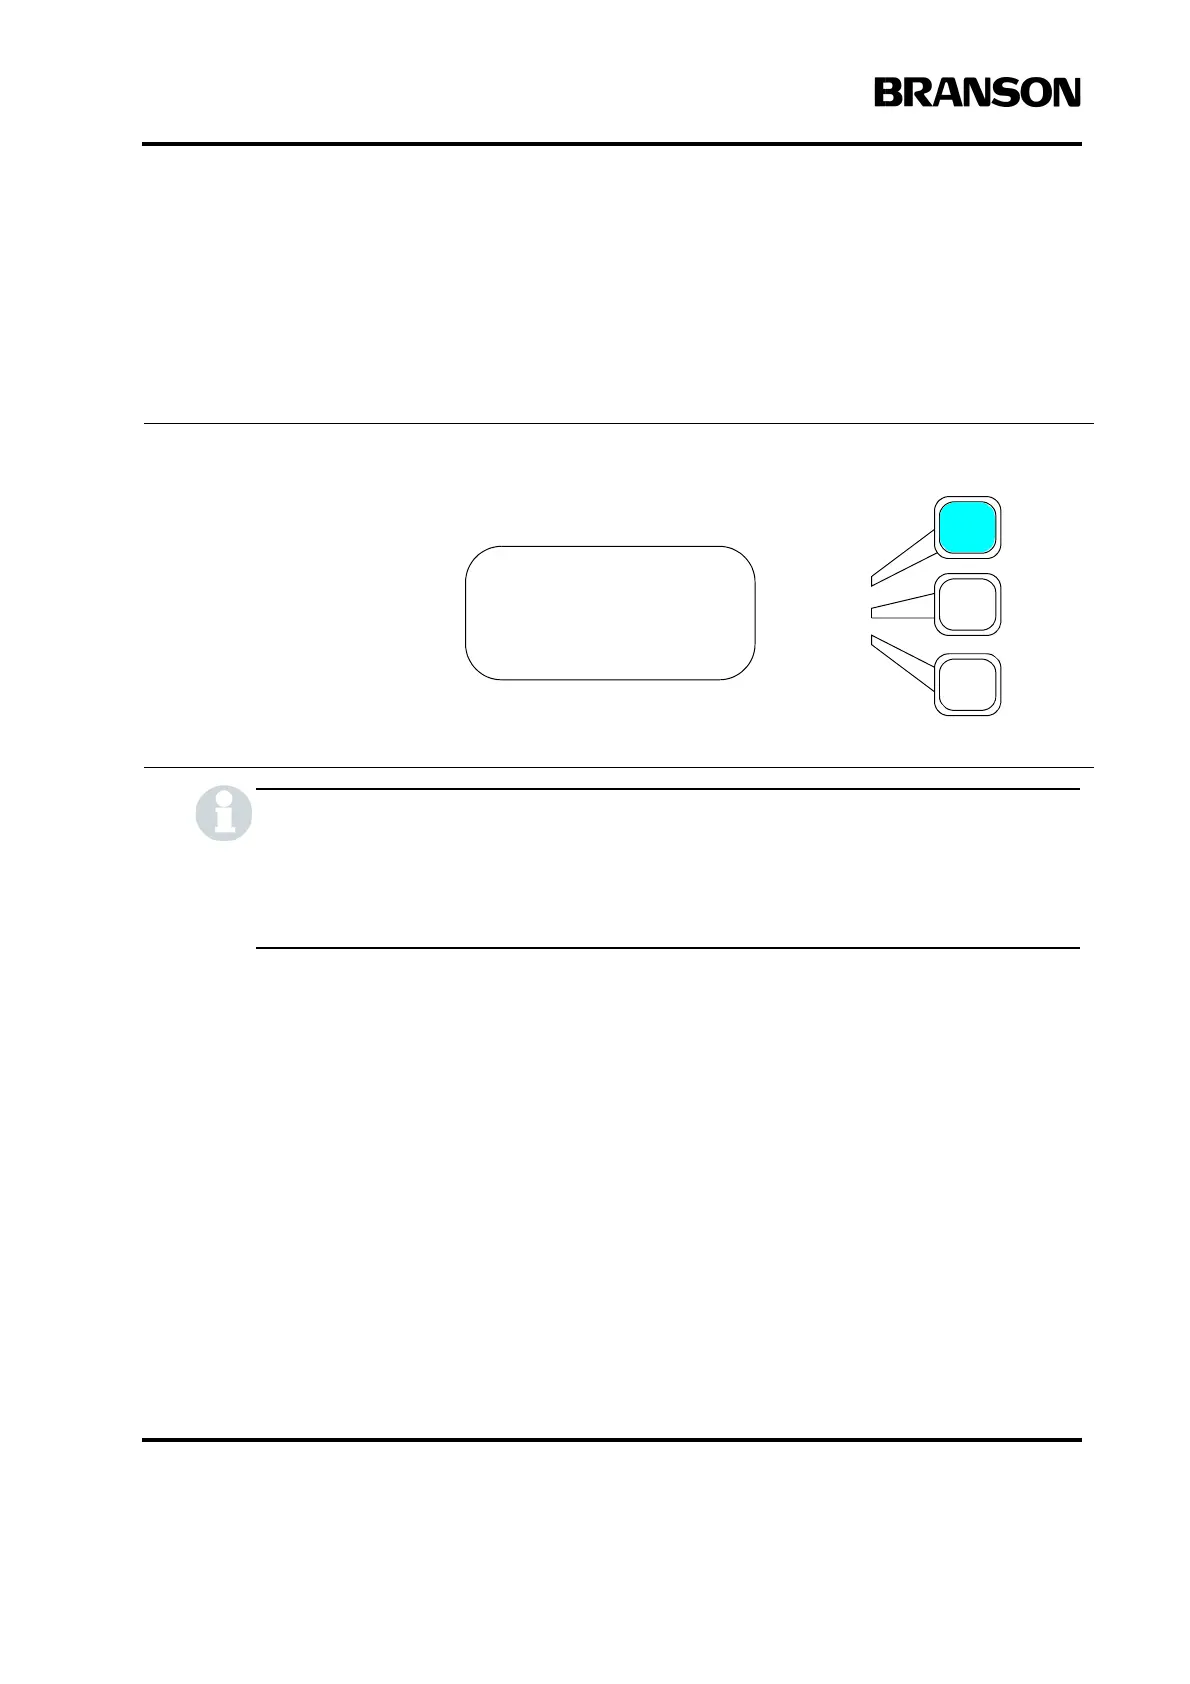
When you press the Select key
that corresponds to an Alarm,
you will see the actual Display
Message. Press the Select Key
next to the display message for
the corrective action. If no addi-
tional information is displayed,
refer to the System Alarm tables.
To change one or both of the lim-
its shown, press the Select key
that corresponds to the limit you
want to set and use the numeric
keypad to set the limit to another
value.
RUN:TIME =0.010
**2 ALARMS**
Adjust Weld>
Weld Results>