Chapter 6: Operation
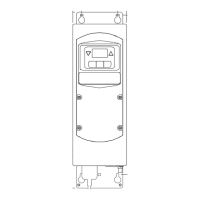
Front Panel Controls
6-6 011-003-991 EN
6.2.2 Testing the Welding System
After the Power Supply is installed, you can confirm that the ultrasonic welding system is operational by fol-
lowing this test procedure using a sample part. This assumes that the installation has been set-up and
tested per Chapter 4 of this manual.
To test the Welding System after installation, do the following:
To view the Weld Setup menu at any time on the
display, press the Weld Setup key.
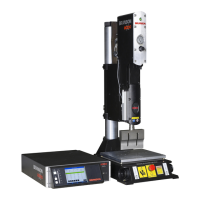
If you enter a value for a parameter that is above the
maximum or below the minimum allowed for that
parameter, you will hear a beep and you will see the
message shown at the right. Press the Go Back/Esc
key to return to the parameter in question. Enter a
valid value for the parameter and continue.
Step: Action:
1
On the Actuator column, adjust the stroke length to 1/4 inch or more, depending on the part
you will use for the test run. Position the system to allow for a minimum stroke length of 1/
8 inch or more. Lock column after adjusting.
2 Position the part in the tooling.
3
Verify that factory air supply has been connected to the actuator and turned on. (If using
optional pneumatic dump valve, ensure it is turned on.)
4
On the Power Supply front panel, press the power switch. The power light on the front of
the Actuator becomes illuminated.
5 On the actuator, using the Dynamic Trigger knob, set the trigger force to 2.
6 On the actuator using the Downspeed knob, set the downspeed control to 10.
7
On the actuator, using the air pressure regulator knob, set the air pressure to 25 psi. To do
this, pull the knob, rotate it clockwise to increase the air pressure and push it to lock.
8
The display should now read “Run”.
If the power supply displays an alarm message, find the alarm message definition, cause,
and correction in Chapter 7 of this manual. If the alarm message is Recalibrate Actuator,
return to Chapter 4, and re-run the procedure in Paragraph 4.10.
VALUE ABOVE MAXIMUM
Minimum Value = xxx
Maximum Value = xxx
Press Go Back