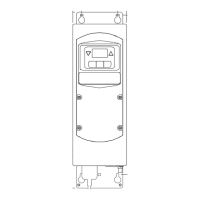
Chapter 7: Maintenance
Parts Replacement
7-60 011-003-991 EN
To reinstall the Line Board, reverse the removal procedures.
When reconnecting wires, observe the color coding that you previously noted and the con-
nections noted in step 5 above.
7.7.11 Line Fuses
To remove and replace the Line Fuses, take the following steps:
Reassemble the Power Supply by reversing the above procedures.
5
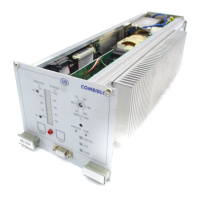
Rotate the DC Power Supply up to allow you access to the Line Board.
See7.7.6 DC Power Supply.
6 Disconnect J26, J27, J28, and J29.
7
Disconnect the leads from E1 and E2 (220V system) or E4 (120V sys-
tem). Note that the brown lead is the hot lead.
8 Remove 5 M3 screws (Philips) and 1 ground screw (common head).
9 Lift out the line board.
Table 7.19 Removing and Replacing the Line Fuses
Step Action
1 Turn off the Power Supply.
Unplug the main power.
2
Using a #2 Philips screwdriver, remove 7 screws from the 2000X cover
(3 on each side, 1 on the rear). Remove the cover.
3 Allow at least two minutes for capacitor discharge.
4
Rotate the DC Power Supply up to allow you access to the Line Board.
See 7.7.6 DC Power Supply.
5 Remove and replace the line fuse(s) located on the Line Board.
Table 7.18 Removing the Line Board
Step Action