S0703000
Page 8
Accumulator
Return to Master Table of Contents
2. Clean area around seal ring (12).
3. Thread the sealing nut (5, Figure 3) of adapter (7) onto accumulator. Tighten adapter securely. Close
nitrogen bleeder vale (8).
4. Thread nitrogen cylinder fittings (1, Figure 3) onto nitrogen cylinder.
5. Open valve on nitrogen cylinder and charge accumulator to a appropriate pressure (P1). Close valve
on nitrogen cylinder.
NOTE:
Wait 2 or 3 minutes for nitrogen to warm to ambient temperature. This will stabilize
pressure.
6. Slowly open nitrogen bleeder valve (8). Open valve (8) until gauge (4) reading is equal to primary
pressure. Close bleeder valve.
7. Unscrew adapter (7, Figure 3) from accumulator (6).
8. Thread protective plug (11, Figure 3) into accumulator. Tighten to 3 kg•m (22 ft lb).
9. Check for nitrogen leaks around protective plug (11, Figure 3). Coat area around protective plug (11)
with soapy water. If soap bubbles form, retighten protective plug (11).
10. Install protective cap (10, Figure 3) on accumulator.
NOTE:
After an accumulator has been installed, or after an accumulator has been recharged with
(P1) after the first week of operation. Check for a pressure drop due to leaks. If no
pressure drop is found after the first week, check again after 3 more weeks. If no pressure
drop is found after 3 weeks, check after one year.
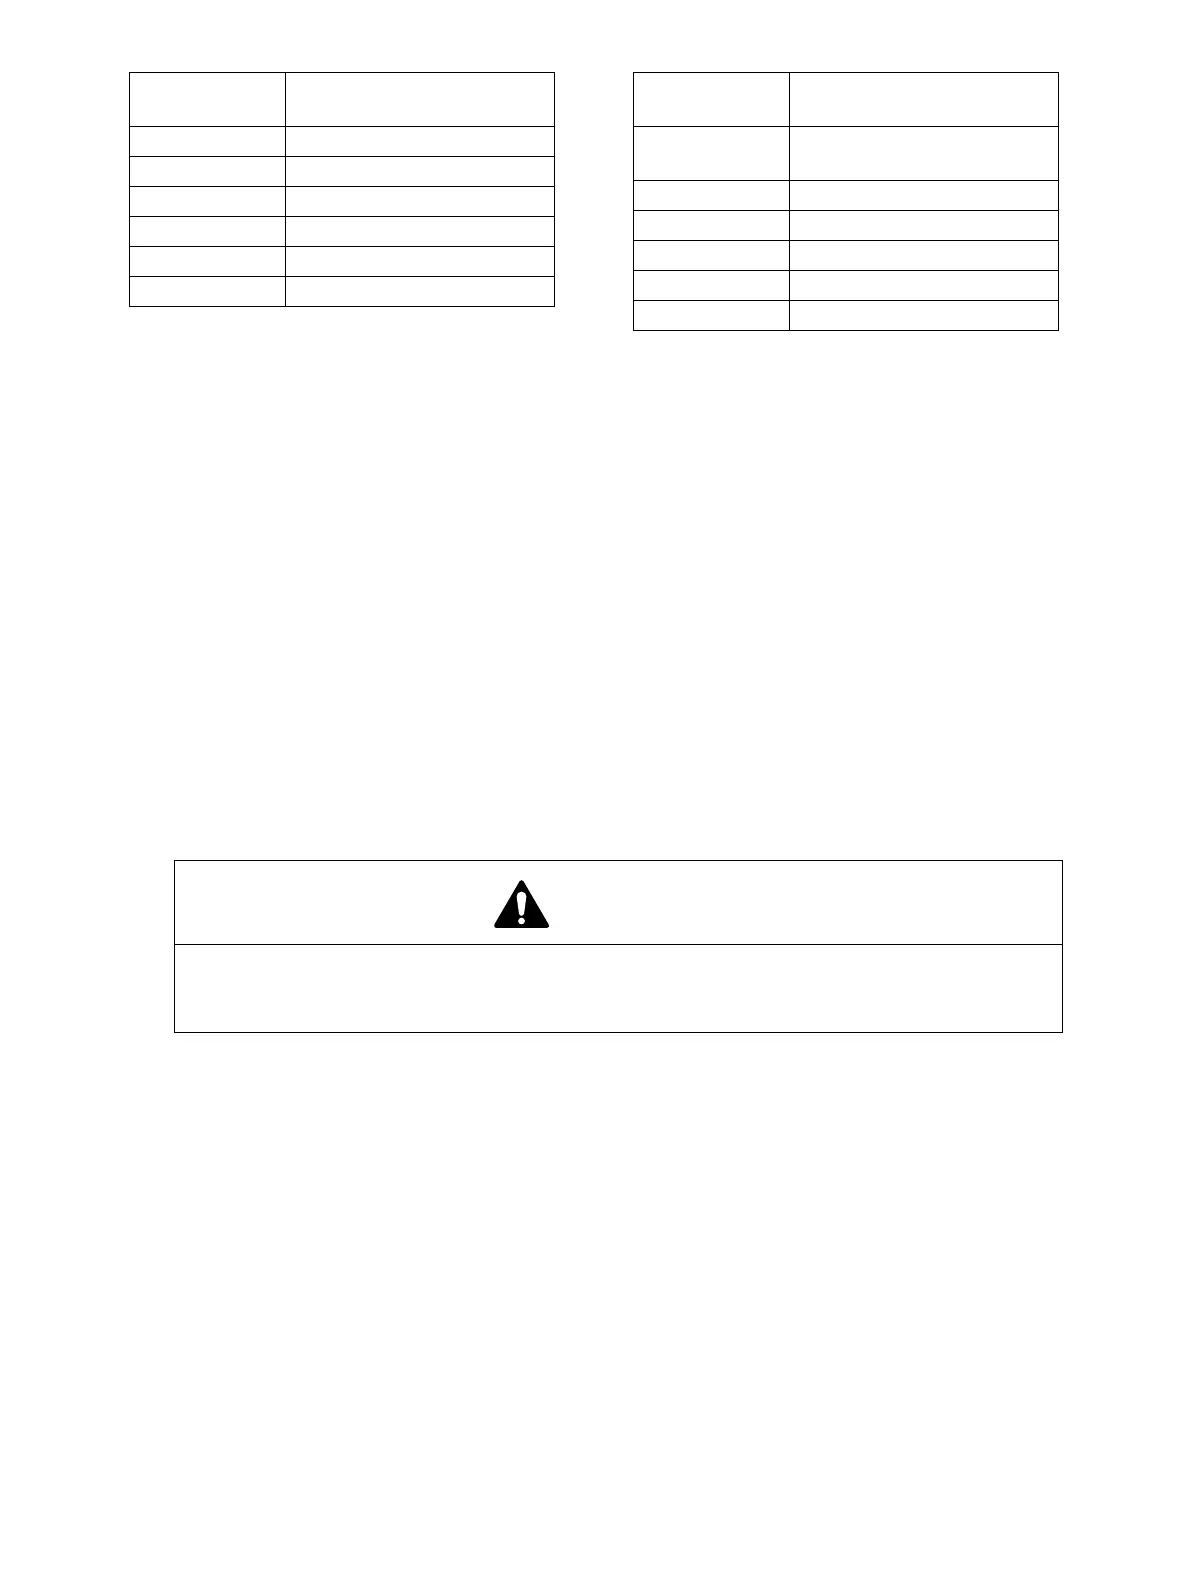
Reference
Number
Description
1 Nitrogen Cylinder Fitting
2 Hose, 3 Meters (10 ft) Long
3 Check Valve
4 Pressure Gauge
5 Sealing Nut
6 Accumulator
7 Cylinder to Accumulator
Adapter
8 Nitrogen Bleeder Valve
9 Nut O-ring
10 Protective Cap
11 Protective Plug
12 Sealing Ring
Reference
Number
Description
WARNING!
Accumulator store nitrogen under high pressure. Before replacing an accumulator, install
an adapter (7) with a bleeder valve (8) on the accumulator. Slowly and carefully bleed off all
nitrogen before removing the accumulator from the hydraulic system.