S0602170K
Page 67
Axle (ZF AP 420R)
Adjusting Plate Clearance According To Table
1. Determine piston stroke (Nominal value
2.4 - 2.8 mm) (0.0945 - 0.1102 in).
2. Squeeze in circlip and place it against
shoulder towards the outside.
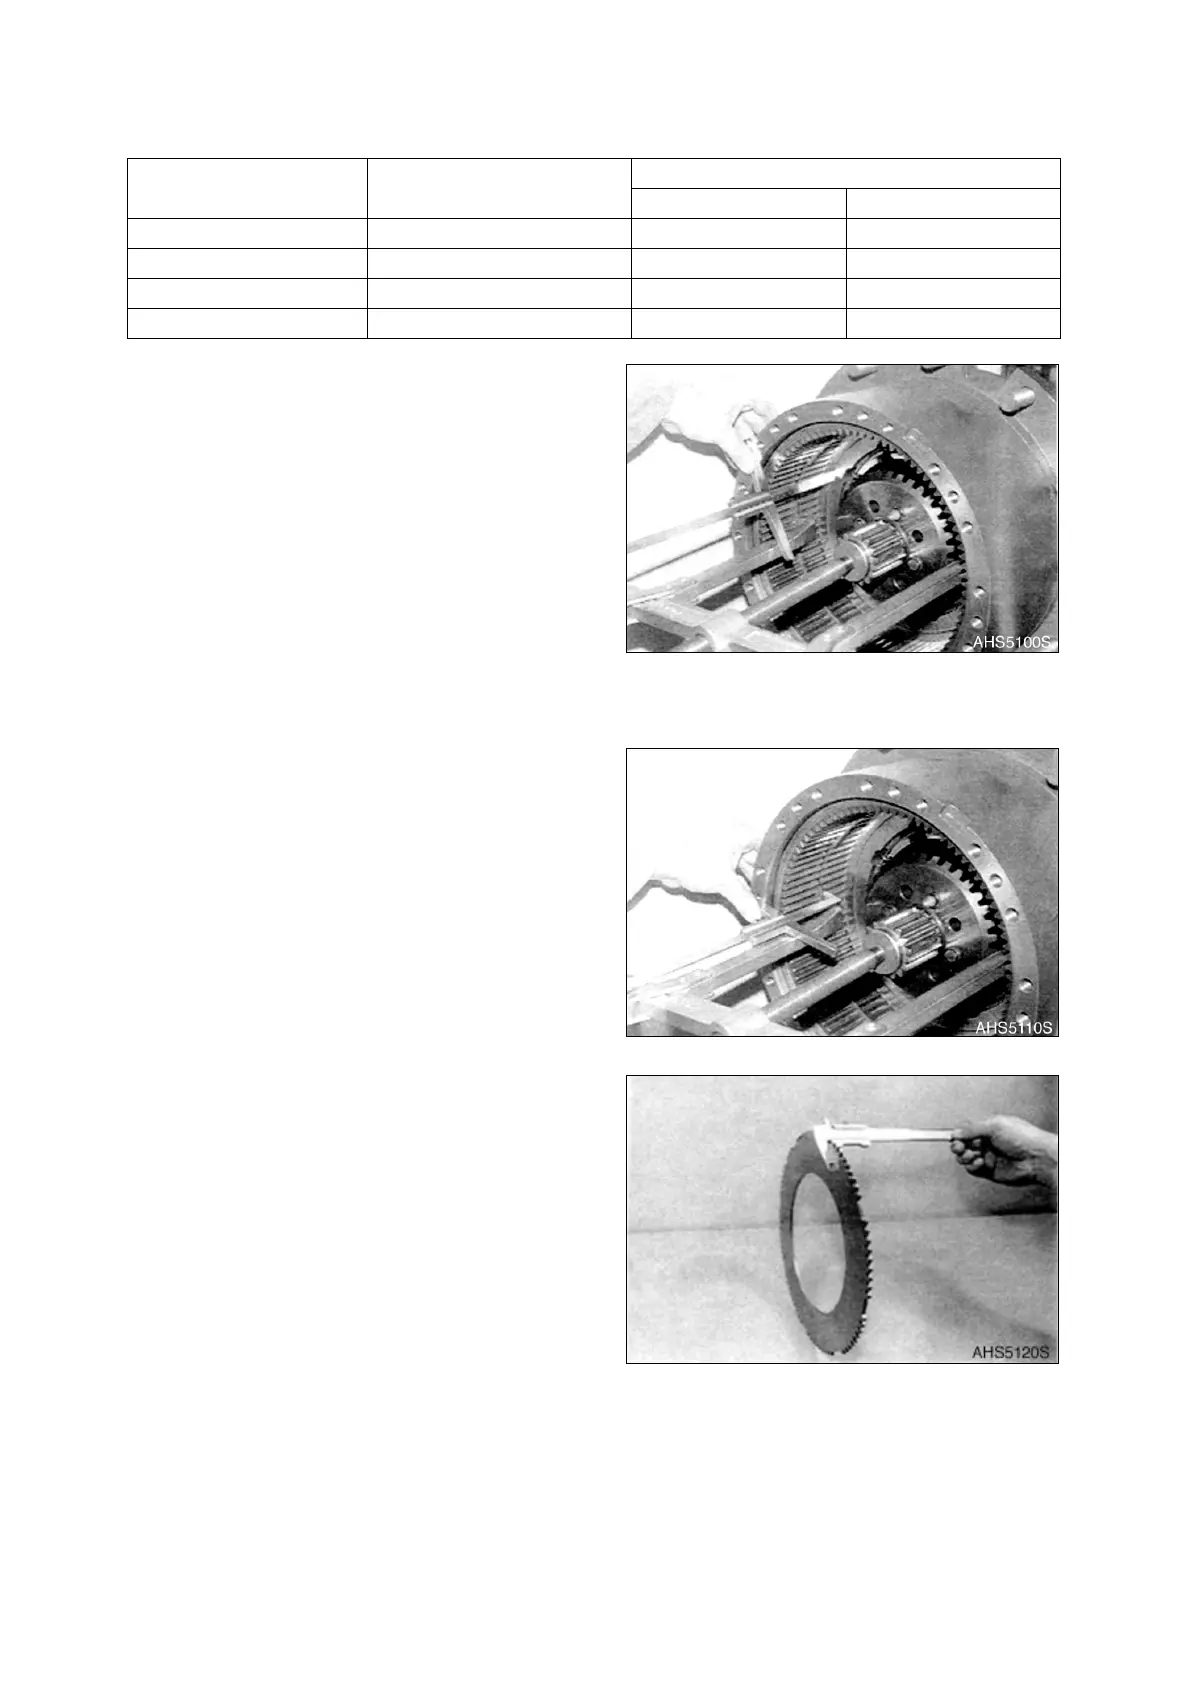
3. Determine dimension A from the flange-
mounted surface / hub to the plane surface
/ piston.
• Dimension A e.g. 121.50 mm (4.7835
in).
NOTE:
Pay attention to the correct
location of the piston against
the internal gear carrier.
NOTE:
See “Special Tools” on page 15.
4. Measure dimension B from the flange-
mounted surface/hub to the inner plane
surface of the circlip.
• Dimension B e.g. 75.20 mm (2.9606
in).
5. Outer plate: 4 x 4.5 mm (0.1575 x 0.1772
in).
• Dimension C e.g. 18.00 mm (0.7087
in).
Number of inner plate Number of friction faces
Plate clearance - piston stroke in
mm in.
2 4 1.6 - 2.0 0.0630 -0.0787
3 6 2.4 - 2.8 0.0945 - 0.1102
4 8 3.2 - 3.6 0.1260 - 0.1417
5 10 4.0 - 4.4 0.1575 - 0.1732
Figure 134
Figure 135
Figure 136
 Loading...