Measurements and Analysis
8-22 Vivid S70 / S60 – User Manual
BC092760-1EN
01
AFI Stage Menu
The workflow in AFI is controlled by the stage menu to the right
in the tool window, see Figure 8-12. It is possible to navigate
between the stages by clicking on the stage buttons. Stages that
are not accessible from the given tool state are greyed out.
Figure 8-12. AFI Stage menu
The stage menu buttons also contain information about
completeness state and a reset button.
• By clicking the (reset) button, the stage is reset and all
user entered information in that stage is cleared. Any
automatic procedures are re-run.
• If a stage is labeled , it means the stage is complete and
nothing more needs to be done in that tool stage.
Beneath the stage menu button, a helpstring for the current
active state is shown.
AFI on the APLAX view
1. Pay attention to the left/right orientation of the image by
comparing the LV wall names with a visual inspection of the
image. If the image orientation is wrong:
• go back to the Select view stage.
• press Left-Right Flip.
• verify the view by annotating it as APLAX again.
NOTE: You may alternatively exit AFI, invert the image and start
AFI again.
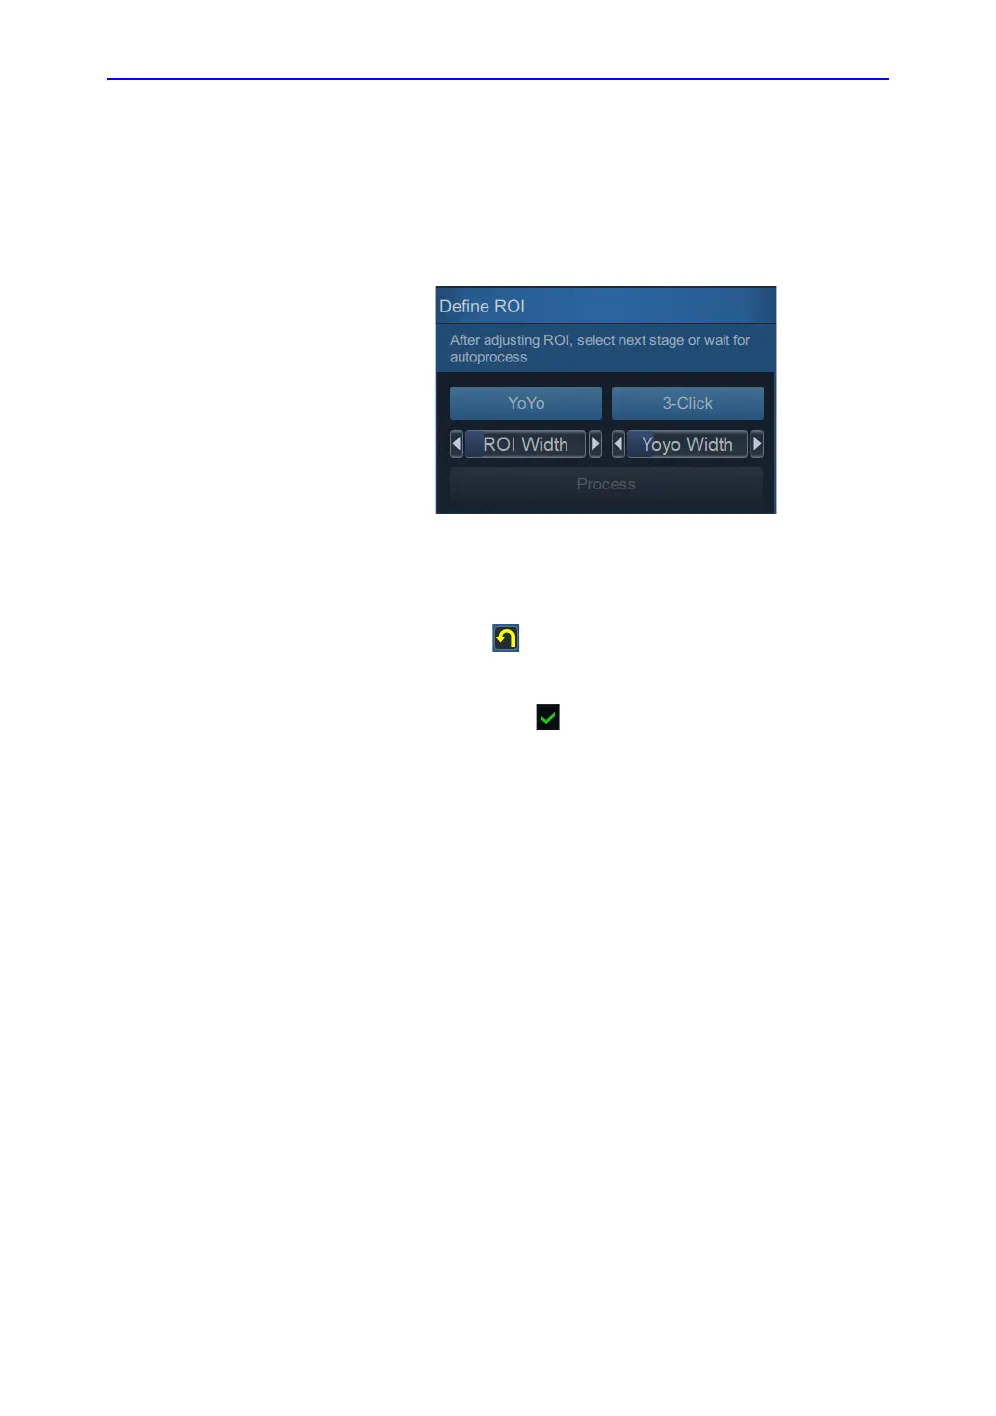
2. An automatic ROI is generated when entering the Define
ROI stage, see Figure 8-10. The ROI may be edited by
clicking and dragging on the endocardial and epicardial
contours. See ‘ROI adjustment’ on page 8-25 for more
information.

 Loading...