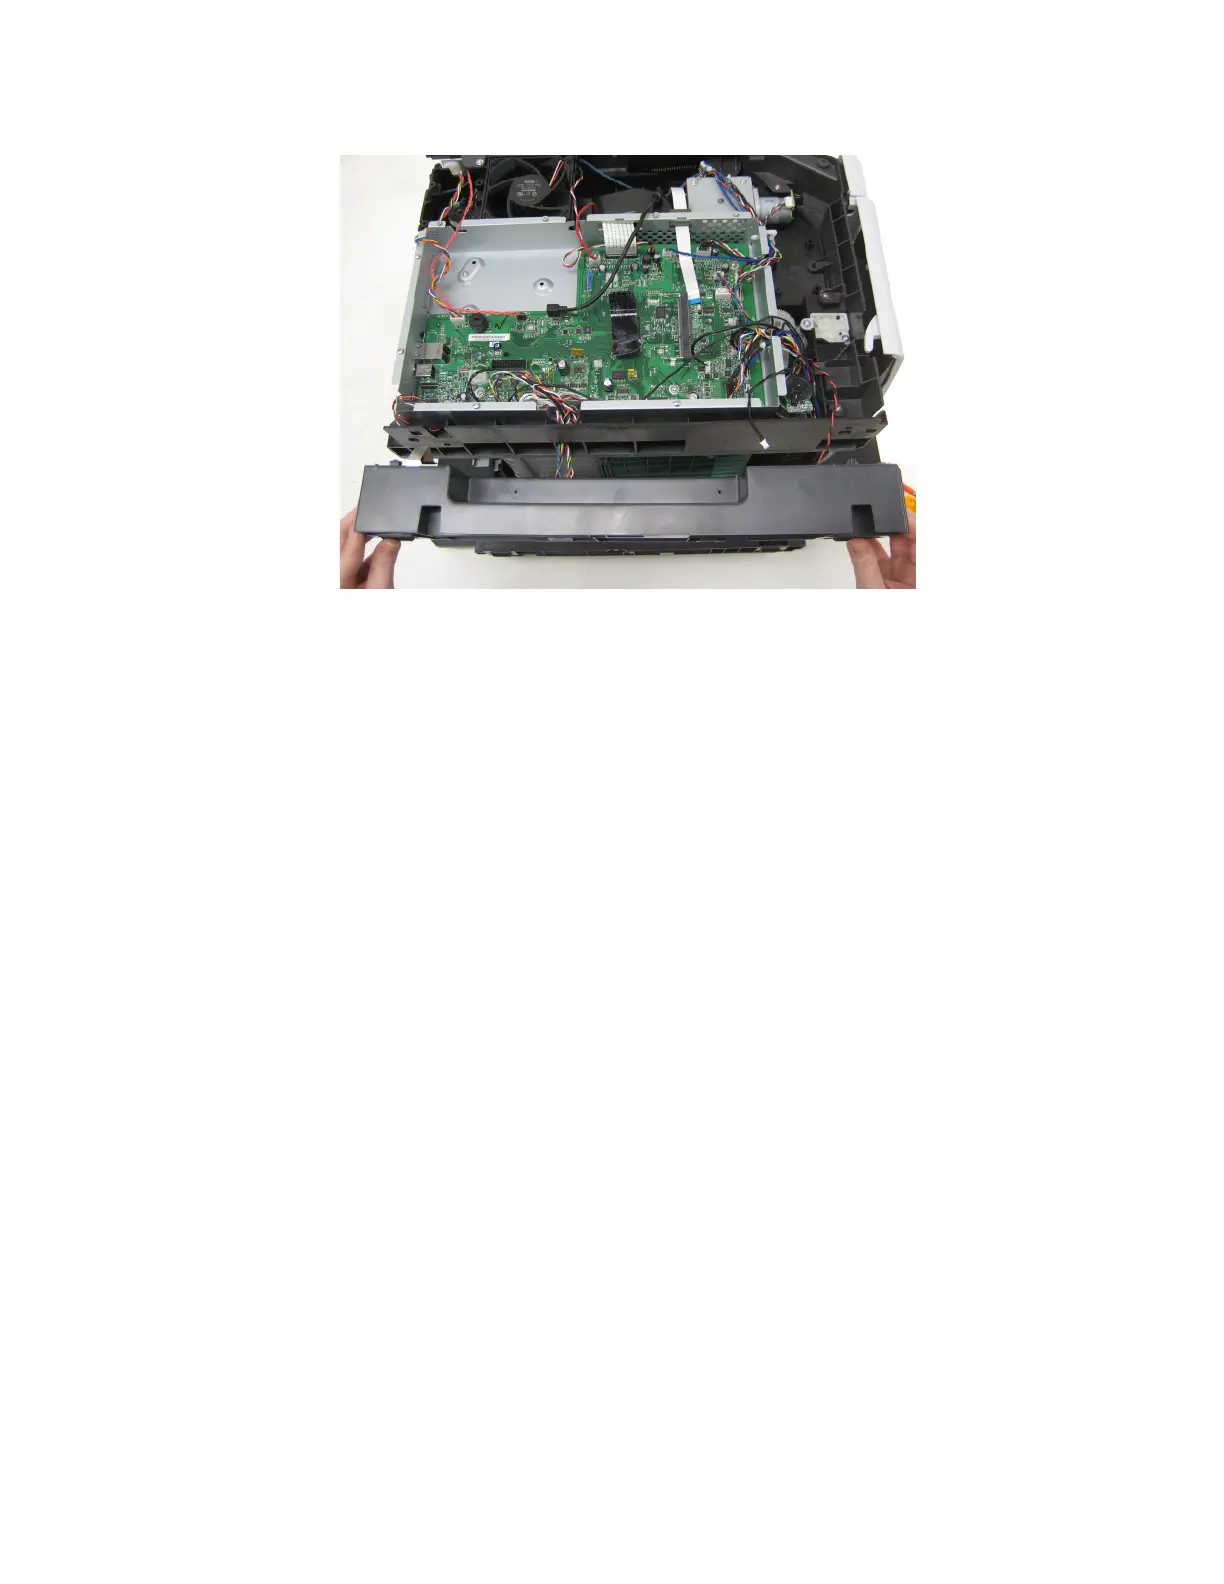
5 Remove the left frame extension.
6 Disconnect the three cables from the controller board.
Left frame extension removal (MX81x)
1 Remove the controller board access cover. See “Controller board access cover removal” on page 387.
2 Remove the controller board access shield. See “Controller board access shield removal” on page 388.
3 Remove the rear door. See “Rear door removal” on page 307.
4 Remove the left cover. See “Left cover removal (MX71x)” on page 301.
5 Remove the right cover. See “Right cover removal (MX71x)” on page 311.
6 Remove the rear lower door. See “Rear lower door removal (MX81x)” on page 310.
7 Safely place the machine on its left side.
7463
Repair information
372