ASSEMBLING THE WINDROWER
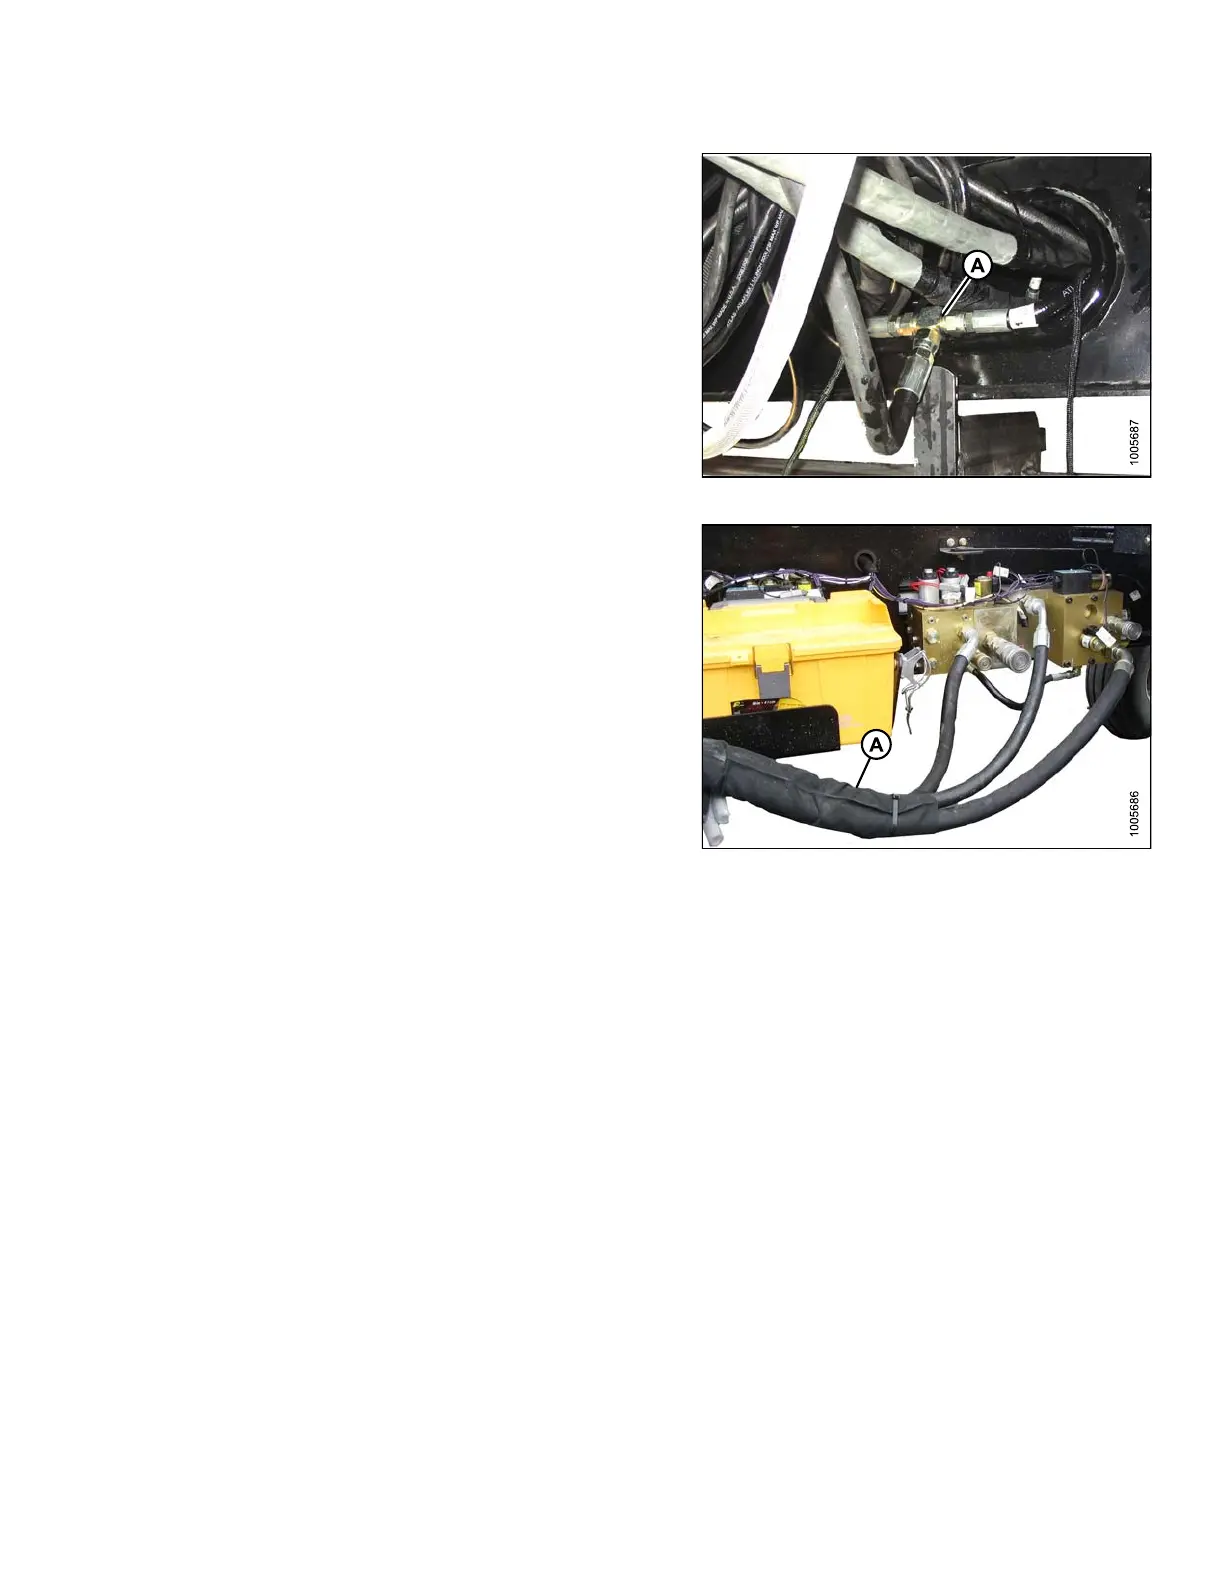
31. Remove one cap from tee fitting (A) and quickly attach
hose to minimize oil spillage.
32. Remove second cap from tee (A) and quickly connect
other hose.
33. Tighten fittings.
Figure 3.51: Tee Fitting
34. Position hose bundle (A) from the valve blocks on the
left-hand side of the frame onto the tire.
35. Note routing of electrical harness.
IMPORTAN T:
The electrical harness must be routed on the
topside of the hose bundle and on the outside
of the hose support to prevent chafing of the
electrical wires when the windrower is operating
with a header.
Figure 3.52: Hose Routing
147962 49 Revision A