56 Installing a Multi-Module Library
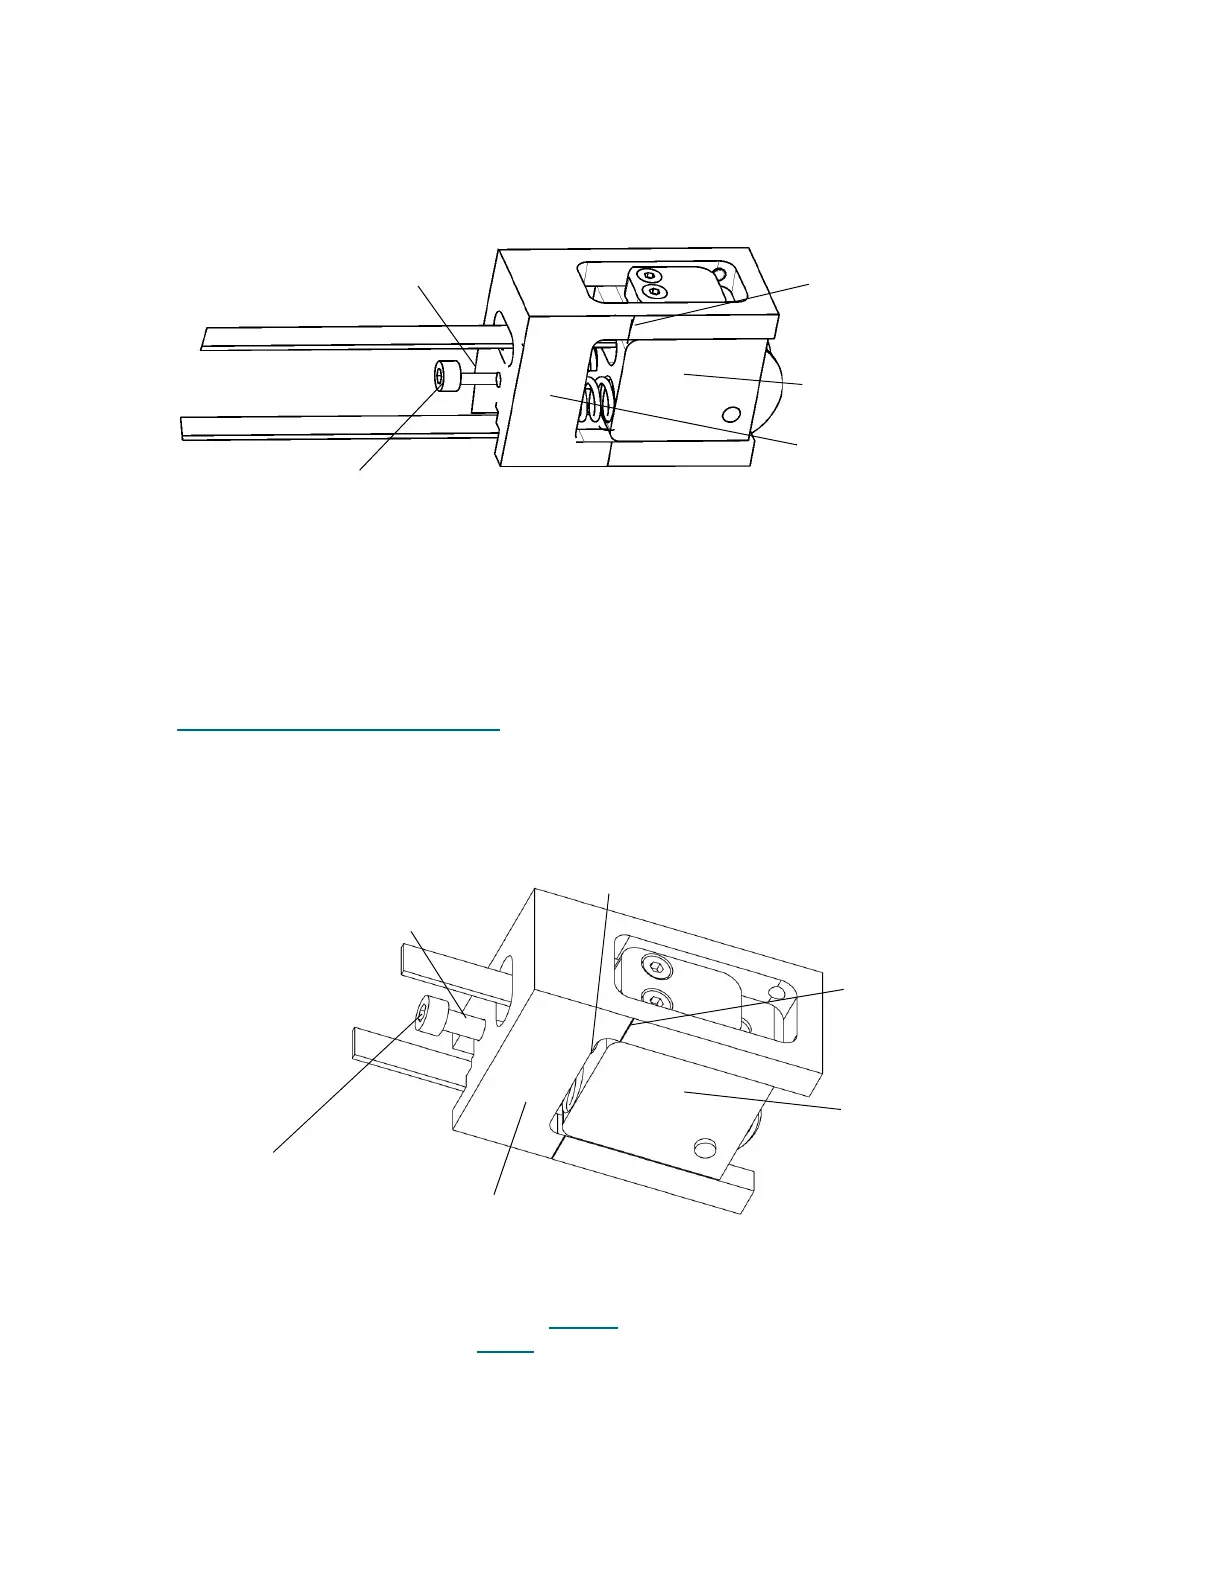
9 Use the 4 mm hex wrench to turn the spring-load screw counter clockwise to uncompress the tensioner.
Note that the gap cannot exceed 5 mm between the score mark and the tensioner base.
10 Continue to unscrew the compression screw (turning counterclockwise) until there is a 10 mm gap
between the screw head and tensioner base.
11 Move the accessor over the full length of the X-axis to verify that the belt is not twisted.
12 Return the accessor to the home position in the control module so you can install the X-axis chain
assembly.
Nine Modules or More Configuration
To add expansion modules onto an existing eight module library configuration you must follow steps 1-6 in
the Eight Modules or Less Configuration
on page 53 and then complete the steps below. The longer belts
have an initial stretch on install. You must make certain the tensioner arm is to the left of the 5mm mark and
that the gap does not exceed 3.5mm.
1 Use the 4 mm hex wrench to turn the spring-load screw counter clockwise to uncompress the tensioner.
2 Verify the gap does not exceed 3.5mm.
If the gap does not exceed 3.5 mm, go to Step 12
on page 58.
If the gap exceeds 3.5 mm, go to Step 3
on page 56.
3 Use the 4mm hex wrench to turn the spring-load screw clockwise to re-compress the tensioner.
4 Remove the three screws from the tensioner bracket and loosen the screw in the vertical slot 1/4 turn.
This allows the X-axis tensioner to drop down and rotate clockwise generating additional slack in the
4 mm spring-load screw
tensioner base
5 mm mark
tensioner arm
10 mm gap
4 mm spring-load screw
tensioner base
5 mm score mark
tensioner arm
10 mm gap
3.5 mm gap

 Loading...


