STONEX R2
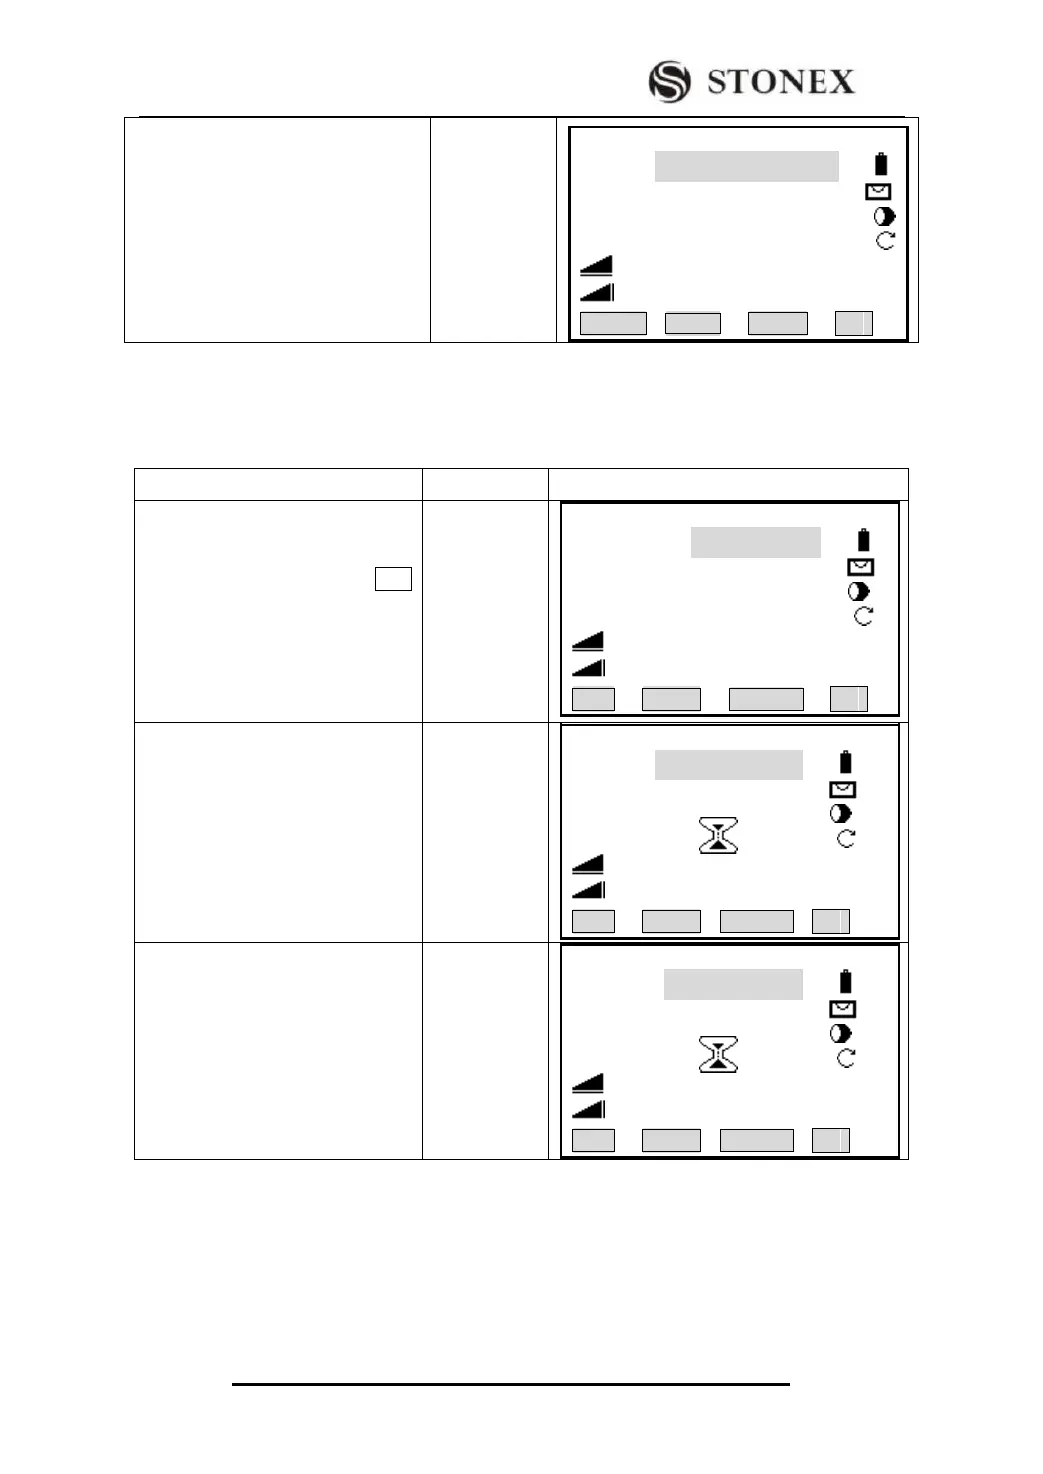
③As all inputting items are finished,
press [F4](SET) to keep the data of
measurement station and return to
measure function.
【Measure】 1/4
Pt ID: A1
RHT: 1.500 m
HZ: 00°00′00″
V: 90°00′00″
: ---.--- m Ⅰ
: ---.--- m
SetStn EDM ↓
3.3.3 Measurement
As all settings are finished, you can start survey now, the survey result has four
pages including all general survey data, press [PAGE] to check.
①Input pointID and prism height,
after finishing one item, press ENT
to move the cursor to the next item.
Input the coding if necessary.
Input Pt ID
+
[ENT]
Input RHT
+
[ENT]
【Measure】 1/4
Pt ID: A1
RHT: 1.500 m
HZ : 0°00′00″
V : 90°00′00″
: ---.--- m Ⅰ
: ---.--- m
All DIST RECORD ↓
②Collimate the prism center, press
[F1](All) or [F2](DIST) +
[F3](RECORD) to start survey, and
record the data being surveyed. The
measured and recorded data
include angle, distance, coordinate,
press [PAGE] to see
【Measure】 1/4
Pt ID : A1
RHT: 1.500 m
HZ: 51°20′10″
V: 90°00′00″
: ---.--- m Ⅰ
: ---.--- m
All DIST RECORD ↓
③Once a point of survey is finished,
the pointID will be automatically
added 1 by the procedure, collimate
the prism center to repeat the steps
and start to measure the next point.
‴1).
【 Measure】 1/4
Pt ID: A2
RHT: 1.500 m
HZ : 51°20′10″
V : 90°00′00″
: ---.--- m Ⅰ
: ---.--- m
All DIST RECORD ↓
The other soft keys at the bottom of the screen:
Compensation: To set Open and Shut of tilt compensation, with options of 1-axis and
OFF. Please refer to “4.1 LEVELING” for detailed introduction.
Sector Beep
[F1]ON: Sector Beep sounds at right angles (0º,90º,180º,270º or 0,100,200,300gon)