STONEX R2
⑨After the Face measurement, return
to the result menu, and press [F1](Add
Pt), follow the steps ⑤ ~ ⑧ to
continue the measurement of the next
known point.
【Height Transfer】 1
Select Target Meas!
Pt ID: 1
R. HT: 1.500 m
H / Z : 10.0000 m
: ---.--- m Ⅰ
All DIST SEARCH ↓
⑩ This function provides the
measurement of a maximum of 5 target
points in two faces. After all
measurements are completed, press
[F4] to confirm the result in the menu
of Height Transfer.
【HT-Tran. Result】 1/2 ▼
HT. Tran. Result OCC1
Stn. Pt. :
H0 : 8.250 m
Corr. :
No. Pts : 10.0000 m
AddPt FACE BACK OK
⑴
[F1](BACK): Back to Height Transfer
Result menu.
[F2](OLD): Remains the previous
station height.
[F3](AVE): the average value of the
old and new value of station height to
set the station height.
[F4](NEW):Takes the value calculated
in the program as the station height.
【H0 Exist】
Stn. Pt. :
Old H0 :
New H0 :
△H0 : 8.250 m
BACK OLD AVE NEW
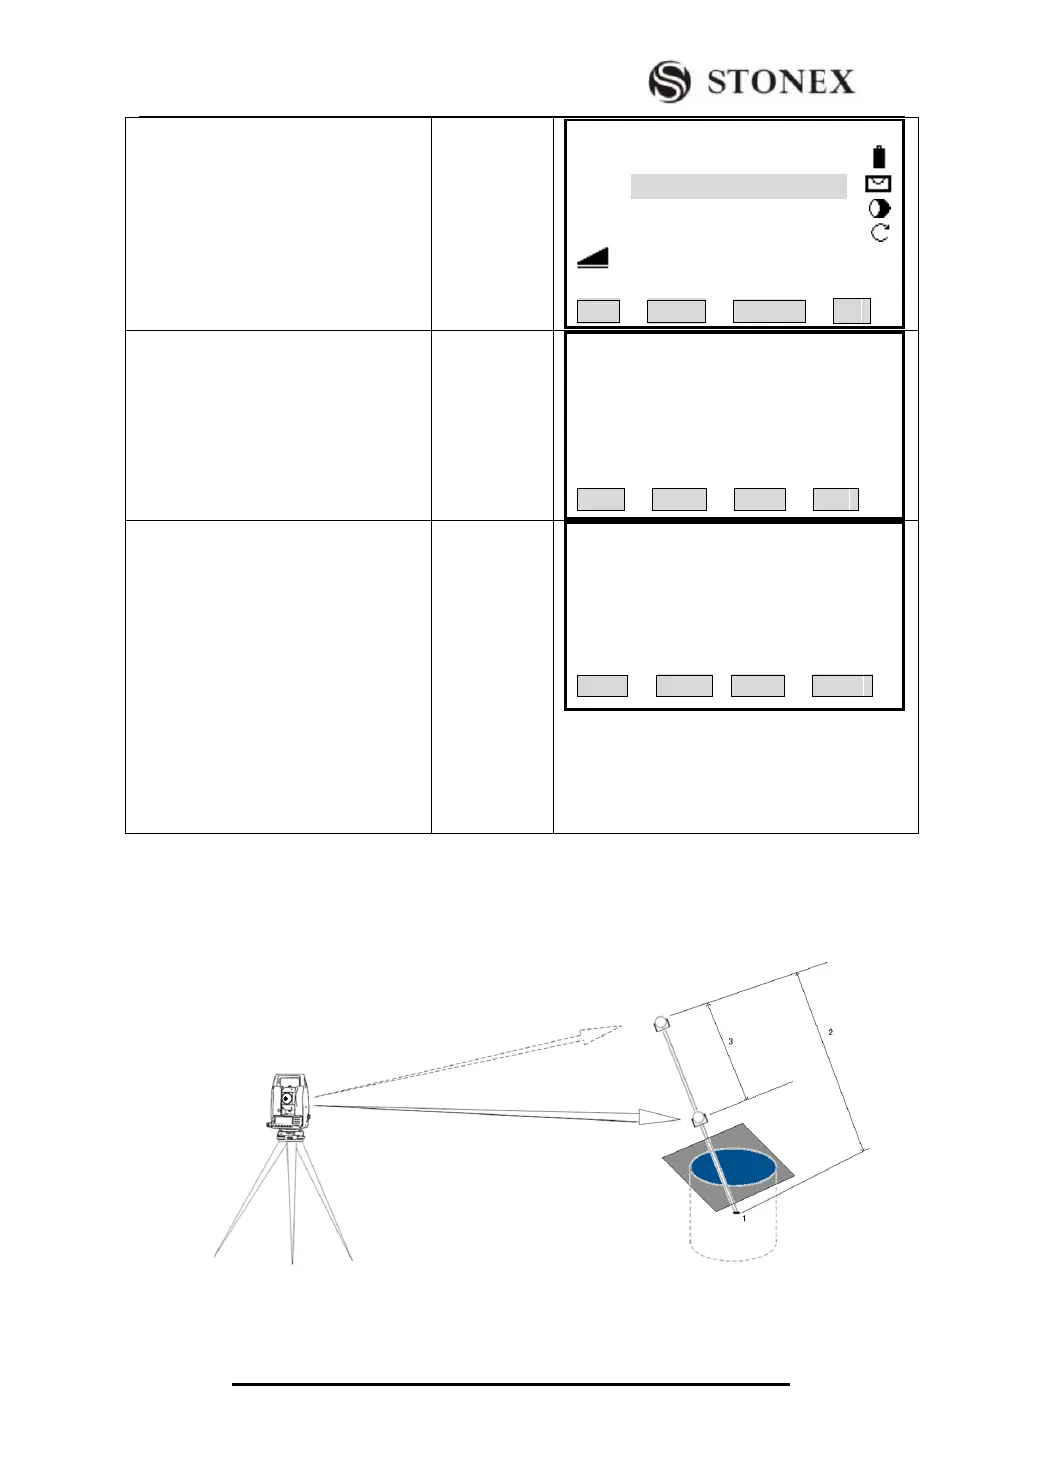
4.6 HIDDEN POINT MEASUREMENT
The program allows measuring to a point that is not directly visible, using a special
hidden-point rod.
The Picture shown above implies: