STONEX R2
③ Input reflector height, press [ENT]
to move to next item. Enter the code if
necessary.
Input prism
height
+
[ENT]
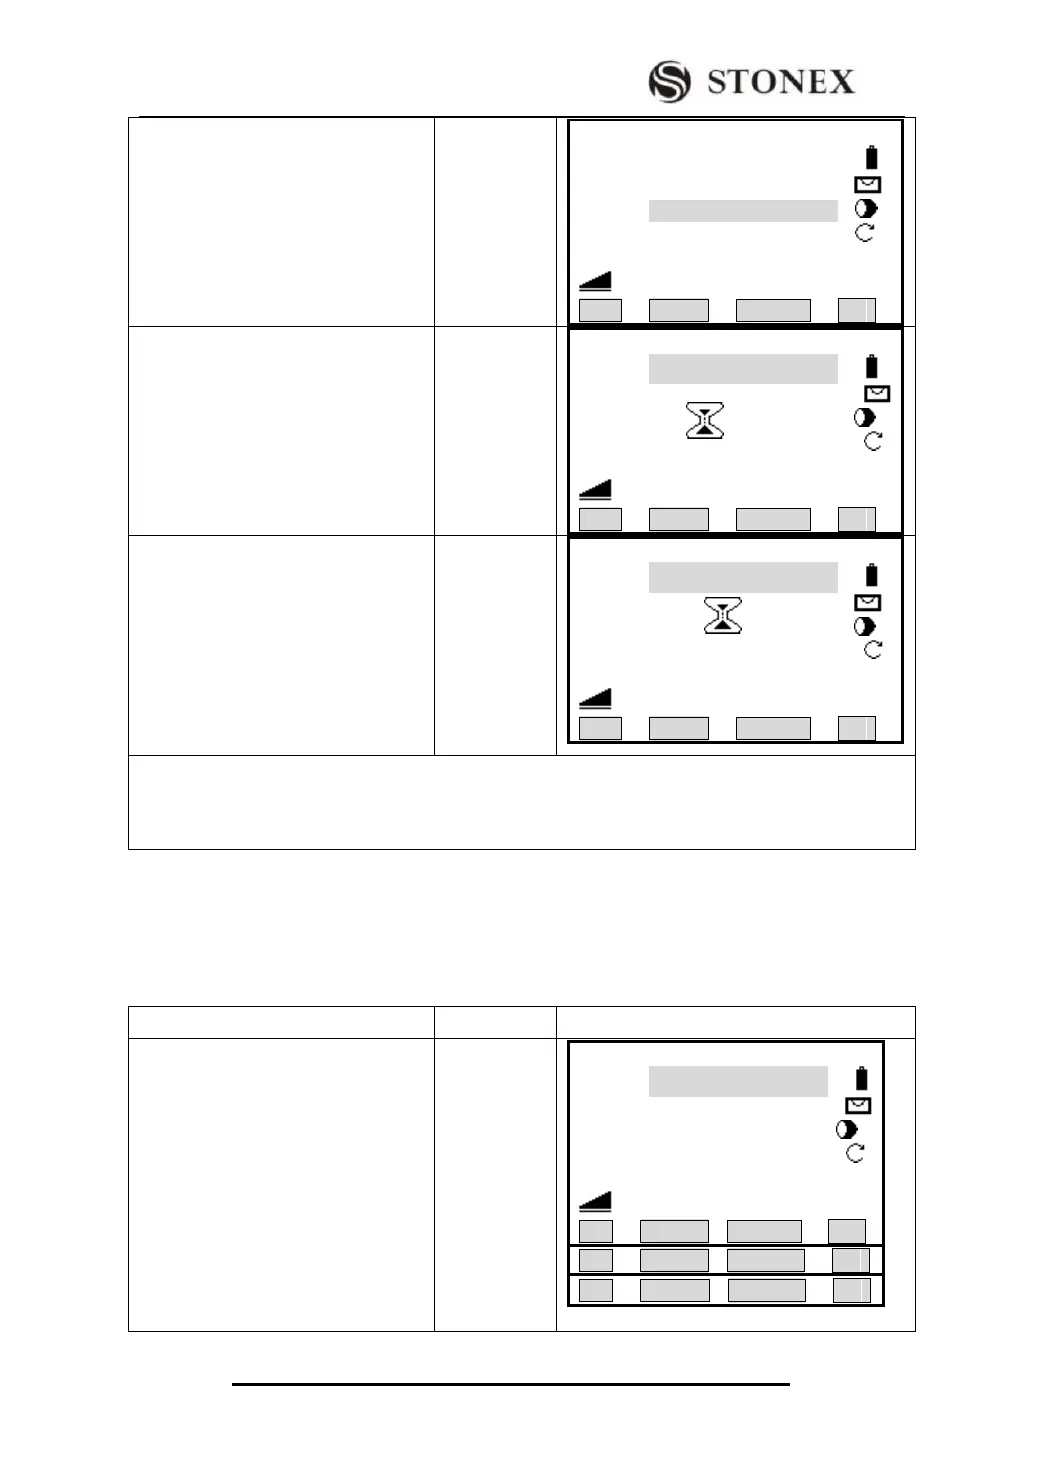
【Measure】 1/3
PtID: 1
R. HT: 1.860 m
Code: ------
HZ: 0°00′00″
V : 90°00′00″ Ⅰ
: ---.--- m
All DIST RECORD ↓
④ Press [F1] (All) or [F2] (DIST) +
[F3] (RECORD) to start measurement
and save the data. To see data surveyed
and saved includes angle, distance,
coordinate, press [PAGE] to view. ‴
2)
【Measure】 1/3
PtID: 1
R. HT: 1.860 m
Code: STONEX
HZ: 0°00′00″
V : 90°00′00″ Ⅰ
: ---.--- m
All DIST RECORD ↓
⑤ After measuring one point, PtID
will automatically +1. Press [F1] (All)
or [F2] (DIST) + [F3] (RECORD) to
proceed the measurement of next
point. Meanwhile, the screen displays
the previous measured data, and turn
[PAGE] to view.
【Measure】 1/3
PtID: 2
R. HT: 1.860 m
Code: STONEX
HZ: 85°51′31″
V : 129°20′19″ Ⅰ
: ---.--- m
All DIST RECORD ↓
‴1) Please refer to “2.7 Input Mode” to know more about the input method.
‴2)Once Surveying function is activated, all measurement data (including angle, HD, SD, VD and ENH)
will be displayed. Press [PAGE] to view.
5.5.1 Individual Point
[Indiv P]: In data collection, you can record one single point, exchanging the option
between individual point and continuous point by pressing this key.
① Press [F4]( ↓ ) three times to
displays the last page.
【Measure】 1/3
PtID: 11
R. HT: 1.860 m
Code : STONEX
HZ: 0°00′00″
V : 90°00′00″ I
: ---.--- m
All DIST RECORD ↓