STONEX R2
⑨If the residuals are OK, press [F1] to
return to Orientation Result dialog.
Then press [F4] (OK) to set the
calculated HZ orientation, the screen
displays “Orientation Set Already!”,
and returns to Setting Meas menu.
【Setting Meas】
[*] F1 Setting Job (1)
[*] F2 Setting Station (2)
[*] F3 Set Orientation (3)
F4 Start (4)
‴ 1) , , :Implies that there are several pages selectable. Press [PAGE] to select.
‴ 2) Orientation measurement is in Page 2.
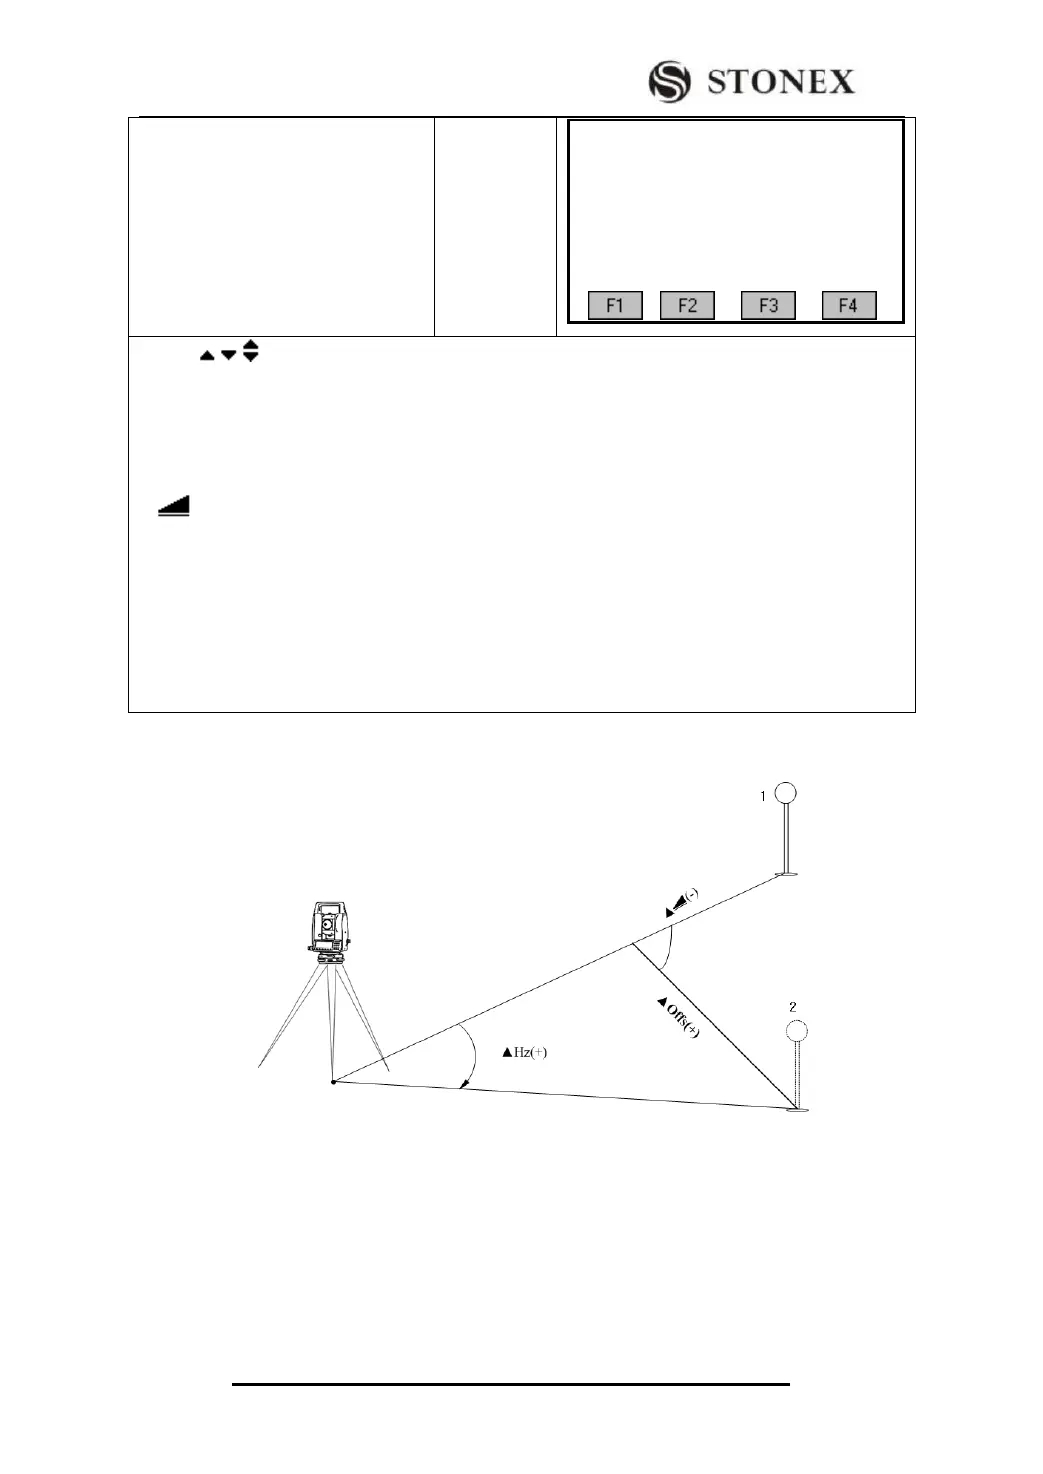
△AZ: After the first measurement, the finding of other target points (or the same point when changing
the telescope position) is easier by setting the indicated angle difference near to 0°00′0〞 by turning the
instrument.
△ :Difference between horizontal distance to target point computed from coordinates and the
measured distance.
‴ 3) If orientation measurement is based only on one face, there is no need to rotate the telescope.
Collimate on next point directly.
‴ 4) Status indication 1/I: shows that first point was measured in telescope position I.
1/II: shows that first point was measured in telescope position II.
1/I II: First point measured in telescope position I and II.
5.3.3 Displaying Residuals
In the picture, 1 is actual measurement point. 2 is design point.