STONEX R2
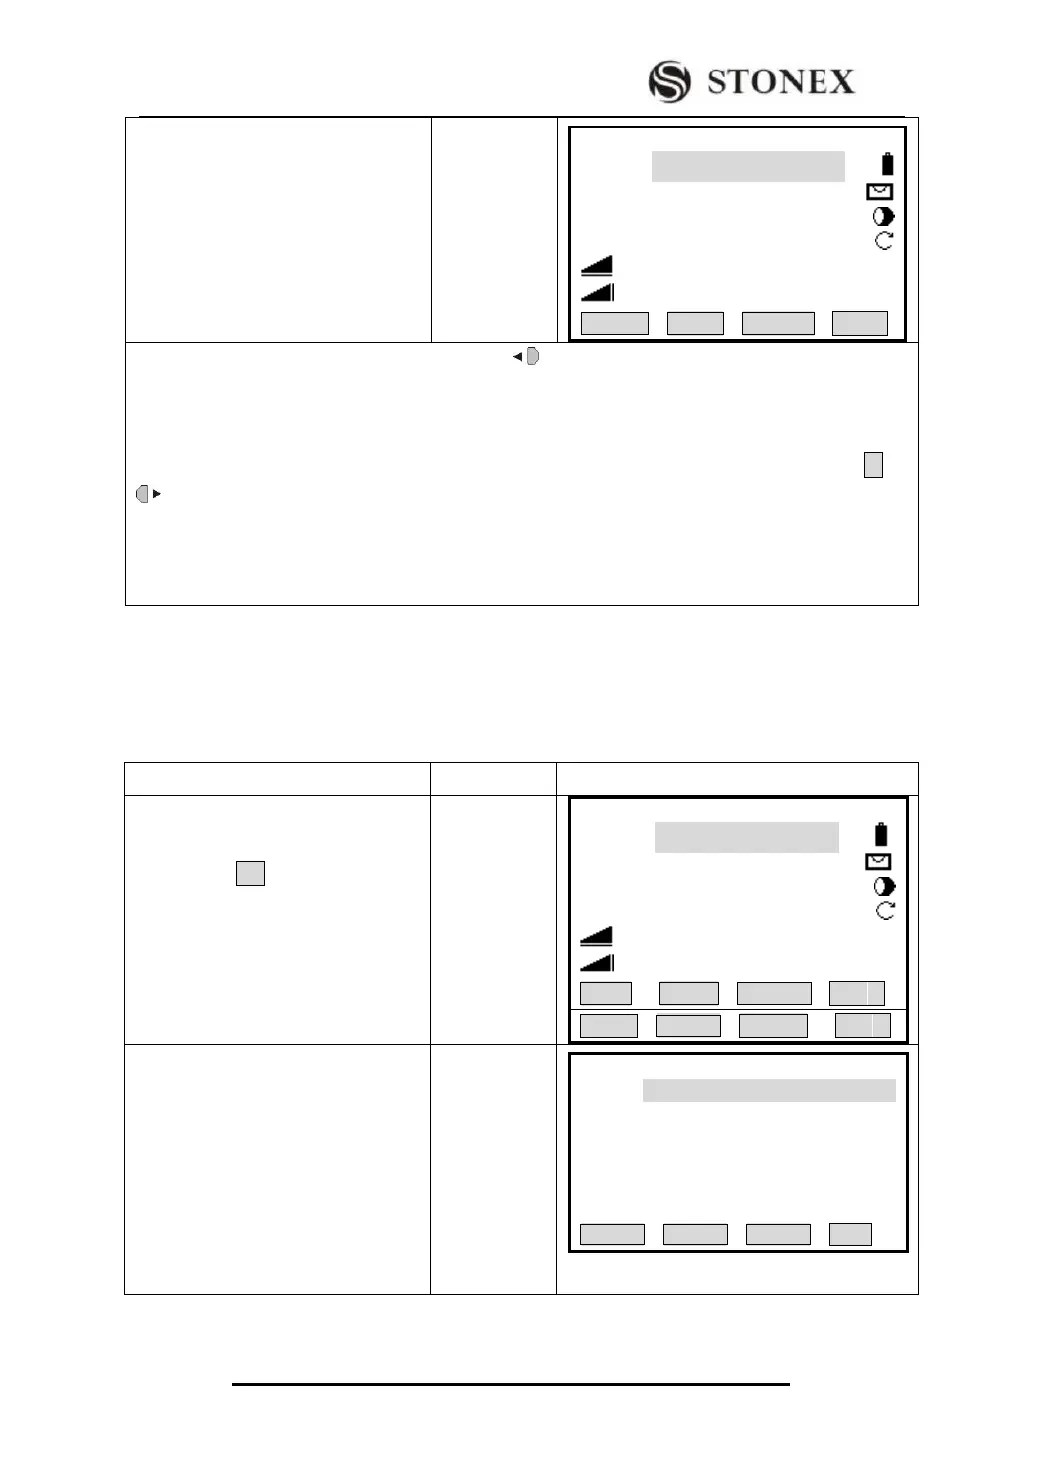
④ Return to measure function, the
horizontal angle set just now is
displayed, here takes setting zero as an
example.
‴4)~‴5)
【Measure】 1/4
Pt ID : A1
RHT : 1.500 m
HZ : 0°00′00″
V : 90°00′00″
: ---.--- m Ⅰ
: ---.--- m
SET Hz TILT BEEP ∣←
‴1)If there is something wrong in inputting, press to move the cursor to the place needed to modify,
or press [F3](CLEAR) and input the correct one
‴2) If an error numerical value is inputted (such as: 70′) and screen do not response the inputting, a
reasonable numerical key has to be pressed
‴3)If the angle unit is degree, minute and second, as part of “degree” is finished, you need to press ² or
to move the cursor to the next inputting area.
‴4) The setting of horizontal left angle/right angle, may be finished in [Main Settings]. Refer to “4.4
Main Settings”.
‴5) For vertical angle setting, it can also be finished in [Main Settings]. Refer to “4.4 Main Settings”.
3.3.2 Setting the Instrument Height and Prism Height
After setting the relative coordinate of the occupied point according to origin point, the
instrument automatically converts and displays the prism point Coordinate based on the
origin and occupied point.
①Press [F4]( ↓), turn to the second
page of soft key, press [F1](SetStn) to
set measurement station and
instrument height.
【Measure】 1/4
Pt ID: A1
RHT: 1.500 m
HZ : 0°00′00″
V : 90°00′00″
: ---.--- m Ⅰ
: ---.--- m
All DIST RECORD ↓
②Input the pointID of measurement
station, instrument height and
coordinate. After finishing one item,
press [ENT] to move the cursor to the
next one. Since the Desc. item
describes measurement station, it may
not be inputted
Input
pointID of
measurement
station point
+
[ENT]
Input INS.Ht
+
[ENT]
Input ENH
+
[ENT]
【Set.Stn 】
Pt ID : OCC1
INS.Ht: 1.000 m
Desc: --- --- --- ---
X0/N0 : 0.000 m
Y0/E0 : 0.000 m
H0 : 0.000 m
SET