STONEX R2
optical plummet to make the reticle distinctly. Hold the other two unfixed legs with both
hands and adjust position of these two legs through observation of optical plummet. As it
approximately aims at the station point, make all three legs fixed on the ground. Adjust
three leg screws of the instrument to make optical plummet collimate precisely to the
station point.
3) Use circular vial to roughly level the instrument.
Adjust length of three legs of tripod, and make the circular vial bubble of the
instrument in the middle.
4) Use plate vial to level the instrument accurately.
①Rotate the instrument horizontally by loosening the Horizontal Clamp Screw and place
the plate vial parallel to the line connecting leveling screw A and B, and then bring the
bubble to the center of the plate vial by turning the leveling screws A and B.
②Rotate the instrument 90‵, make it perpendicular to the connecting line of level
screws A and B. Turn level screw C to make the bubble of the plate vial in the middle.
5) Precisely centering and leveling
Through observation of optical plummet, slightly loosen the central connecting screw
and move the instrument evenly (Don‟t rotate the instrument), making the instrument
precisely collimating to the station point. Then tighten the central connecting screw and
level the instrument precisely again.
Repeat this operation till the instrument collimate precisely to the measurement
station point.
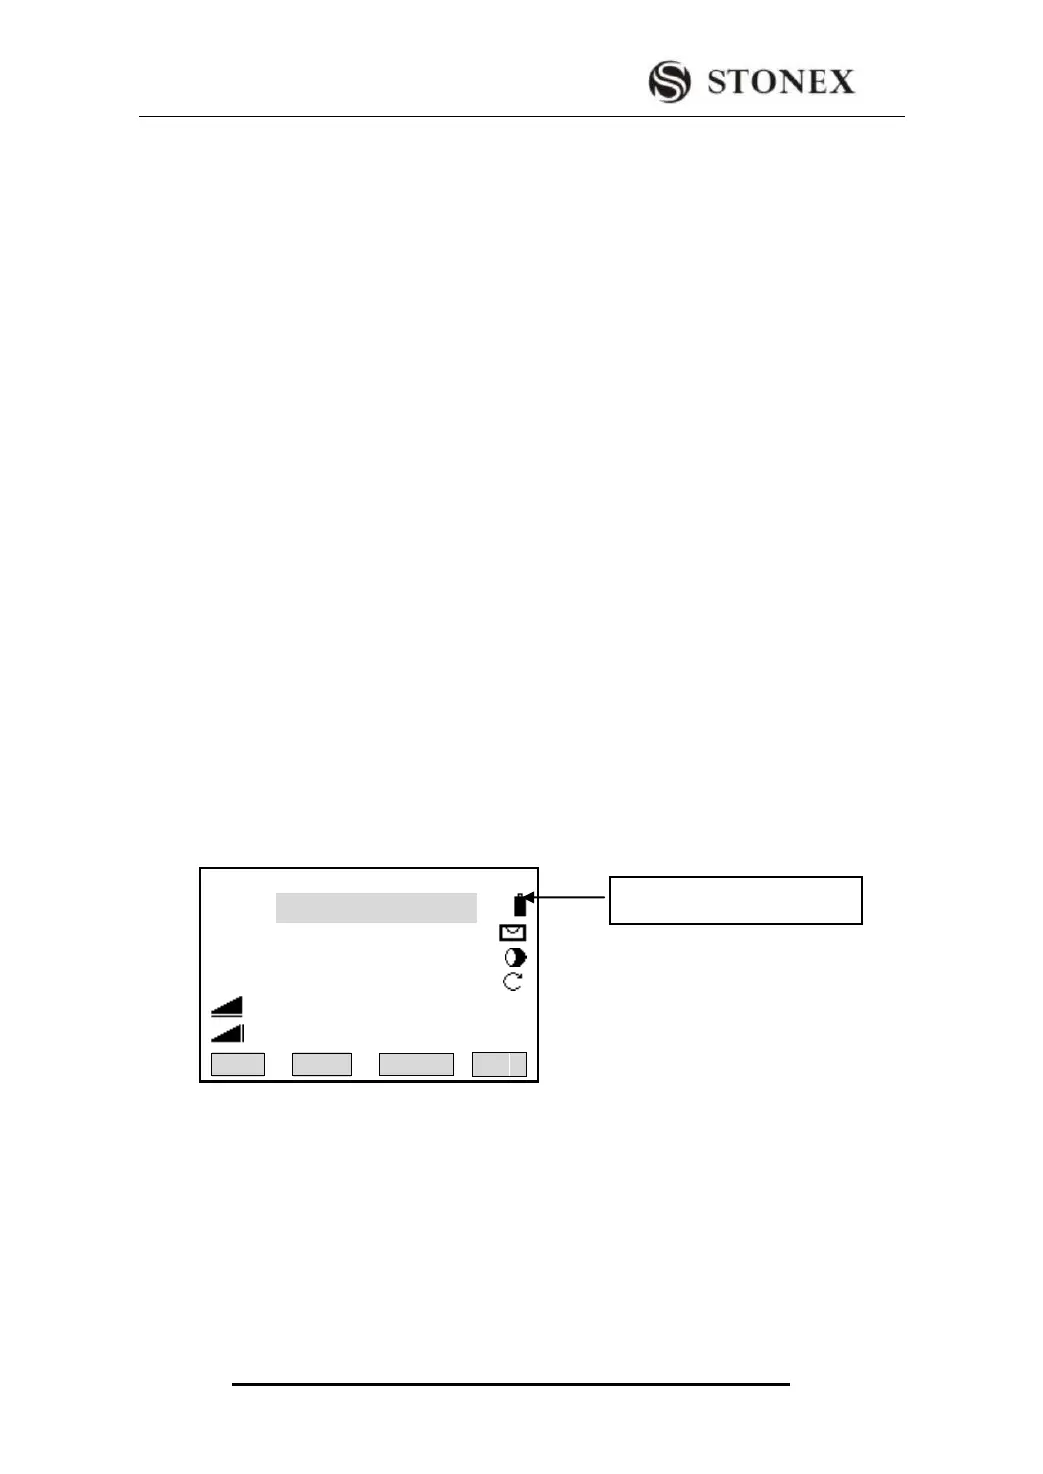
2.3 BATTERY POWER REMAINING DISPLAY
Battery power remaining display indicates the power condition.
Note :
① The battery operating time will vary depending on the environmental conditions such
as ambient temperature, charging time, the number of times of charging and discharging
etc. It is recommended for safety to charge the battery beforehand or to prepare spare full
charged batteries.
② The battery power remaining display shows the power level regarding the current
measurement mode. The distance measurement mode consumes more power than angle
measurement mode, so the power enough for the latter is not sure applicable for the
【 Measure 】 1/4
Pt ID : A1
RHT : 1.500 m
HZ: 0°00′00″
V: 90°00′00″
: ---.--- m Ⅰ
: ---.--- m
ALL DIST RECORD ↓