STONEX R2
④ In backsight orientation dialog,
input the PtID previously measured in
Face Ⅰ. Please follow Step ③ of
single point orientation.
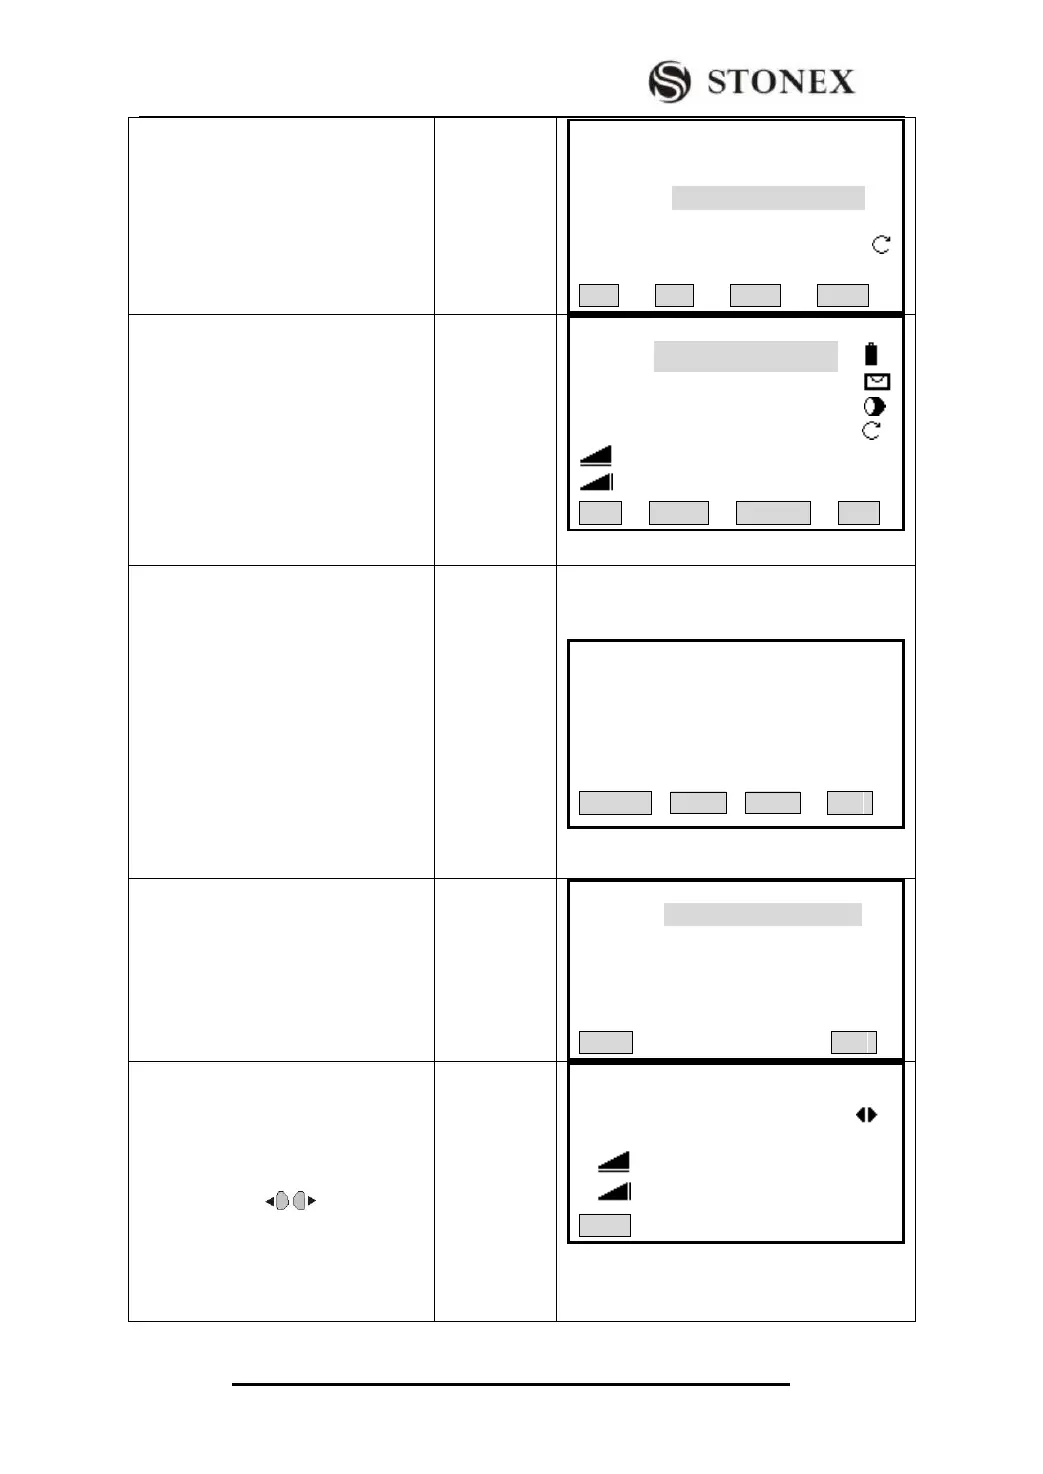
【Known Pt 】
Input Bs Pt!
Bs Pt: BS1
R.HT: 1.254m
V : 90°00′00″
LIST ENH . .
⑤Reverse the telescope, collimate the
backsight point BS1, press [F1] (All)
OR [F2] (DIST) + [F3] (RECORD) to
start orientation with coordinate
measurement. ‴2)~ ‴3)
The upper-right corner displays “1/Ⅰ”,
indicating that first point was
measured in telescope position I
【Known Pt 】 1/2 1/Ⅰ ▼
Bs Pt: BS1
R. HT: 1.860 m
HZ: 0°00′00″
V : 90°00′00″
: ﹉ .﹉ m Ⅰ
: ﹉ .﹉ m
All DIST RECORD EDM
⑥After measurement, when displaying
“Want More Measurement?”,
[CANCEL]: finish measurement and
display result.
[OK]: Proceed to measure other
backsight points. Repeat steps ②~⑤
to measure the orientation of more
backsight points. The instrument
provides orientation with a maximum
of 5 backsight points.
Want More Measurement?
CANCEL OK
⑦After all points which are used for
backsight orientation are measured, in
dialog of step ⑥, press [F4](OK) to
display result.
Orientation Result
No.Pts: 5
Station: 1
Hz Cor: 172°22′57″
St. Dev.: 0°00′20″
RESID OK
⑧ Press [F1](RESID) to enter into
Orientation Residuals dialog. Press
navigation key to view the
orientation residuals of other points.
Orientation Residuals
BsPt: BS1
△Hz : 0°00′02″
△ : -0.005 m
△ : 0.003 m
BACK