8. Lamp and lamp house
Image 8-11
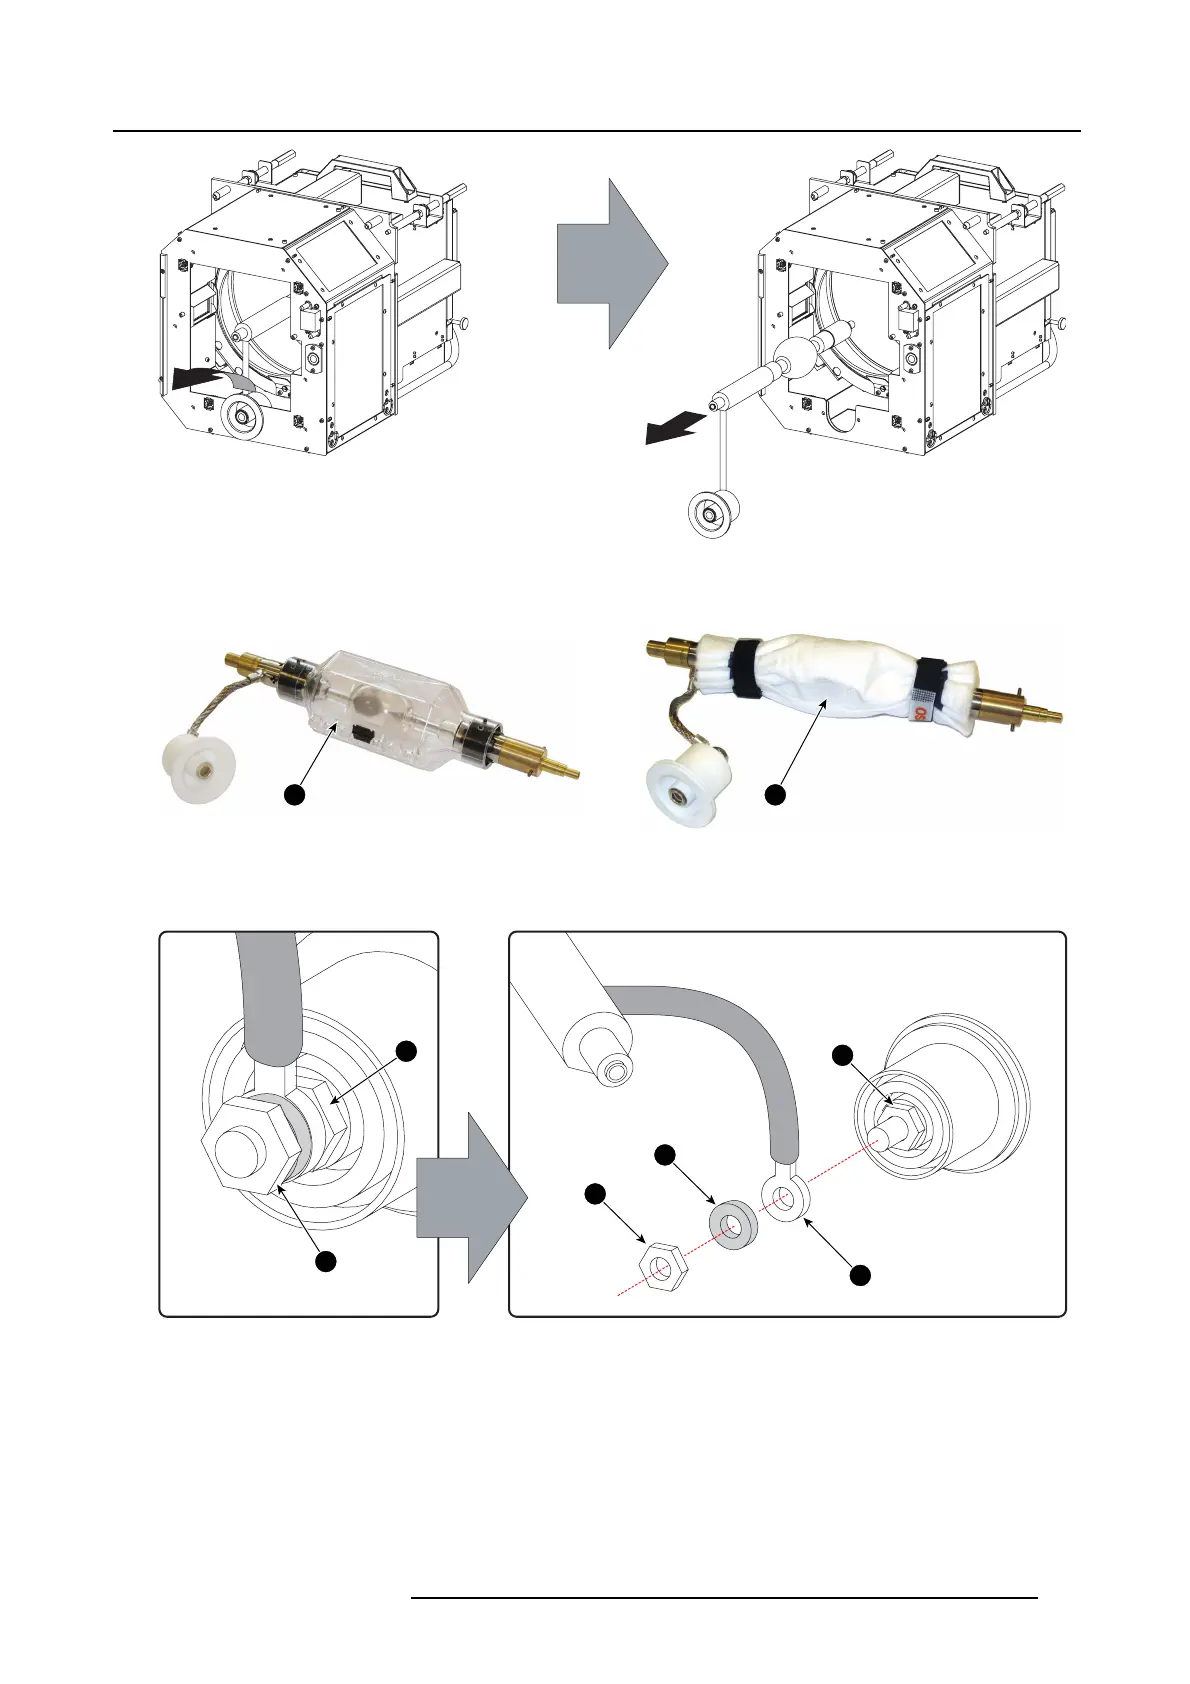
6. P lace the xenon lamp into a protective container or wrap a protective cloth ar ound the xenon lamp prior to proceed with this
procedure.
7 8
Image 8-12
7. R emov e the anode wire lug from the anode socket. Use for that two open end wrenches of 17 mm . Hold one nut (reference
7) with one wrench while releasing the other nu t (reference 4) with the other wrench. Note that a plain washer (reference 5) is
provided between the lock nut (reference 4) and the anode wire lug (reference 6).
5
7
7
6
4
4
Image 8-13
Note: The electrical connection pins of older Lamp Houses may contain two flat washers, one on each side of the wire lug. New
Lamp Houses can contain only one flat washer due to the shorter thread clearance of the new improved connection pins.
8. R emov e the cathode lamp adaptor (reference 11) from the xenon lamp (reference 13) as illustrated. Use a 5 mm Allen wrench
to release the adaptor fixation screw (reference 12) of the ada ptor.
R5905312 HDF W SERIES 24/01/2013
125

 Loading...


