command, before forwarding it on to the specified CoS queue. Otherwise, a packet will have its
incoming 802.1p user priority re-written to its original value before being forwarded by the Switch
Replace DSCP (0-
63)
Select this option to instruct the Switch to replace the DSCP value (in a packet that meets the
selected criteria) with the value entered in the adjacent field.
Replace ToS
Precedence
Select this option to instruct the Switch to replace the Type of Service as part of the packet
header.
Time Range
Name
Tick the check box and enter the name of the Time Range settings that has been previously
configured in the Time Range Settings window. This will set specific times when this access rule
will be implemented on the Switch.
Rx Rate (1-15624)
Use this to limit Rx bandwidth for the profile being configured. This rate is implemented using the
following equation: 1 value = 64Kbit/sec. (ex. If the user selects an Rx rate of 10 then the ingress
rate is 640Kbit/sec.) The user many select a value between 1 and 15624 or tick the No Limit
check box. The default setting is No Limit.
Counter
Specifies whether counter feature will be enabled/disabled
This is optional, the default is disabled.
If the rule is not binded with flow_meter, then all packet matched will be countered.
If the rule is binded with flow_meter, then “counter” here will be overrided.
Ports / VLAN
Name / VLAN ID
Use the pull down menu to select Ports, VLAN Name, or VLAN ID that the access rule will take
effect on, and enter a range of ports to be configured, or the VLAN name/ID of a previously
configured VLAN.
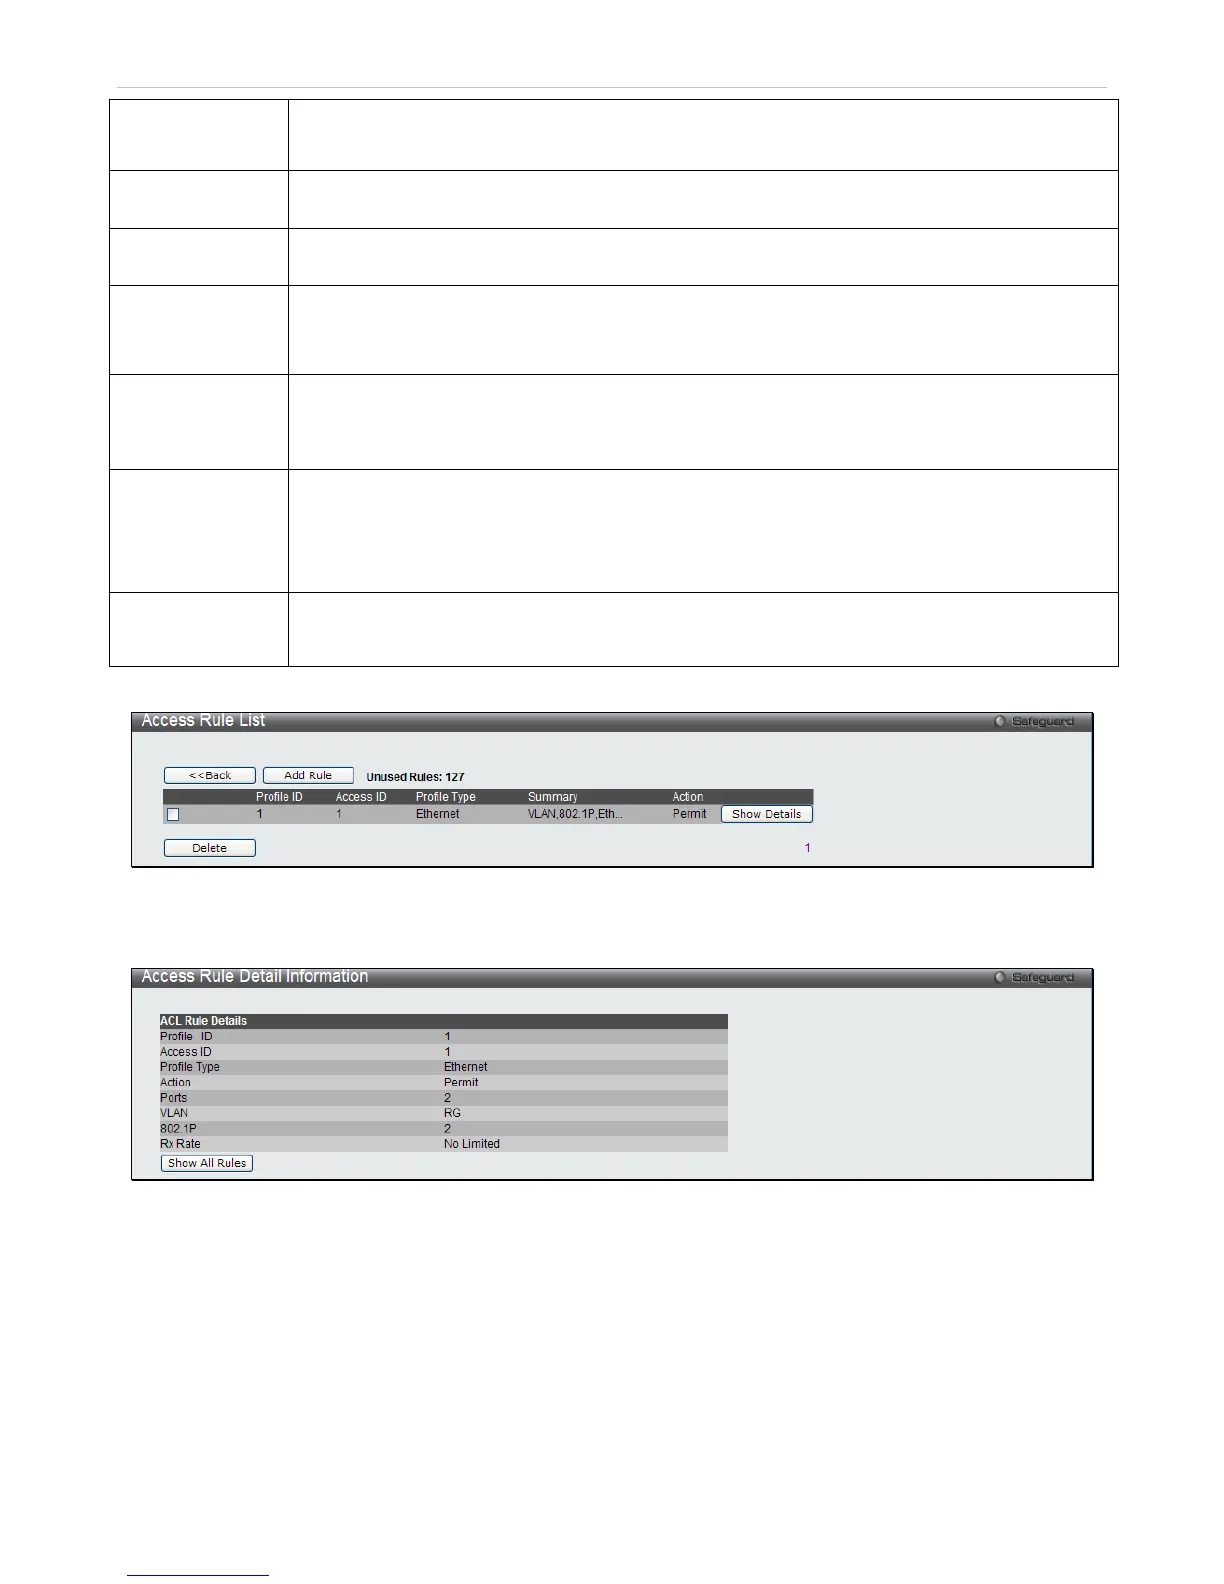
Click Apply to display the following Access Rule List window.
Figure 7 - 8 Access Rule List (Ethernet)
To view the configurations for previously configured rules click on the corresponding Show Details Button which will
display the following Access Rule Details window.
Figure 7 - 9 Access Rule Detail Information (Ethernet)
To create an IPv4 AC L select IPv4, enter the Profile ID and Profile Name into the top half of the screen in the Add
ACL Profile window and click Select the following window will appear.