S0708460K
Page 24
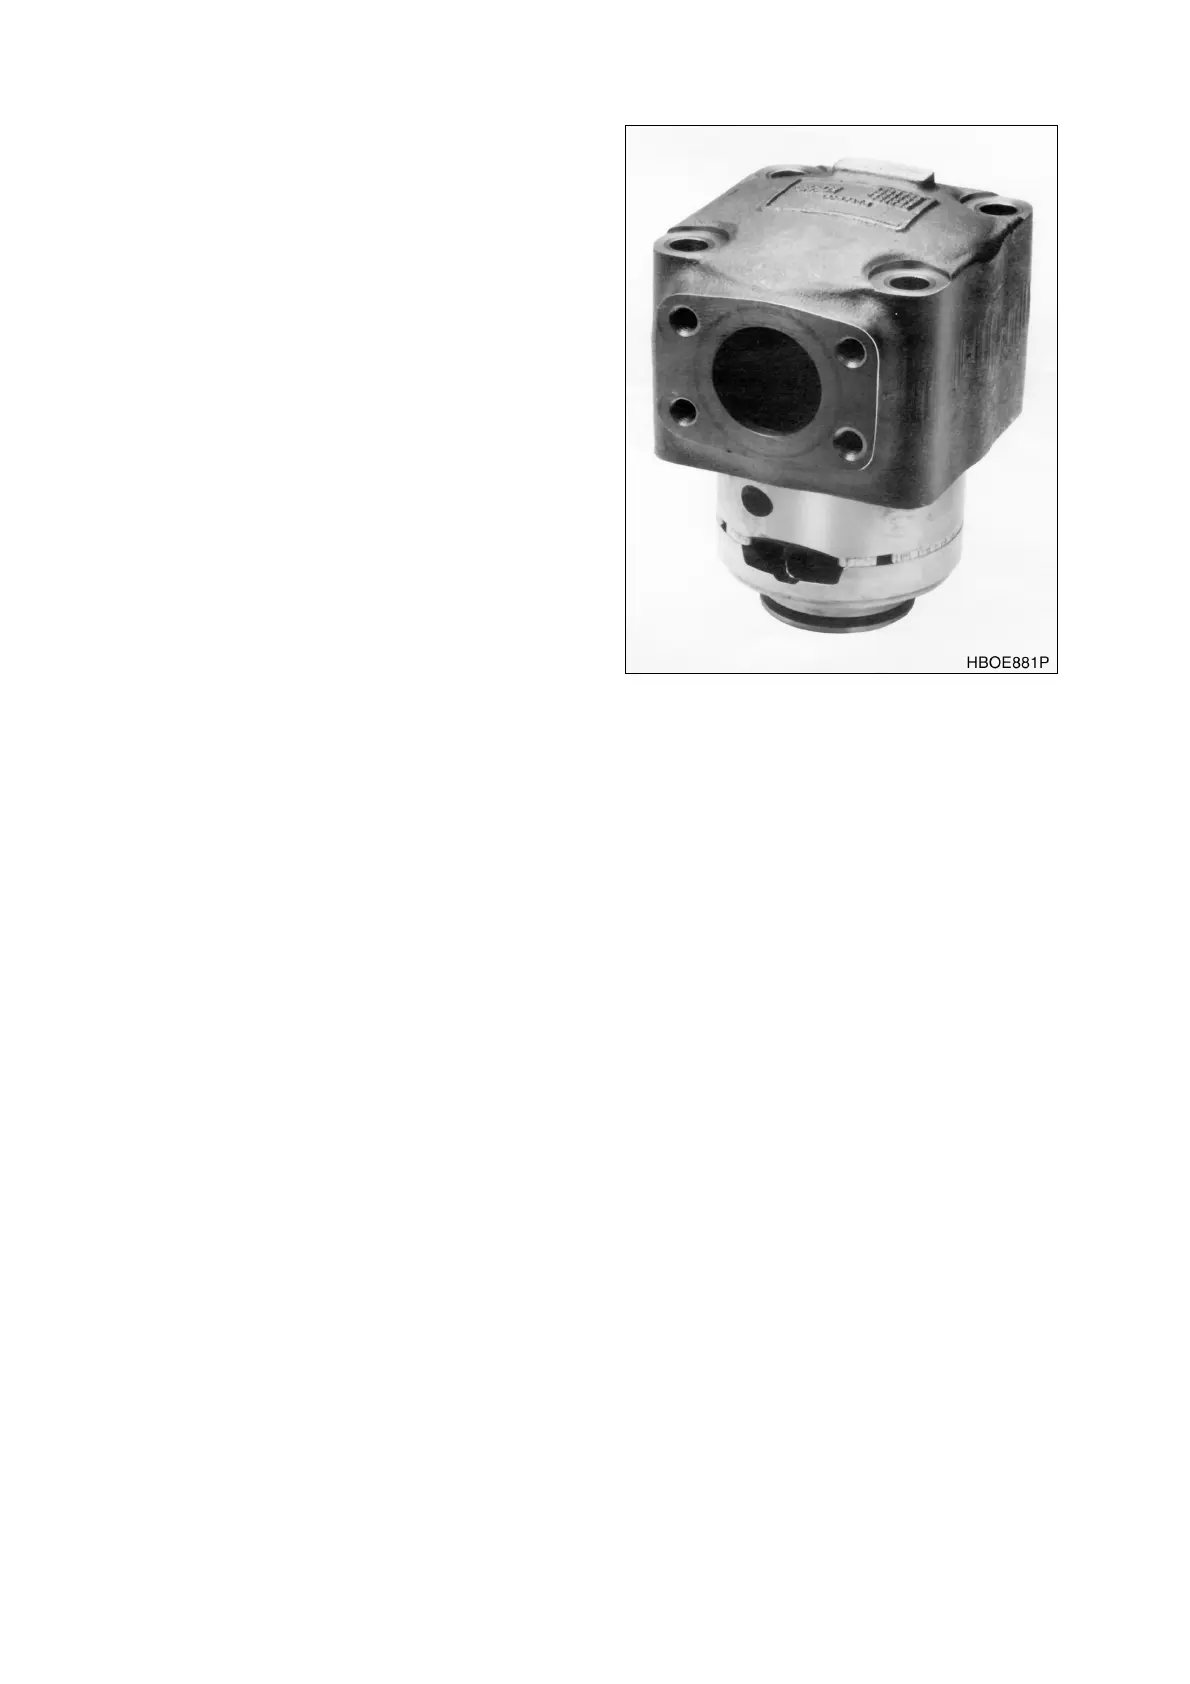
Main Pump (Denison T6DMY Series)
I. Install cover over cartridge. Tap
lightly on cover with your hand until
each part centers. Remove cover
gently so as not to disturb alignment.
Torque socket head screws to torque
noted on Figure 8, and recheck kit
alignment with cover. Repeat until
cartridge kit is aligned. (See Figure
24.)
J. Check rotor for bind by inserting
index finger through shaft opening of
inlet support plate. Hold cartridge kit
in a horizontal shaft position and lift
rotor with finger. Rotor should move
freely back and forth within cartridge.
If rotor binds, open kit, clean and
stone all possible areas of bind, then
reassemble using aforementioned
procedure. Rotor MUST move freely
within cartridge when assembled.
2. Basic pump reassembly - Clamp body in a
vise or place on 2x4 wooden blocks to
facilitate assembly. (See Figure 10 and
Figure 11.)
A. Lubricate primary shaft seal with
petroleum jelly and place in position
within body, garter spring up. See
Figure 6 for seal arrangements.
B. Use seal installation tool shown in Figure 9 to prevent damage to seal. Press seal into body until
it bottoms out.
NOTE:
Two shaft seal arrangements are available in VQ pump series. See
Figure 6
and Figure 7.
C. Lubricate secondary seal with petroleum jelly and place seal in position against shaft end of
body. See Figure 7. Use a small hardwood block to drive seal evenly into body. Installation is
complete when seal face is flush with front of body. DO NOT drive seal past flush as it can block
body drain opening.
NOTE:
If shaft bearing was defective, install a new bearing as follows:
D. Press shaft into new bearing with an arbor press while supporting bearing inner race. Refer to
Figure 6 and Figure 8 for correct location of bearing on shaft. Install a small snap ring behind
bearing.
E. Place bearing spacer washer over shaft, against front of bearing. Use a "bullet" over shaft end
to prevent damage to seal(s). Lubricate "bullet" with petroleum jelly and carefully push shaft
through seals until bearing and spacer is in location within body. Install large spirolox ring into
body snap ring groove behind bearing.
F. Install square sealing ring into body. See Figure 2 and Figure 8 (sectional view) for location.
G. Install O-ring and back-up ring on cartridge, outlet support plate hub. See Figure 8 for location.
H. Carefully install cartridge into body so one of the chamfers on cam ring aligns with cover inlet
port.
I. Lubricate and install large cover to body O-ring in place.
Figure 24