31 | ES820.1 Drive Recorder
ETAS ES800 System | User Guide
5 ES820.1 Drive Recorder
This chapter contains information about the following topics:
• Overview . . . . . . . . . . . . . . . . . . . . . . . . . . . . . . . . . . . . . . . . . . . . . . . . . . . . . . . . . . . . . . . . . 31
• Properties. . . . . . . . . . . . . . . . . . . . . . . . . . . . . . . . . . . . . . . . . . . . . . . . . . . . . . . . . . . . . . . . 33
• Connections and Control Elements . . . . . . . . . . . . . . . . . . . . . . . . . . . . . . . . . . . . . . 34
• Function Groups . . . . . . . . . . . . . . . . . . . . . . . . . . . . . . . . . . . . . . . . . . . . . . . . . . . . . . . . . 35
• Switching the Drive Recorder On and Off . . . . . . . . . . . . . . . . . . . . . . . . . . . . . . . . . 39
• Data Transfer . . . . . . . . . . . . . . . . . . . . . . . . . . . . . . . . . . . . . . . . . . . . . . . . . . . . . . . . . . . . 47
5.1 Overview
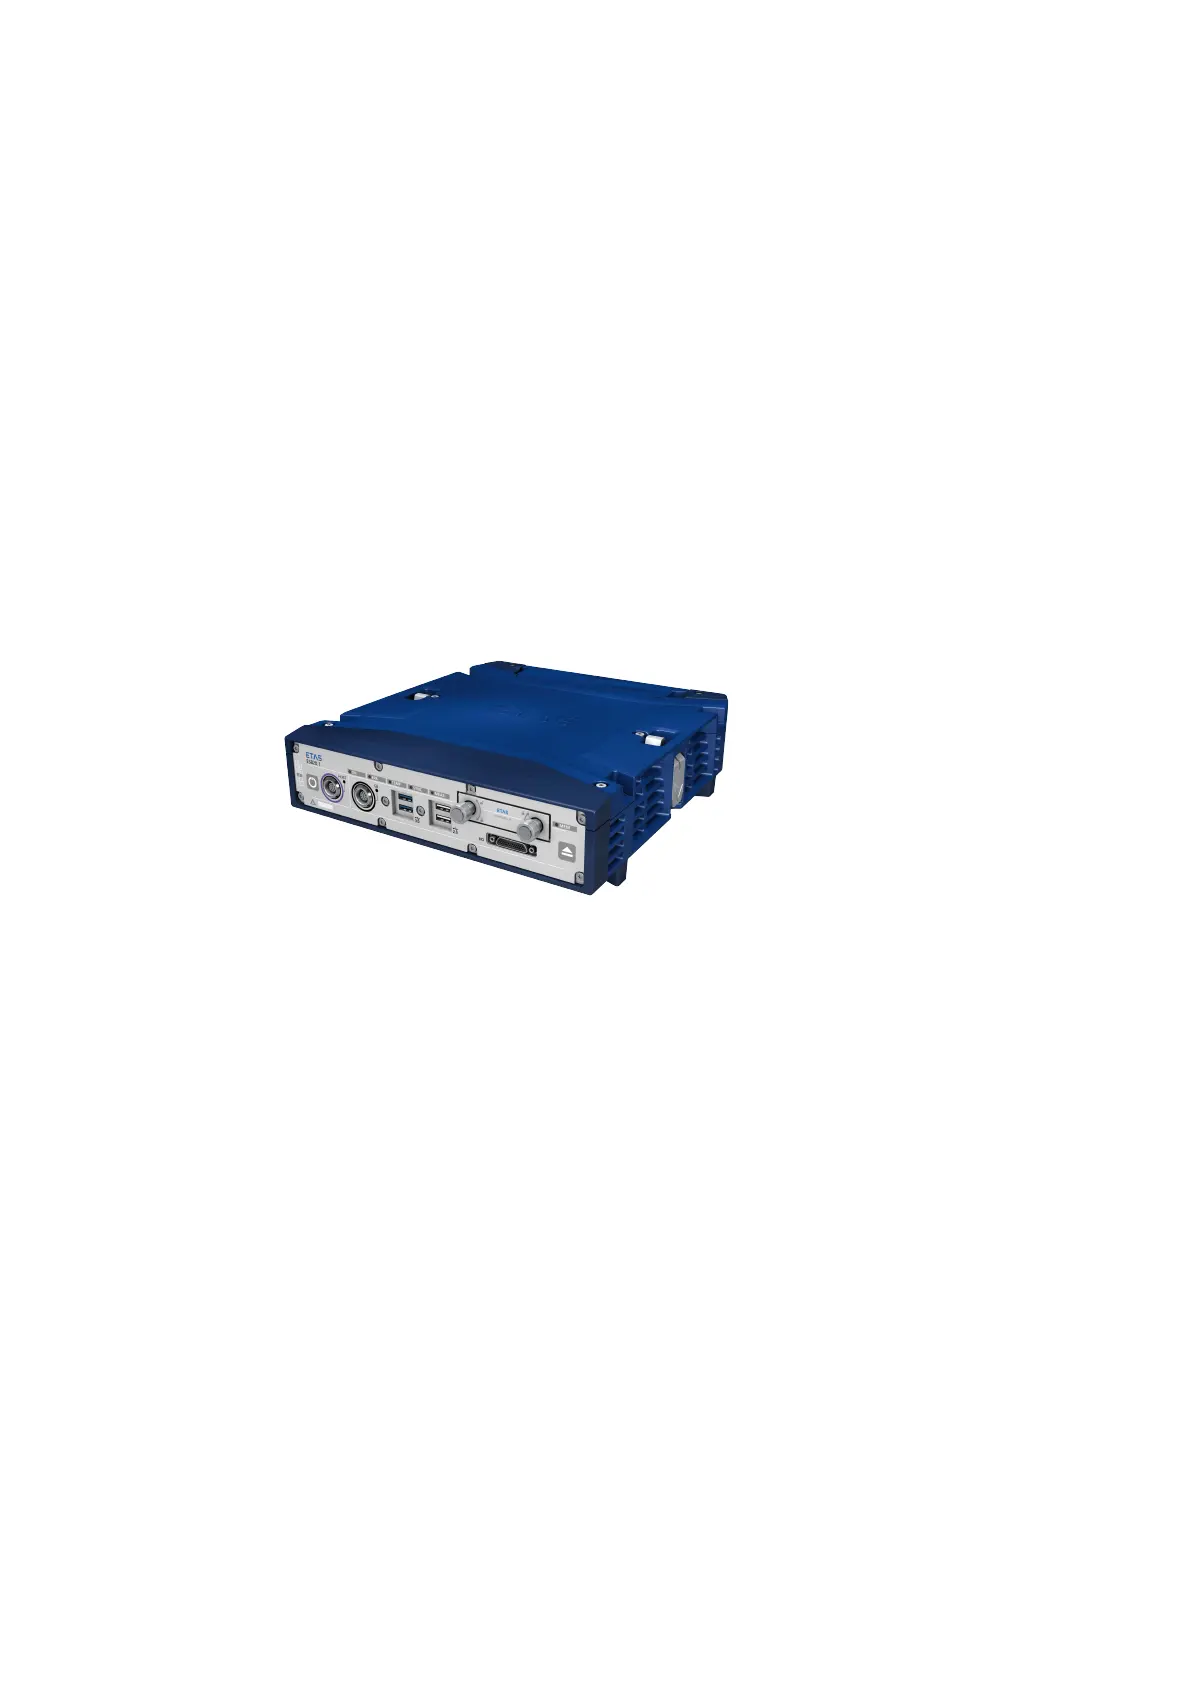
The Drive Recorder ES820.1 is based on an Embedded PC and assumes the func
-
tion of the PC in the measuring setup. It is suitable for measurement tasks during
development and within the application and for validating electronic vehicle sys
-
tems.
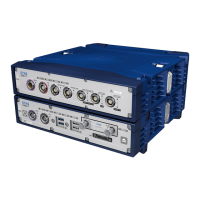
Fig. 5-1 ES820.1 Drive Recorder
The Drive Recorder ES820.1 can record data from connected modules, perform
measurement tasks autonomously and be activated by events (bus traffic, igni-
tion, switching signals, timers).
5.1.1 Memory Module and Docking Station
The memory module of the Drive Recorder can be quickly and easily replaced with
a different memory module without the need for tools.
In order to minimize vehicle test carrier downtimes, the data recorded with an
external docking station and a PC can be transferred into the company network
independently of the Drive Recorder.
5.1.2 Digital Inputs and Outputs
An extension connection features four digital inputs as triggers or markers and
four digital outputs for indicating system states or events. The function of the
"Power" button on the ES820.1 module can be assumed by an external "Remote
Power" button at the "I/O" connection.