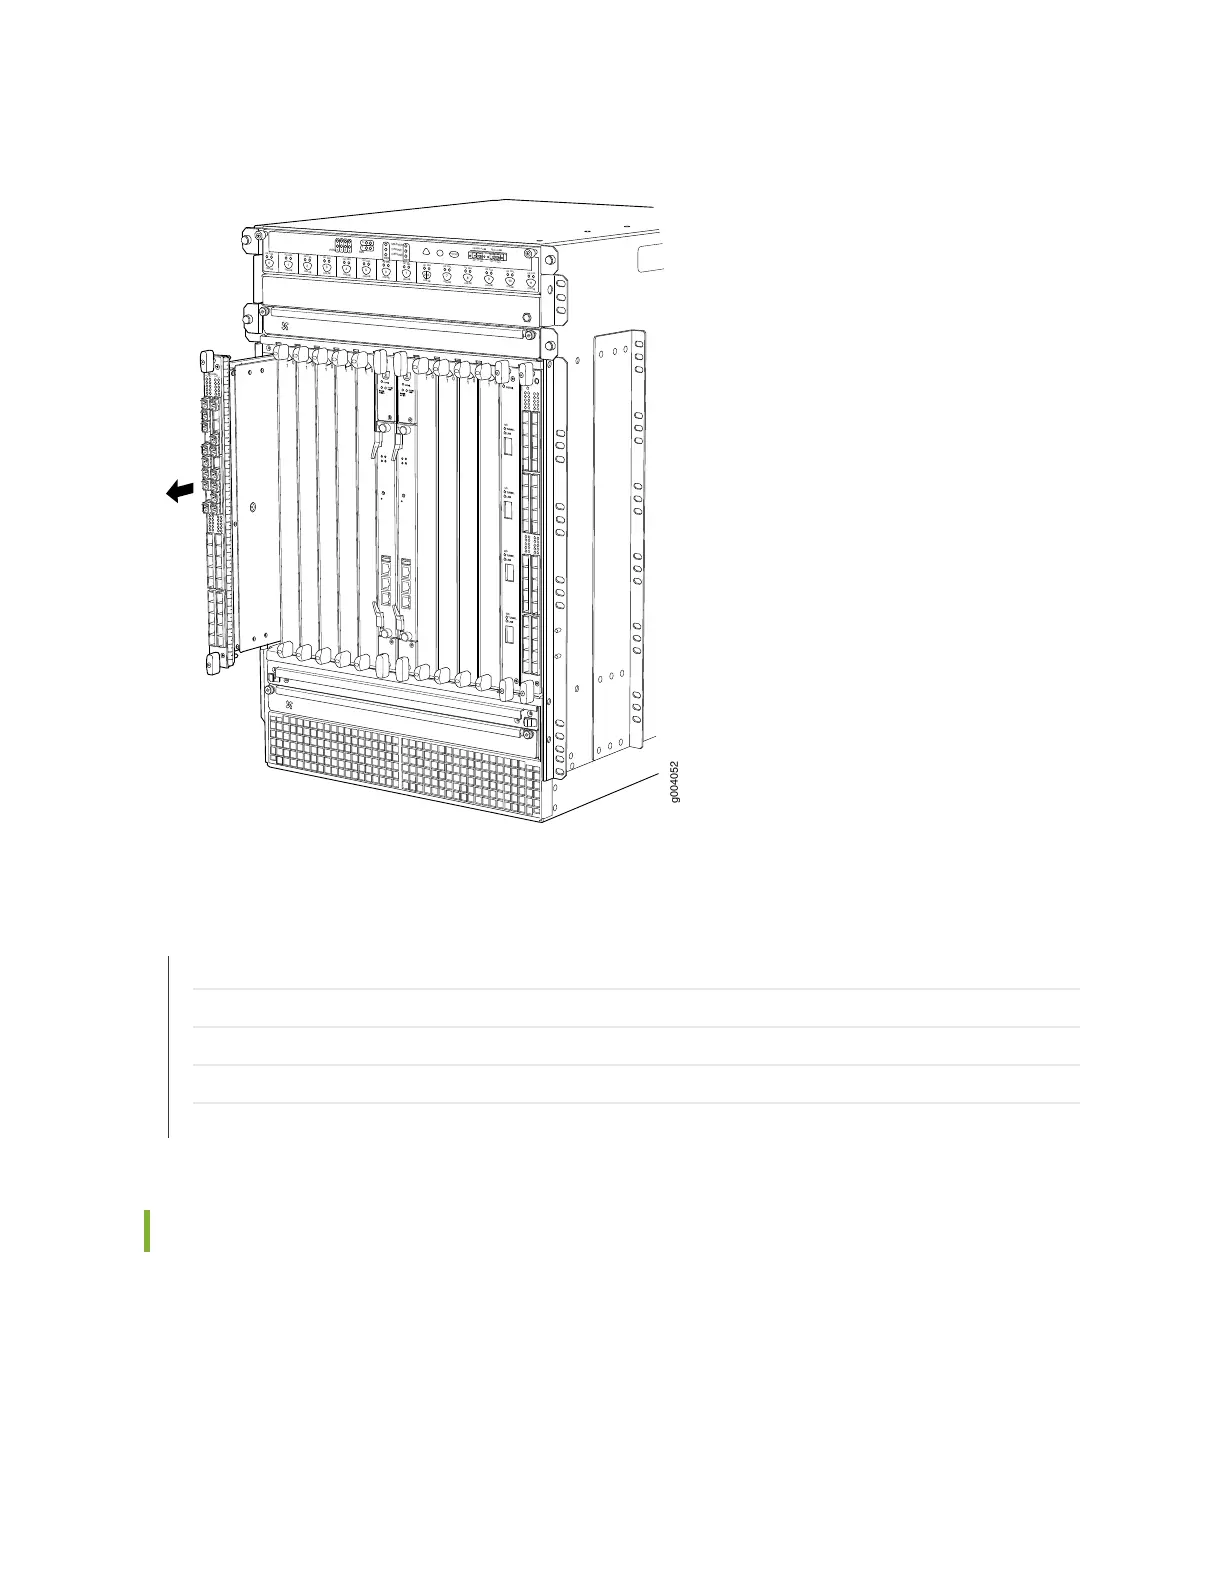
Figure 67: Removing an FPC
OK
0
F
AIL
ONLINE
OK
1
F
AIL
ONLINE
OK
2
F
AIL
ONLINE
OK
3
F
AIL
ONLINE
OK
4
F
AIL
ONLINE
OK
5
F
AIL
ONLINE
OK
0
F
AIL
ONLINE
MASTER
ONLINE
OFFLINE
RE0
F
AN
PEM
1
0
0
1
2
3
RE1
OK
1
F
AIL
ONLINE
OK
7
F
AIL
ONLINE
OK
8
F
AIL
ONLINE
OK
9
F
AIL
ONLINE
OK
10
F
AIL
ONLINE
OK
1
1
F
AIL
ONLINE
OK
2
6
F
AIL
ONLINE
ACO/L
T
YELLO
W ALARM
RED ALARM
NC
NO
C
NC
NO
C
1
0
1
0
1
0
1
0
1
0
1
1
0
0
1
0
1
0
g004052
OK/
F
AIL
0/0
0/5
2/0
2/5
1/0
1/5
3/0
3/5
RELATED DOCUMENTATION
Preventing Electrostatic Discharge Damage to an MX960 Router
MX960 Site Preparation Checklist | 181
Tools Required to Install the MX960 Router with a Mechanical Lift | 275
Installing the MX960 Router Using a Mechanical Lift | 276
Reinstalling Components in the MX960 Chassis After Installing It with a Lift | 320
Tools Required to Install the MX960 Router with a Mechanical Lift
To install the router, you need the following tools:
•
Mechanical lift
•
Phillips (+) screwdriver, number 2
275