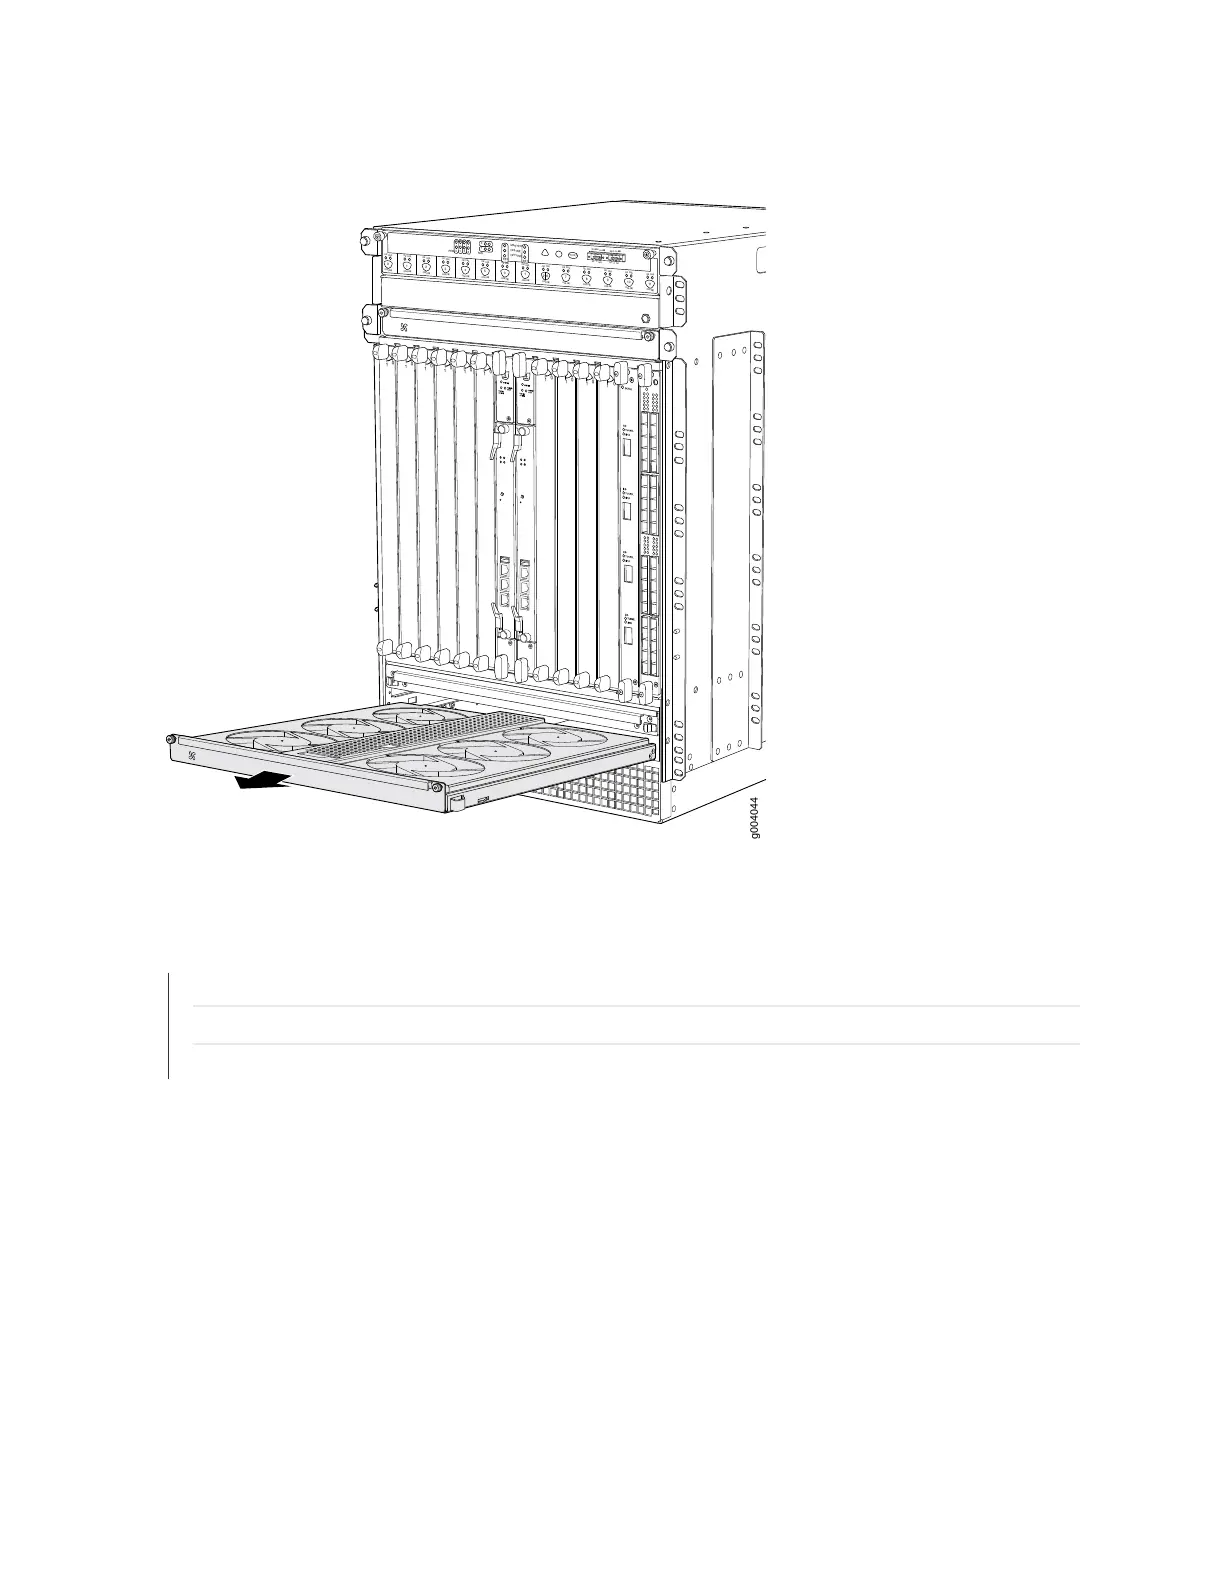
Figure 174: Removing a Lower Fan Tray
OK
0
F
AIL
ONLINE
OK
1
F
AIL
ONLINE
OK
2
F
AIL
ONLINE
OK
3
F
AIL
ONLINE
OK
4
F
AIL
ONLINE
OK
5
F
AIL
ONLINE
OK
0
F
AIL
ONLINE
MASTER
ONLINE
OFFLINE
RE0
F
AN
PEM
1
0
0
1
2
3
RE1
OK
1
F
AIL
ONLINE
OK
7
F
AIL
ONLINE
OK
8
F
AIL
ONLINE
OK
9
F
AIL
ONLINE
OK
10
F
AIL
ONLINE
OK
1
1
F
AIL
ONLINE
OK
2
6
F
AIL
ONLINE
ACO/L
T
YELLO
W ALARM
RED ALARM
NC
NO
C
NC
NO
C
1
0
1
0
1
0
1
0
1
0
1
1
0
0
1
0
1
0
1
0
g004044
SEE ALSO
Preventing Electrostatic Discharge Damage to an MX960 Router
Installing an MX960 Fan Tray | 384
Maintaining the MX960 Fan Trays | 592
Installing an MX960 Fan Tray
To install a fan tray (see Figure 135 on page 384 and Figure 136 on page 385):
1. Wrap and fasten one end of the ESD grounding strap around your bare wrist, and connect the other
end of the strap to the ESD point on the chassis.
2. Grasp the fan tray on each side, and insert it straight into the chassis. Note the correct orientation by
the "this side up" label on the top surface of the fan tray.
458