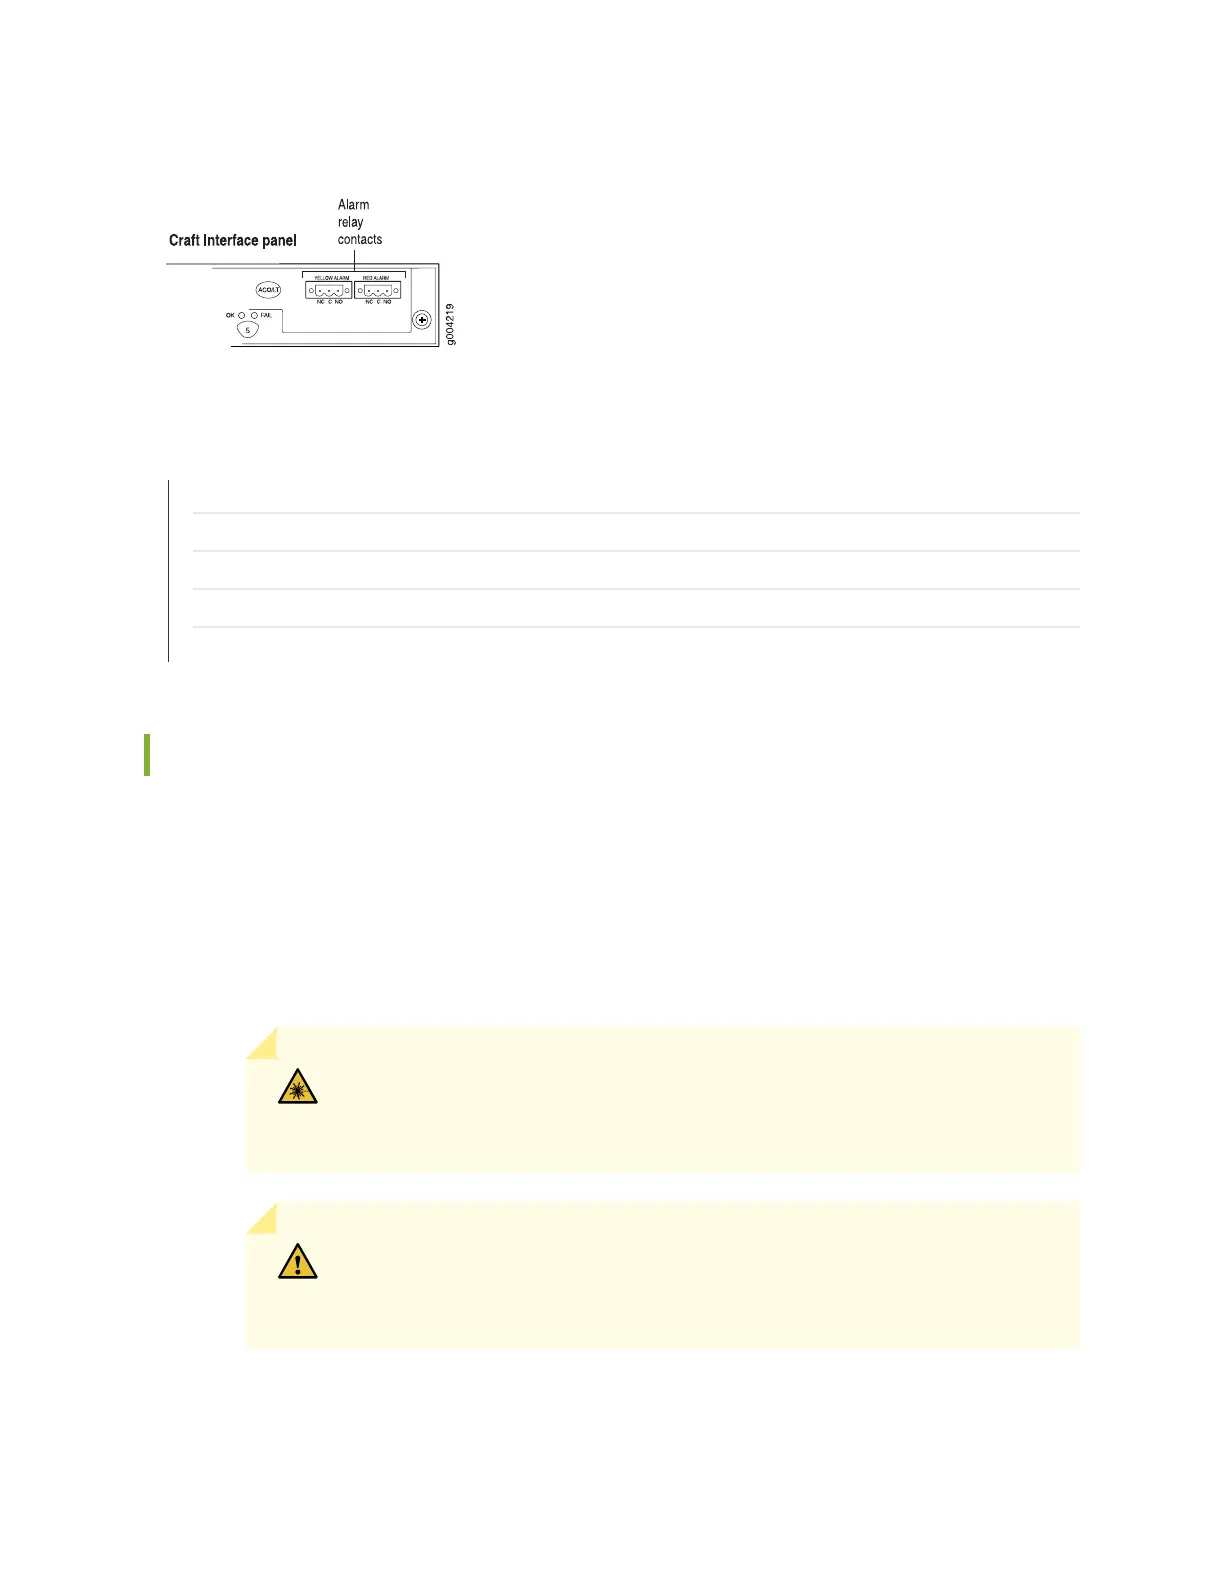
Figure 129: Alarm Relay Contacts
RELATED DOCUMENTATION
Tools and Parts Required for MX960 Router Connections | 357
Replacing Connections to MX960 Routing Engine Interface Ports | 473
Connecting DPC, MPC, MIC, or PIC Cables to the MX960 Router | 365
Connecting the MX960 Router to a Management Console or Auxiliary Device | 359
Connecting the MX960 Router to a Network for Out-of-Band Management | 358
Connecting DPC, MPC, MIC, or PIC Cables to the MX960 Router
To connect the DPCs, MPCs, MICs, or PICs to the network (see Figure 130 on page 366 and
Figure 131 on page 367):
1. Have ready a length of the type of cable used by the component. For cable specifications, see the MX
Series Interface Module Reference.
2. Remove the rubber safety plug from the cable connector port.
WARNING: Do not look directly into a fiber-optic transceiver or into the ends
of fiber-optic cables. Fiber-optic transceivers and fiber-optic cables connected
to a transceiver emit laser light that can damage your eyes.
CAUTION: Do not leave a fiber-optic transceiver uncovered except when
inserting or removing a cable. The safety cap keeps the port clean and prevents
accidental exposure to laser light.
3. Insert the cable connector into the cable connector port on the faceplate.
365