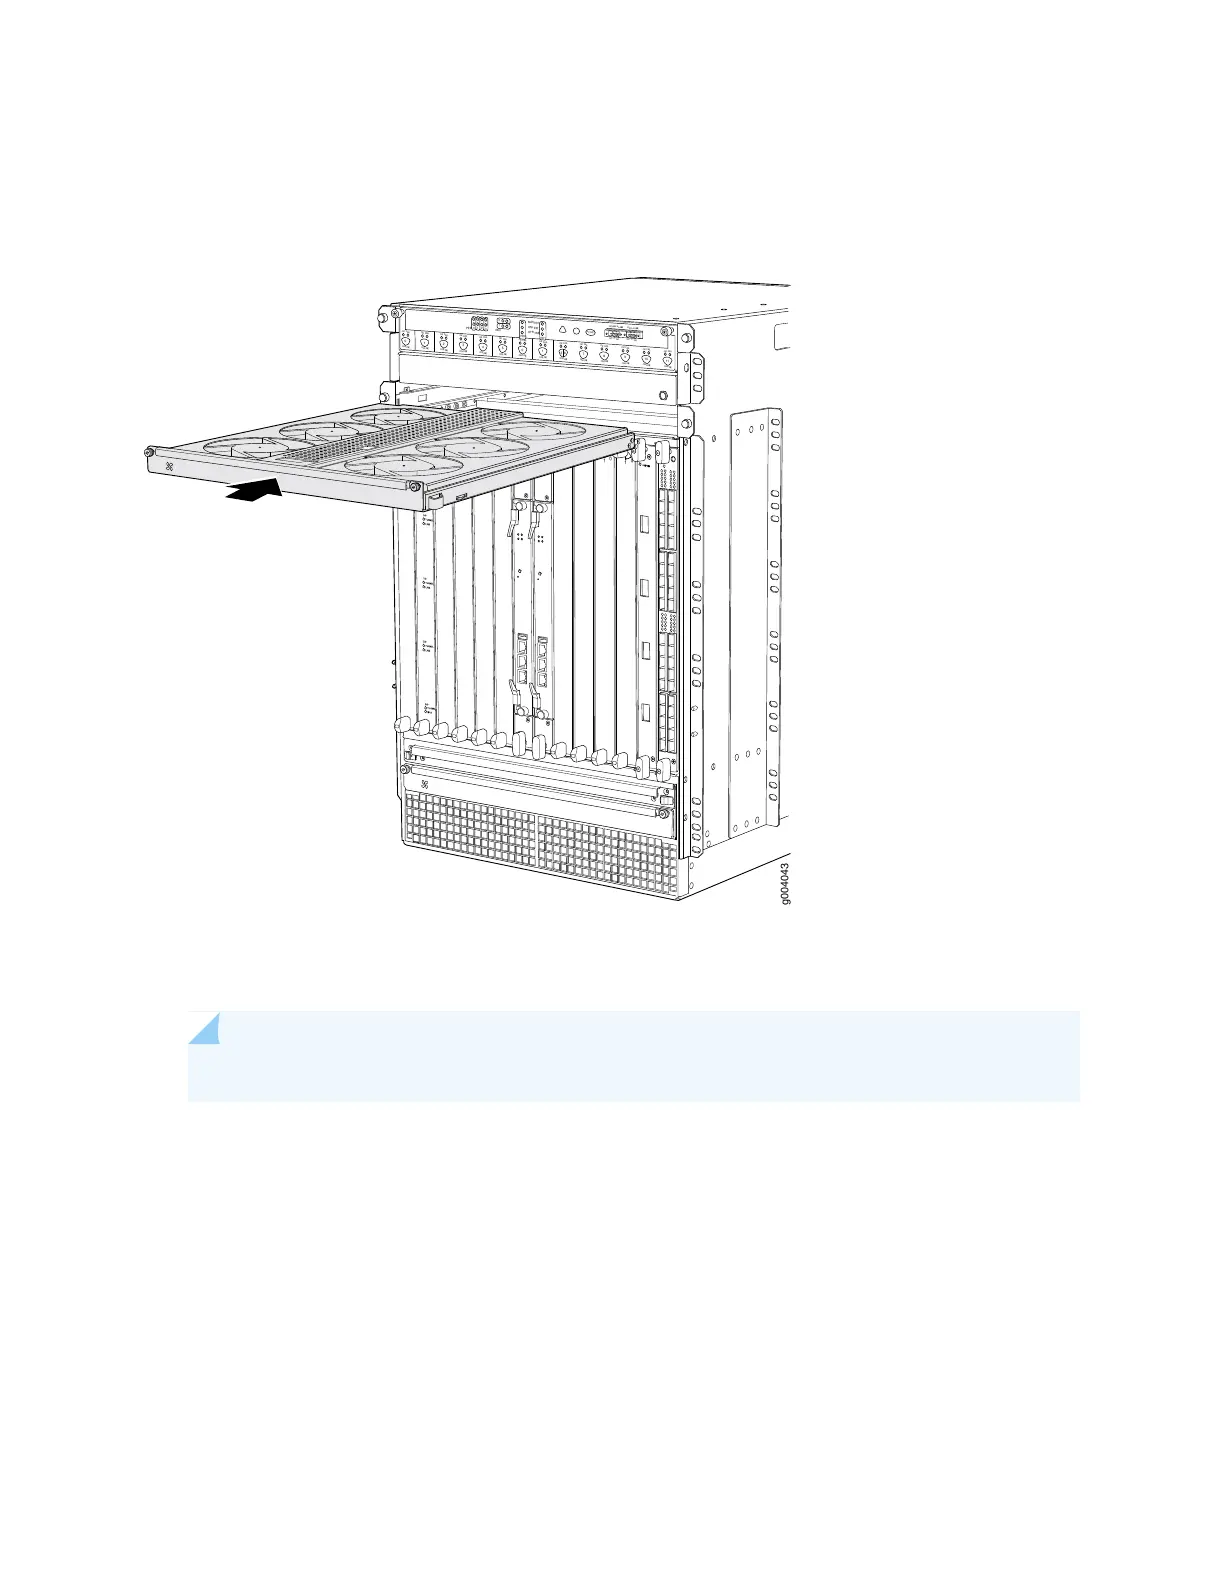
3. Tighten the captive screws on each side of the fan tray faceplate to secure it in the chassis.
Figure 100: Installing an Upper Fan Tray
g004043
OK
0
F
AIL
ONLINE
OK
1
F
AIL
ONLINE
OK
2
F
AIL
ONLINE
OK
3
F
AIL
ONLINE
OK
4
F
AIL
ONLINE
OK
5
F
AIL
ONLINE
OK
0
F
AIL
ONLINE
MASTER
ONLINE
OFFLINE
RE0
F
AN
PEM
1
0
0
1
2
3
RE1
OK
1
F
AIL
ONLINE
OK
7
F
AIL
ONLINE
OK
8
F
AIL
ONLINE
OK
9
F
AIL
ONLINE
OK
10
F
AIL
ONLINE
OK
1
1
F
AIL
ONLINE
OK
2
6
F
AIL
ONLINE
ACO/L
T
YELLO
W ALARM
RED ALARM
NC
NO
C
NC
NO
C
1
0
1
0
1
0
1
0
1
0
1
1
0
0
1
0
1
0
1
0
Reinstalling the Craft Interface
To reinstall the craft interface, follow this procedure (see Figure 101 on page 315):
NOTE: Figure 101 on page 315 does not show the extended cable manager installed.
1. Attach an electrostatic discharge (ESD) grounding strap to your bare wrist, and connect the strap to
one of the ESD points on the chassis.
2. Grasp the craft interface with one hand and hold the bottom edge of the craft interface with the other
hand to support its weight.
3. Align the red line along the bottom of the internal strap with the bottom of the connector and snap
gently into place.
314
 Loading...