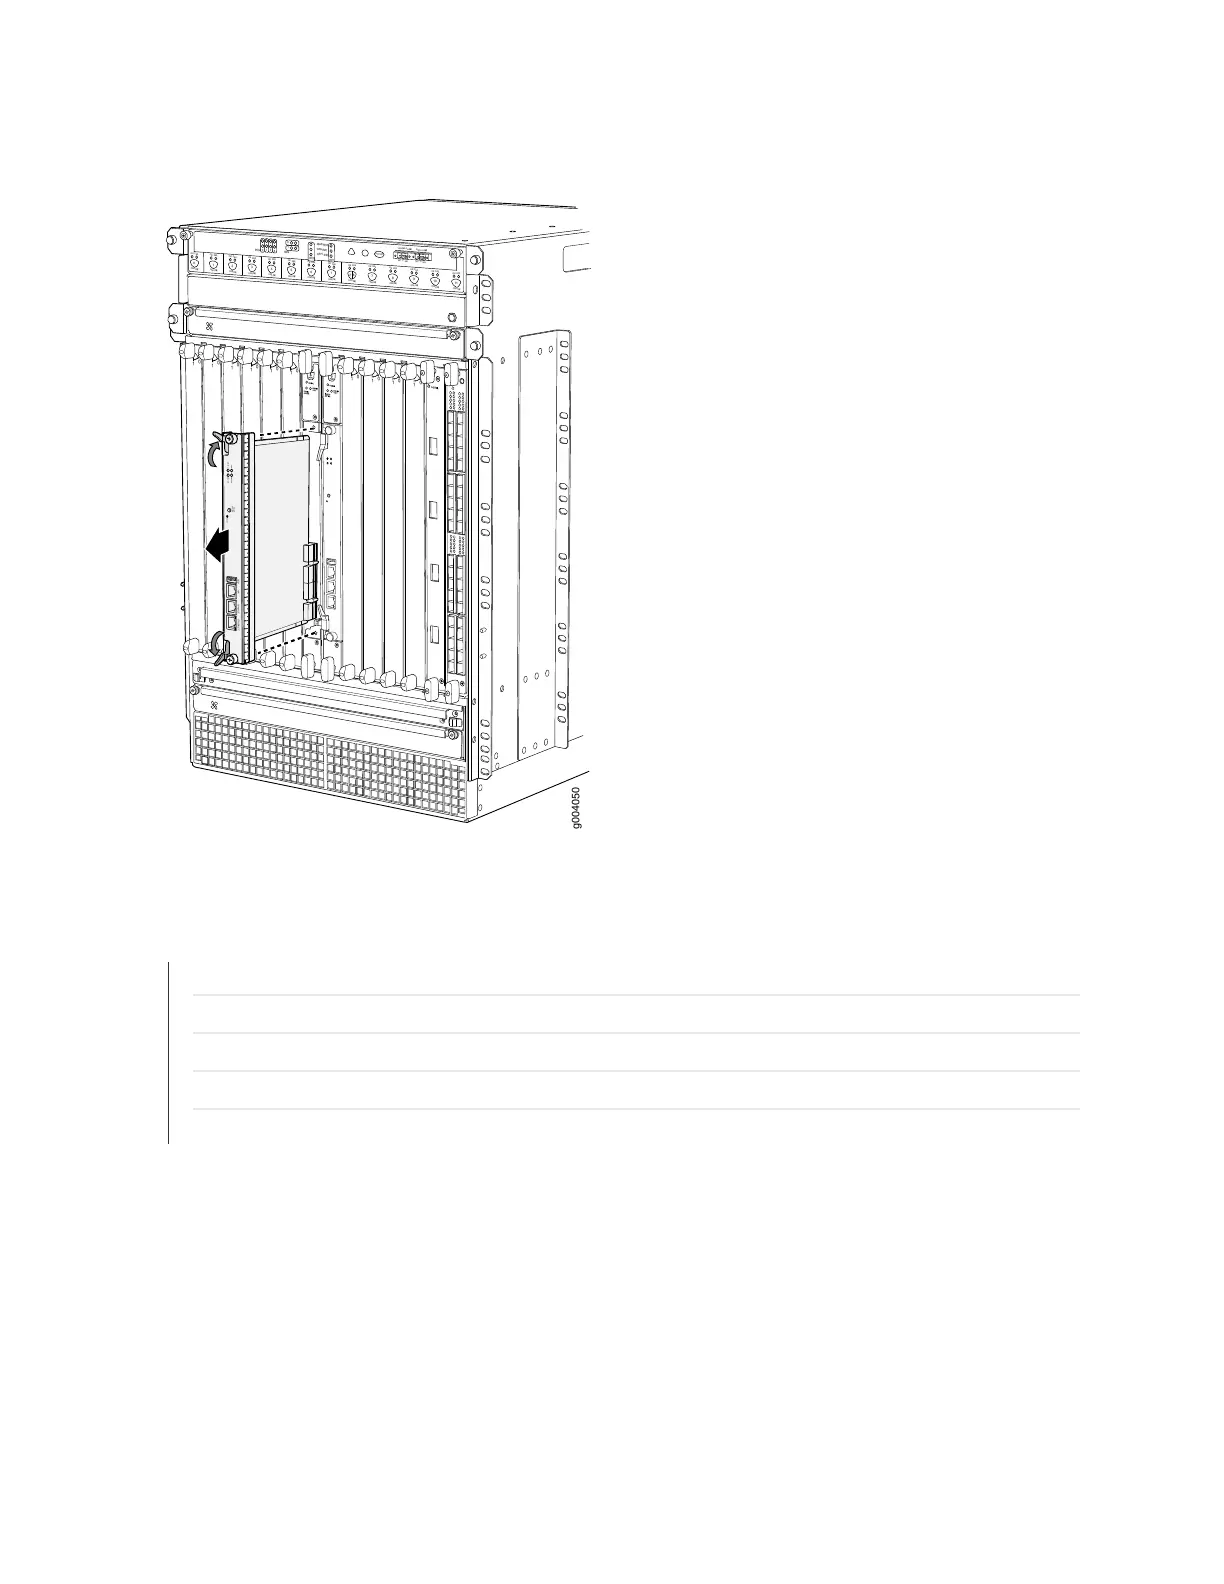
Figure 177: Removing a Routing Engine
OK
0
F
AIL
ONLINE
OK
1
F
AIL
ONLINE
OK
2
F
AIL
ONLINE
OK
3
F
AIL
ONLINE
OK
4
F
AIL
ONLINE
OK
5
F
AIL
ONLINE
OK
0
F
AIL
ONLINE
MASTER
ONLINE
OFFLINE
RE0
F
AN
PEM
1
0
0
1
2
3
RE1
OK
1
F
AIL
ONLINE
OK
7
F
AIL
ONLINE
OK
8
F
AIL
ONLINE
OK
9
F
AIL
ONLINE
OK
10
F
AIL
ONLINE
OK
1
1
F
AIL
ONLINE
OK
2
6
F
AIL
ONLINE
ACO/L
T
YELLO
W ALARM
RED ALARM
NC
NO
C
NC
NO
C
1
0
1
0
1
0
1
0
1
0
1
1
0
0
1
0
1
0
1
0
g004050
CONSOLEAUXUSB
RESET
ONLINE/
OFFLINE
HDD
OK/F
AIL
ONLINE
MASTER
ETHERNET
SEE ALSO
Preventing Electrostatic Discharge Damage to an MX960 Router
MX960 Routing Engine Description | 30
Installing an MX960 Routing Engine | 385
Replacing Connections to MX960 Routing Engine Interface Ports | 473
Routing Engine Interface Cable and Wire Specifications for MX Series Routers | 195
Installing an MX960 Routing Engine
To install a Routing Engine into an SCB (Figure 137 on page 387):
1. Ensure that the ejector handles are not in the locked position. If necessary, flip the ejector handles
outward.
2. Place one hand underneath the Routing Engine to support it.
463