6. Slide the router onto the mounting shelves until the mounting brackets or front-mounting flanges
contact the rack rails. The shelves ensure that the holes in the mounting brackets and the front-mounting
flanges of the chassis align with the holes in the rack rails.
7. Move the lift away from the rack.
8. To install the router in an open-frame rack, install a mounting screw into each of the open mounting
holes aligned with the rack, starting from the bottom.
9. Visually inspect the alignment of the router. To verify that the router is installed properly in the rack,
verify that all the mounting screws on one side of the rack are aligned with the mounting screws on
the opposite side and the router is level.
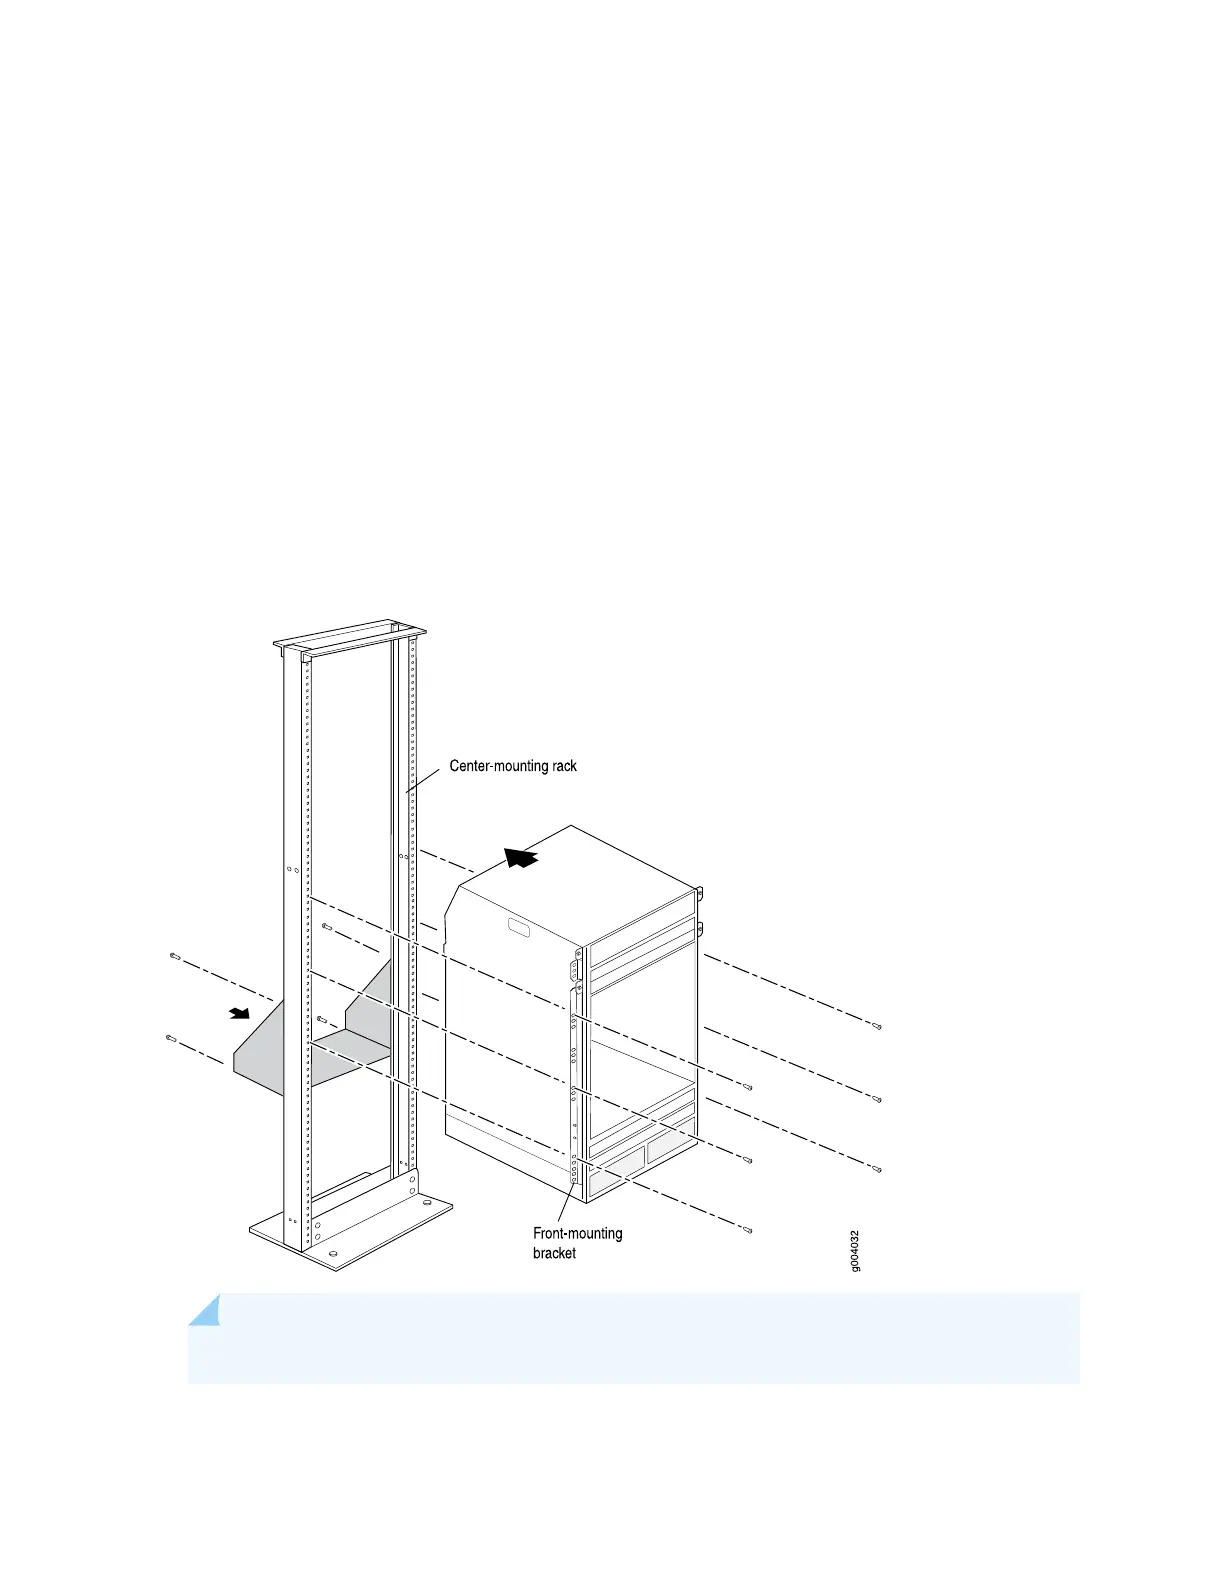
Figure 68: Installing the MX960 Router in the Rack
NOTE: This illustration depicts the router being installed in an open-frame rack.
277