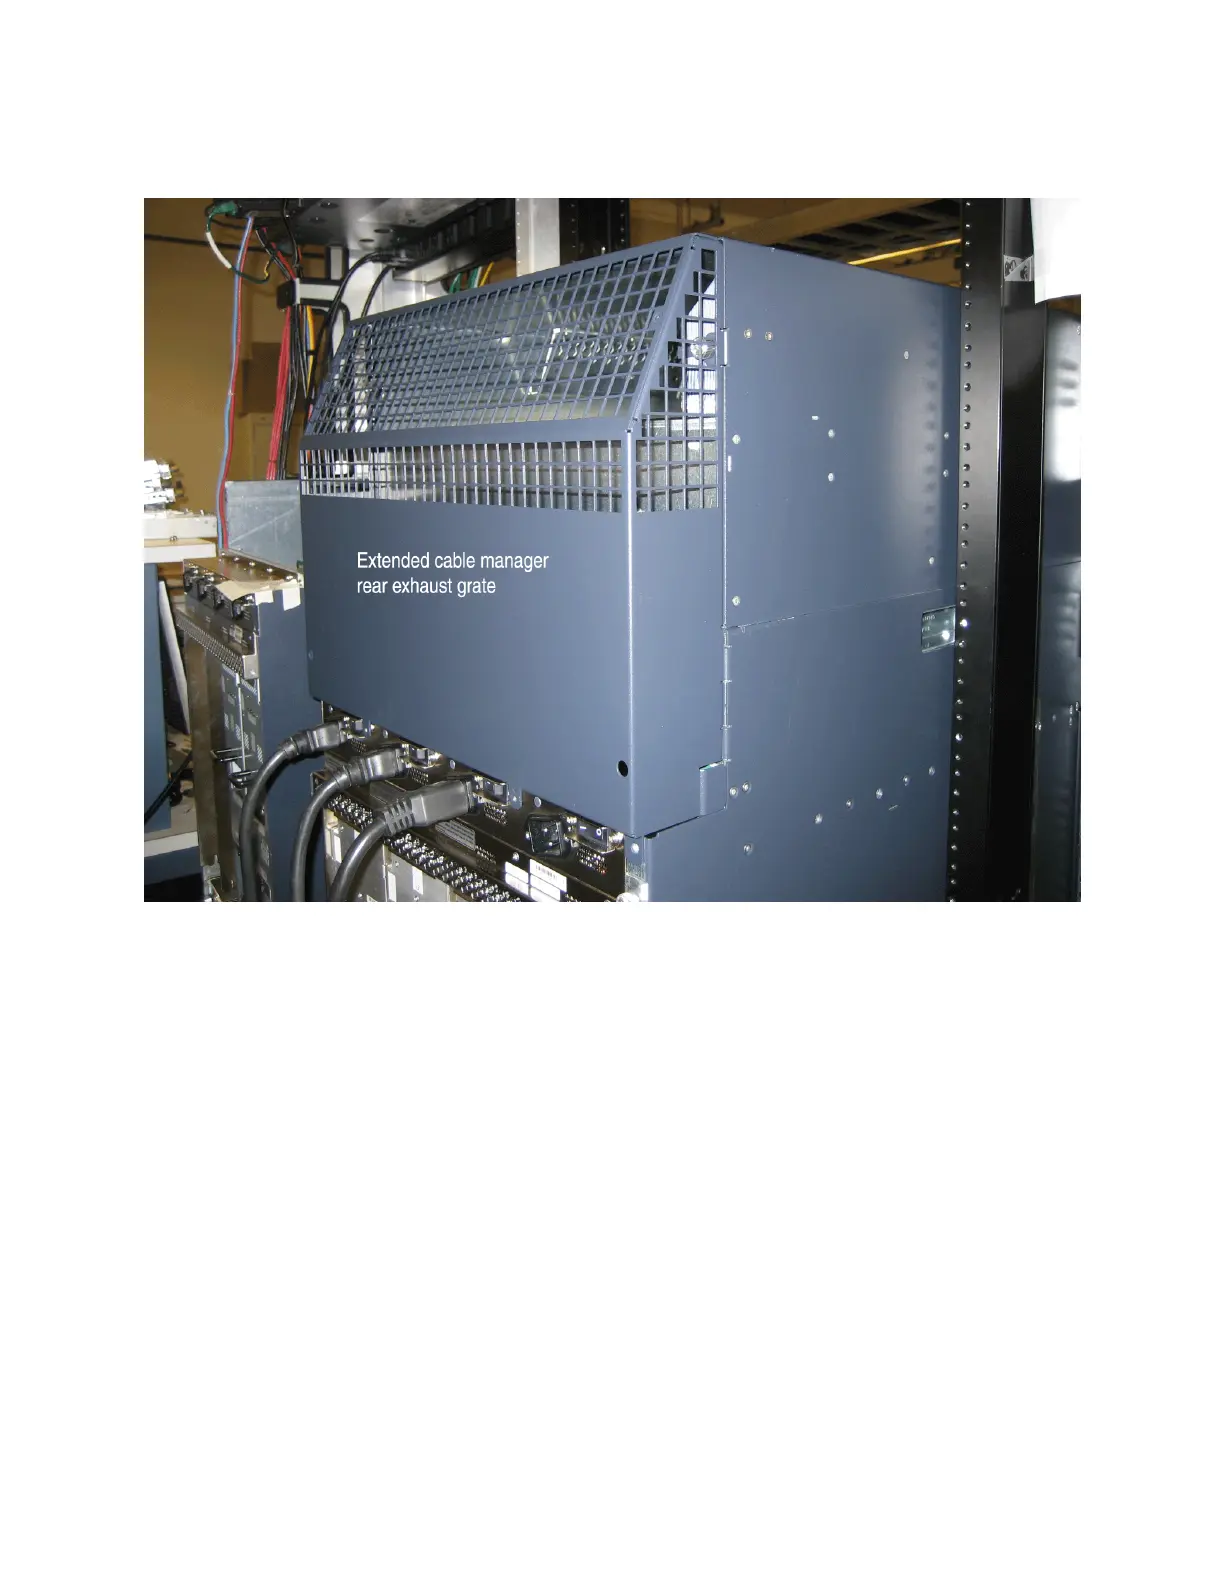
Figure 96: Installing the New Rear Air Exhaust Grate
3. With a flatblade or Phillips screwdriver, partly tighten the top two captive screws, then the bottom
two captive screws, that secure the grate to the chassis.
Figure 97 on page 311 and Figure 98 on page 312 show the top right and bottom right captive screws
being tightened.
310