3. Plug the terminal block into the relay contact, and use a 2.5-mm flat-blade screwdriver to tighten the
screws on the face of the block.
4. Attach the other end of the wires to the external device.
To attach a reporting device for the other kind of alarm, repeat the procedure.
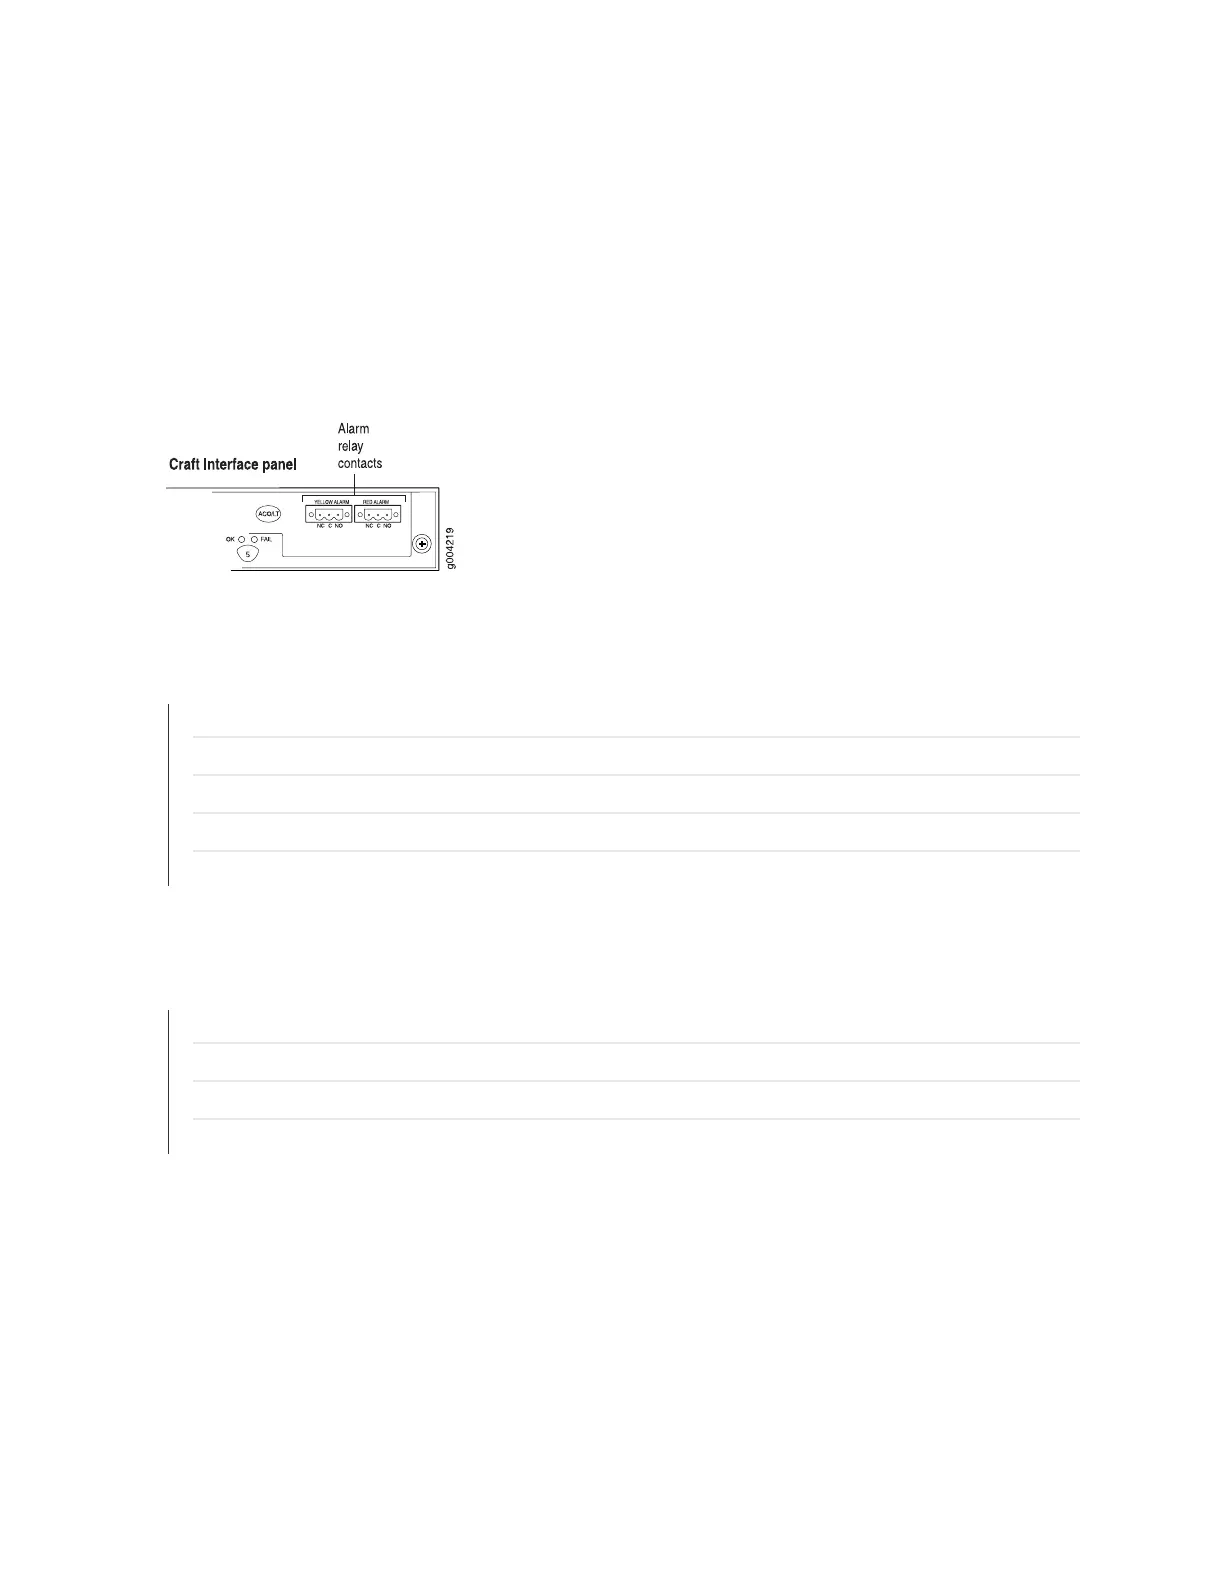
Figure 124: Alarm Relay Contacts
SEE ALSO
Tools and Parts Required for MX960 Router Connections | 357
Replacing Connections to MX960 Routing Engine Interface Ports | 473
Connecting DPC, MPC, MIC, or PIC Cables to the MX960 Router | 365
Connecting the MX960 Router to a Management Console or Auxiliary Device | 359
Connecting the MX960 Router to a Network for Out-of-Band Management | 358
RELATED DOCUMENTATION
Tools and Parts Required for MX960 Router Connections | 357
Replacing Connections to MX960 Routing Engine Interface Ports | 473
Connecting DPC, MPC, MIC, or PIC Cables to the MX960 Router | 365
Routing Engine Interface Cable and Wire Specifications for MX Series Routers | 195
361