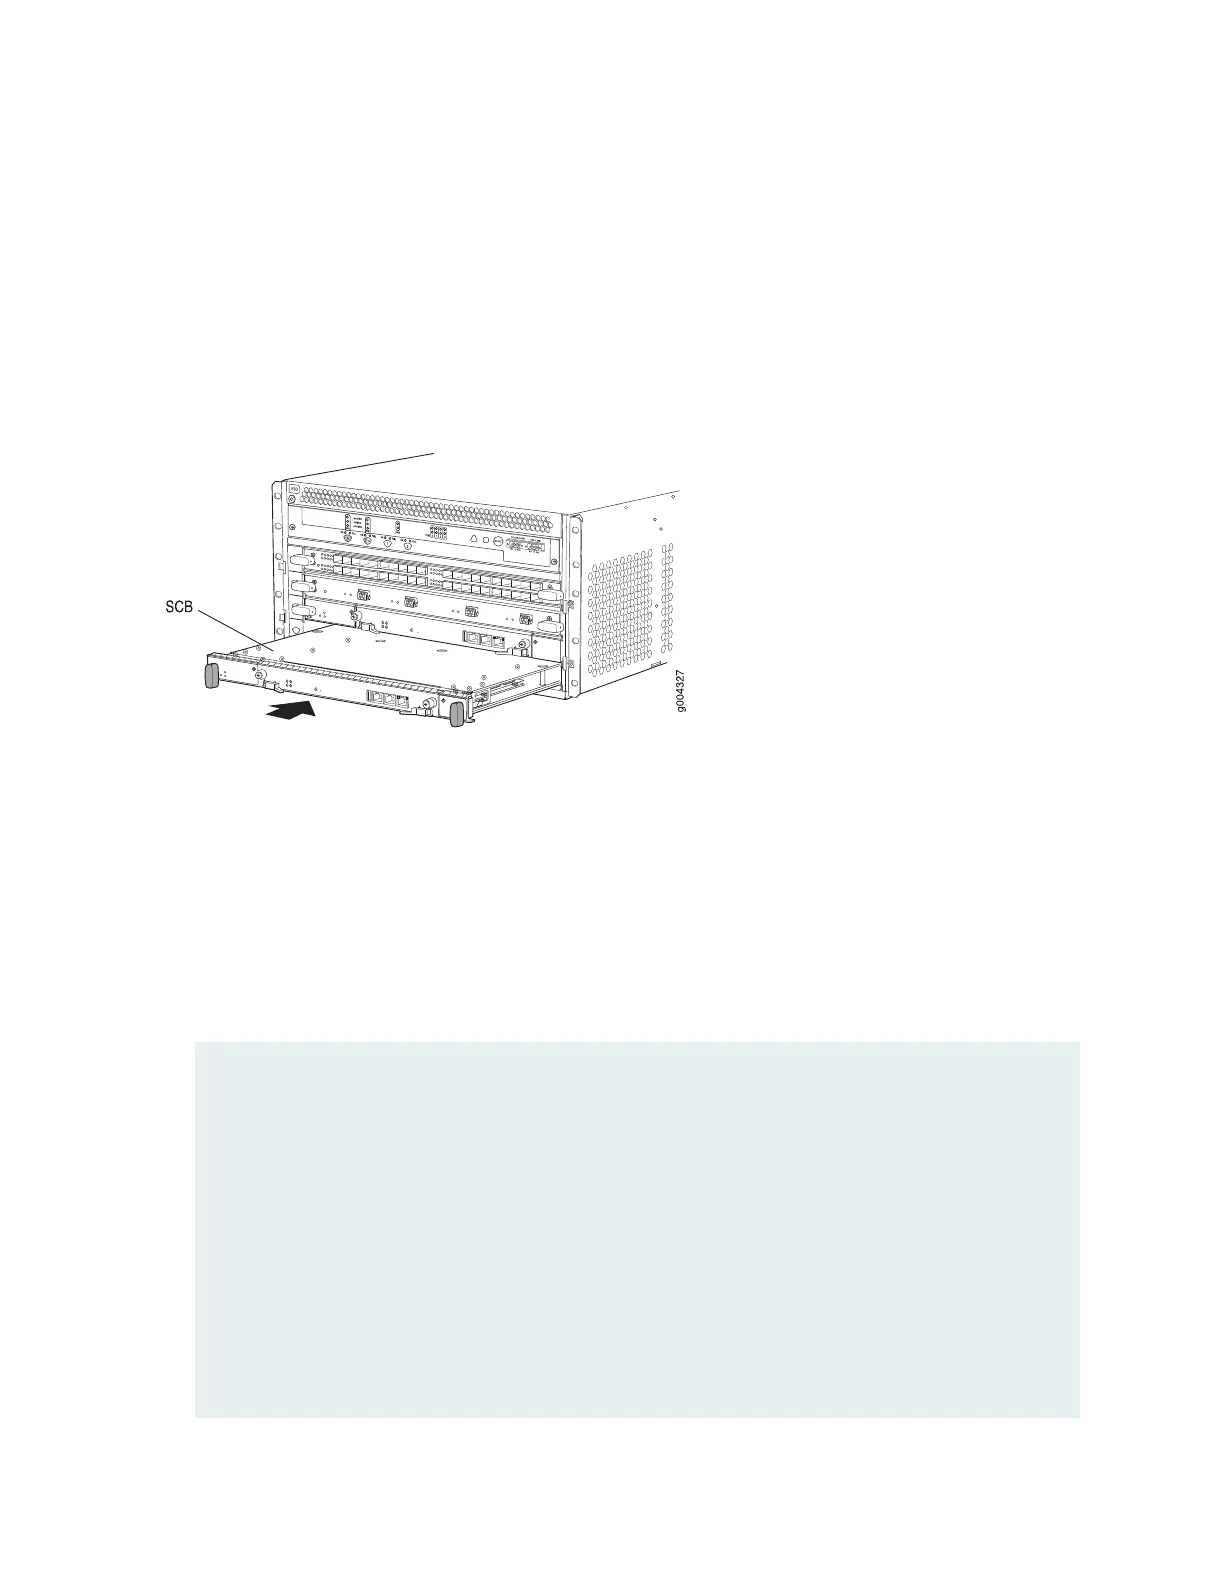
3. Slide the Switch Control Board into the chassis until you feel resistance, carefully ensuring that it is
correctly aligned.
4. Grasp both ejector handles, and rotate them simultaneously clockwise until the Switch Control Board
is fully seated.
5. Place the ejector handles in the proper position, horizontally and toward the center of the board.
Figure 138: Installing a Switch Control Board in the MX480
6. Check the LEDs on the Switch Control Board faceplate to verify that it is functioning normally.
•
The green OK/FAIL LED should light steadily a few minutes after the Switch Control Board is installed.
•
If the OK/FAIL LED is red, remove and install the Switch Control Board again. If the OK/FAIL LED
still lights steadily, the Switch Control Board is not functioning properly. Contact your customer
support representative.
7. Check the status of the Switch Control Board using the show chassis environment cb command:
user@host> show chassis environment cb
CB 0 status:
State Online Master
Temperature 25 degrees C / 77 degrees F
Power 1
1.2 V 1198 mV
1.5 V 1508 mV
1.8 V 1830 mV
2.5 V 5059 mV
3.3 V 6593 mV
5.0 V 5111 mV
12.0 V 12181 mV
1.25 V 1250 mV
388
 Loading...