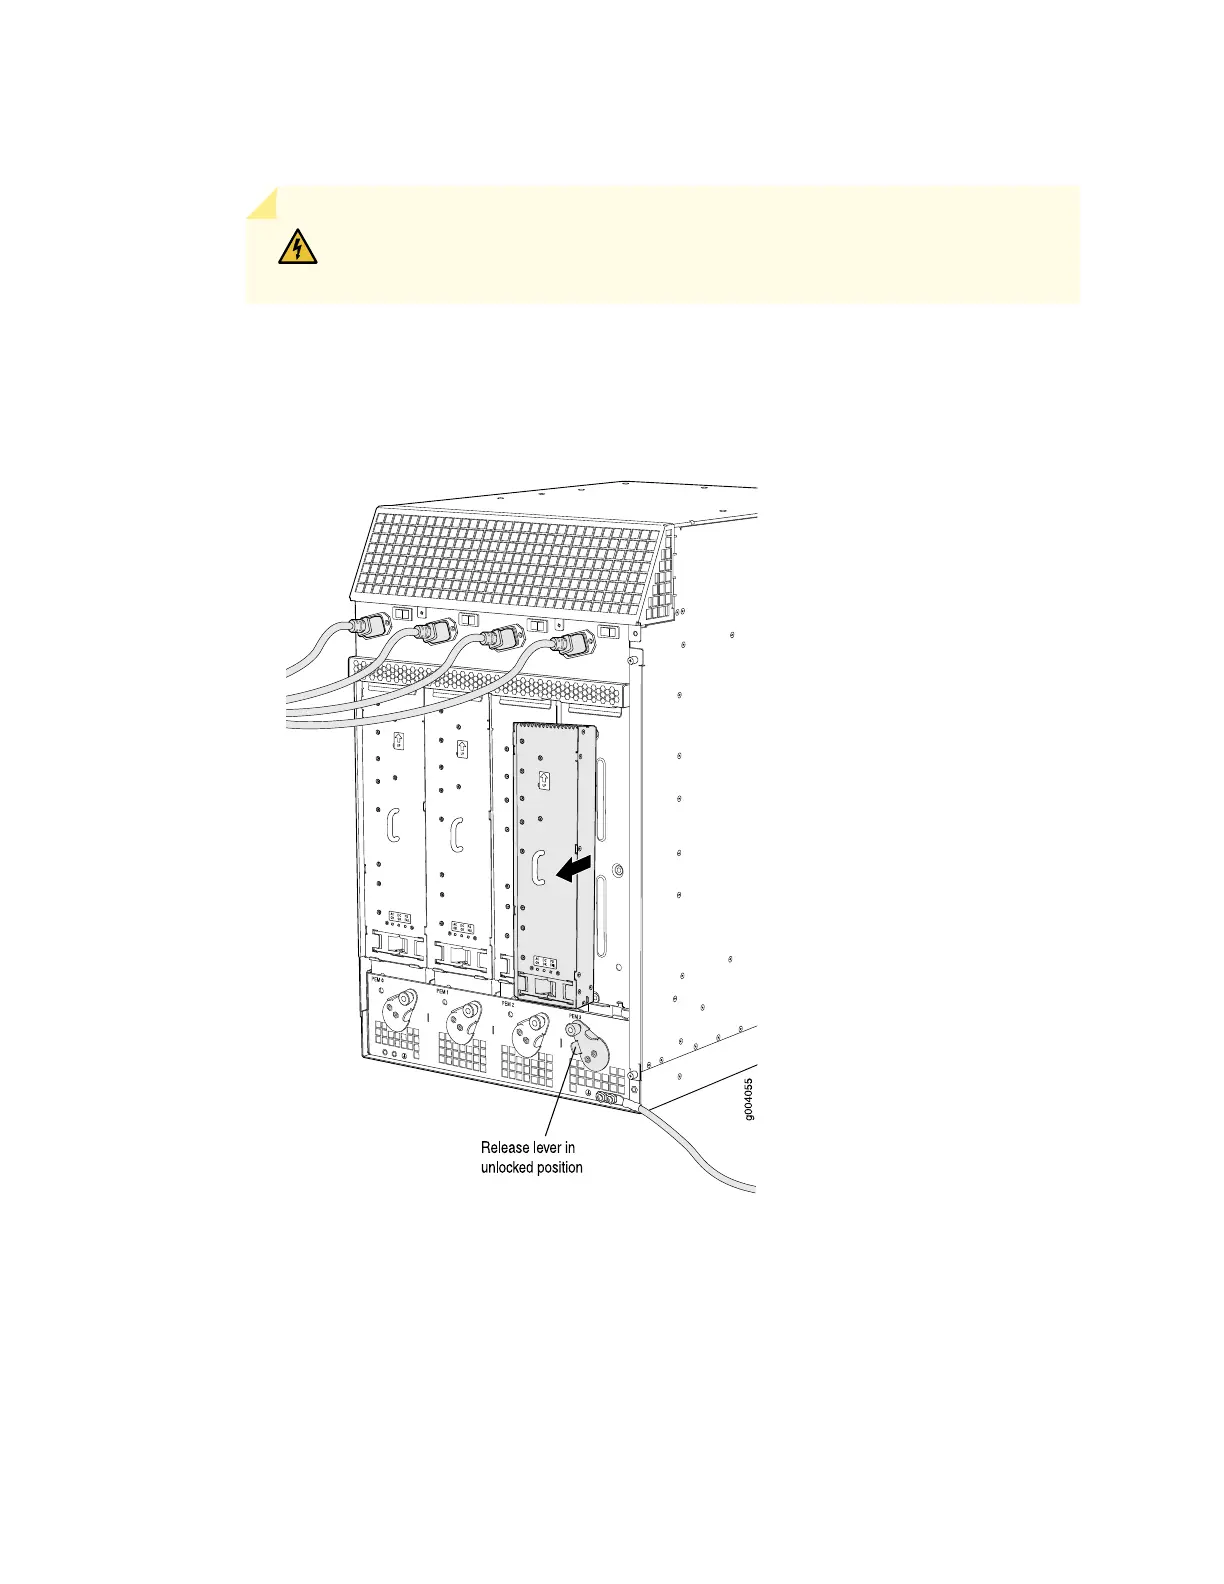
6. Pull the power supply straight out of the chassis as shown in Figure 209 on page 539.
WARNING: Do not touch the power connector on the top of the power supply.
It can contain dangerous voltages.
7. Repeat steps 1-6 for power supplies in slot 1, 2, 3 where present.
Figure 232: Removing an MX960 AC Power Supply
Use the following procedures to install the MX960 high-capacity DC power supplies for power supply in
slots 0, 1, 2, and 3, where present.
630