The locations
Introduction
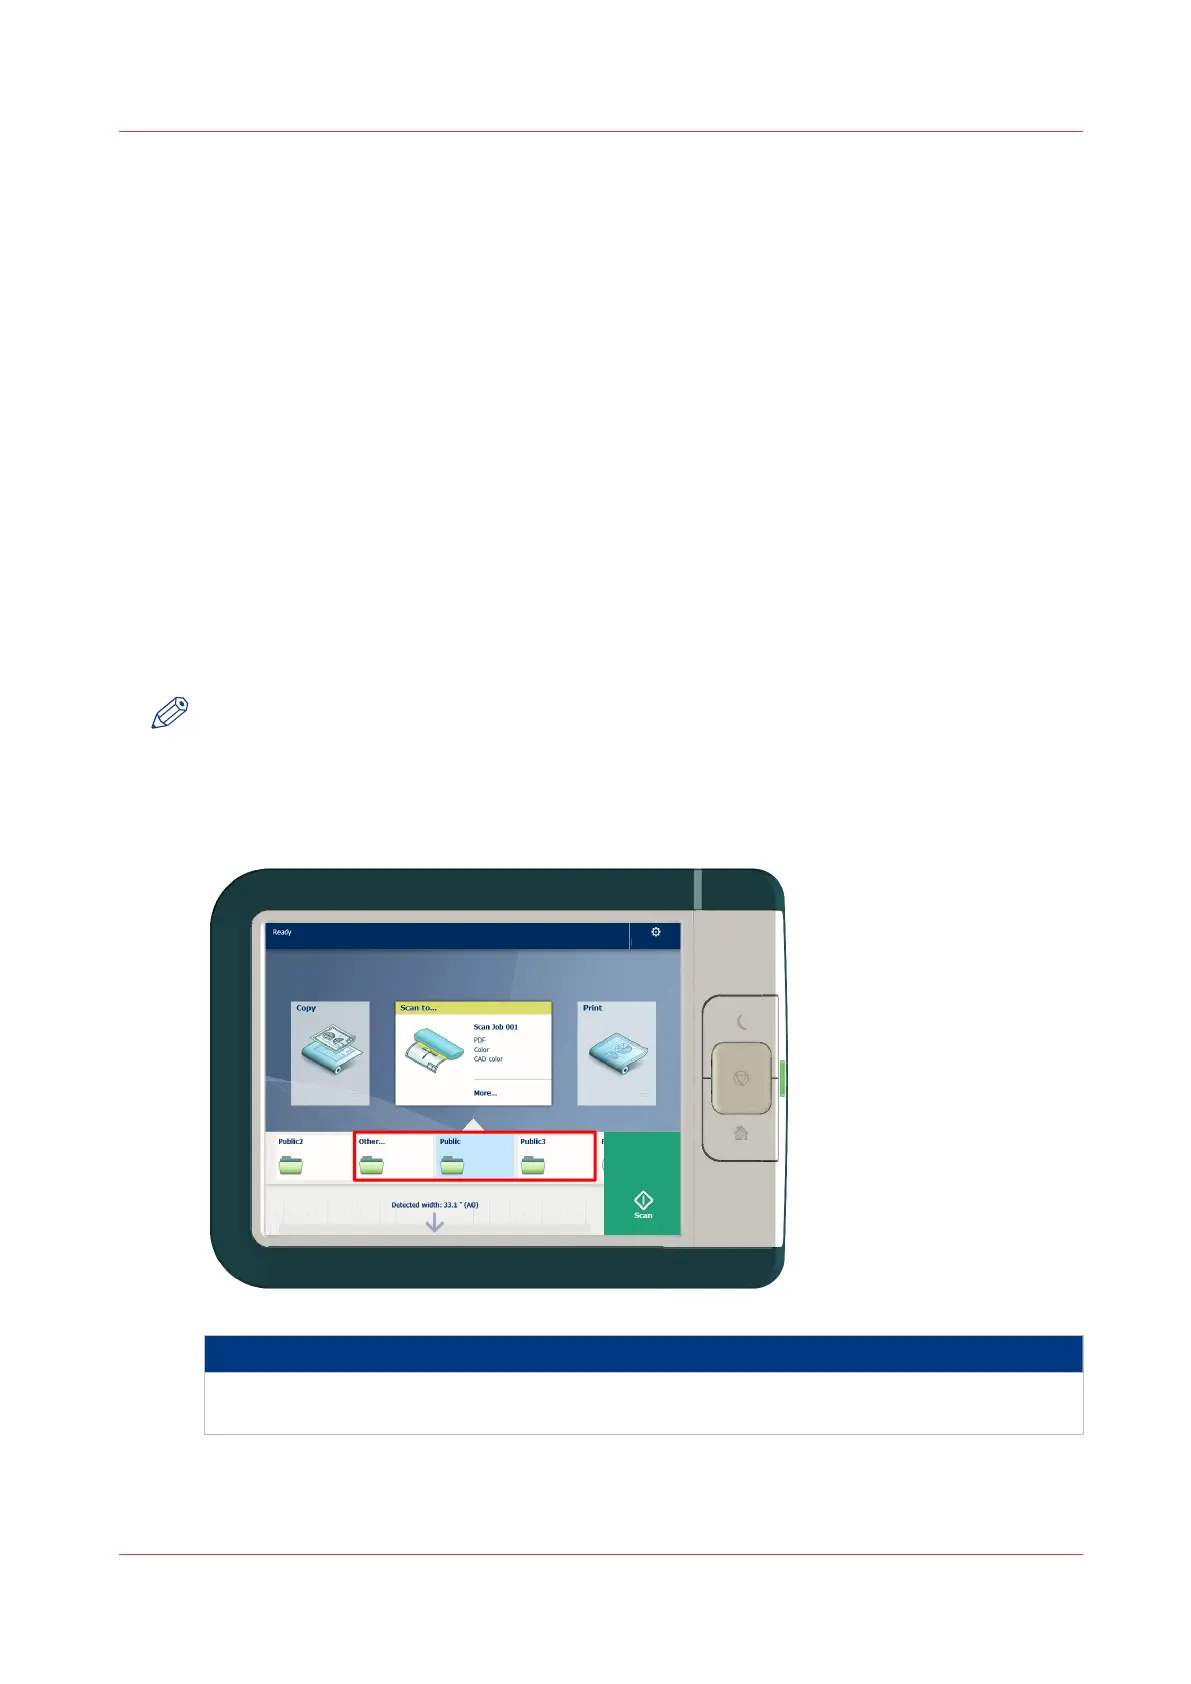
When you tap the print tile on the user panel twice a window with locations opens. When you tap
the scan tile, the locations are shown in the Smart Access. Location tiles can be:
•
The Smart Inboxes location.
Default and always presented. When you tap the Smart Inboxes tile a window with all Smart
Inboxes opens. So when you create a personal Smart Inbox you can find it under the general
Smart Inboxes tile.
•
A USB location.
Presented when you insert a USB device
•
Remote locations via [FTP] or [SMB].
Presented when you create an external location via [FTP] or [SMB].
•
A cloud location via [WebDAV].
Presented when you create an external location via [WebDAV].
•
PlanWell Collaborate Arc document solution application.
Presented when you create an external location via [PlanWell® Collaborate].
When you tap one of these locations, a window with a list of the location's folders and files
opens. You can select a file and tap the green button to print your file.
NOTE
For more information on how to configure and create an external location see,
Configure your
locations
on page 133 and
Create an external location
on page 136.
1. Locations
Function
The external locations are presented as Smart Inboxes, USB, or as the remote locations you cre-
ated in Océ Express WebTools.
The locations
Chapter 2 - Get to Know the Printing System
47