Remove the Motherboard
Note - Install the DIMMs only in the sockets (connectors) that correspond to the sockets
from which they were removed. Performing a one-to-one replacement of the DIMMs
significantly reduces the possibility that the DIMMs will be installed in the wrong slots. If
you do not reinstall the DIMMs in the same sockets, server performance might suffer and
some DIMMs might not be used by the server.
6.
Remove the processors from the failed motherboard.
See “Identify and Remove a Faulty Processor” on page 138.
7.
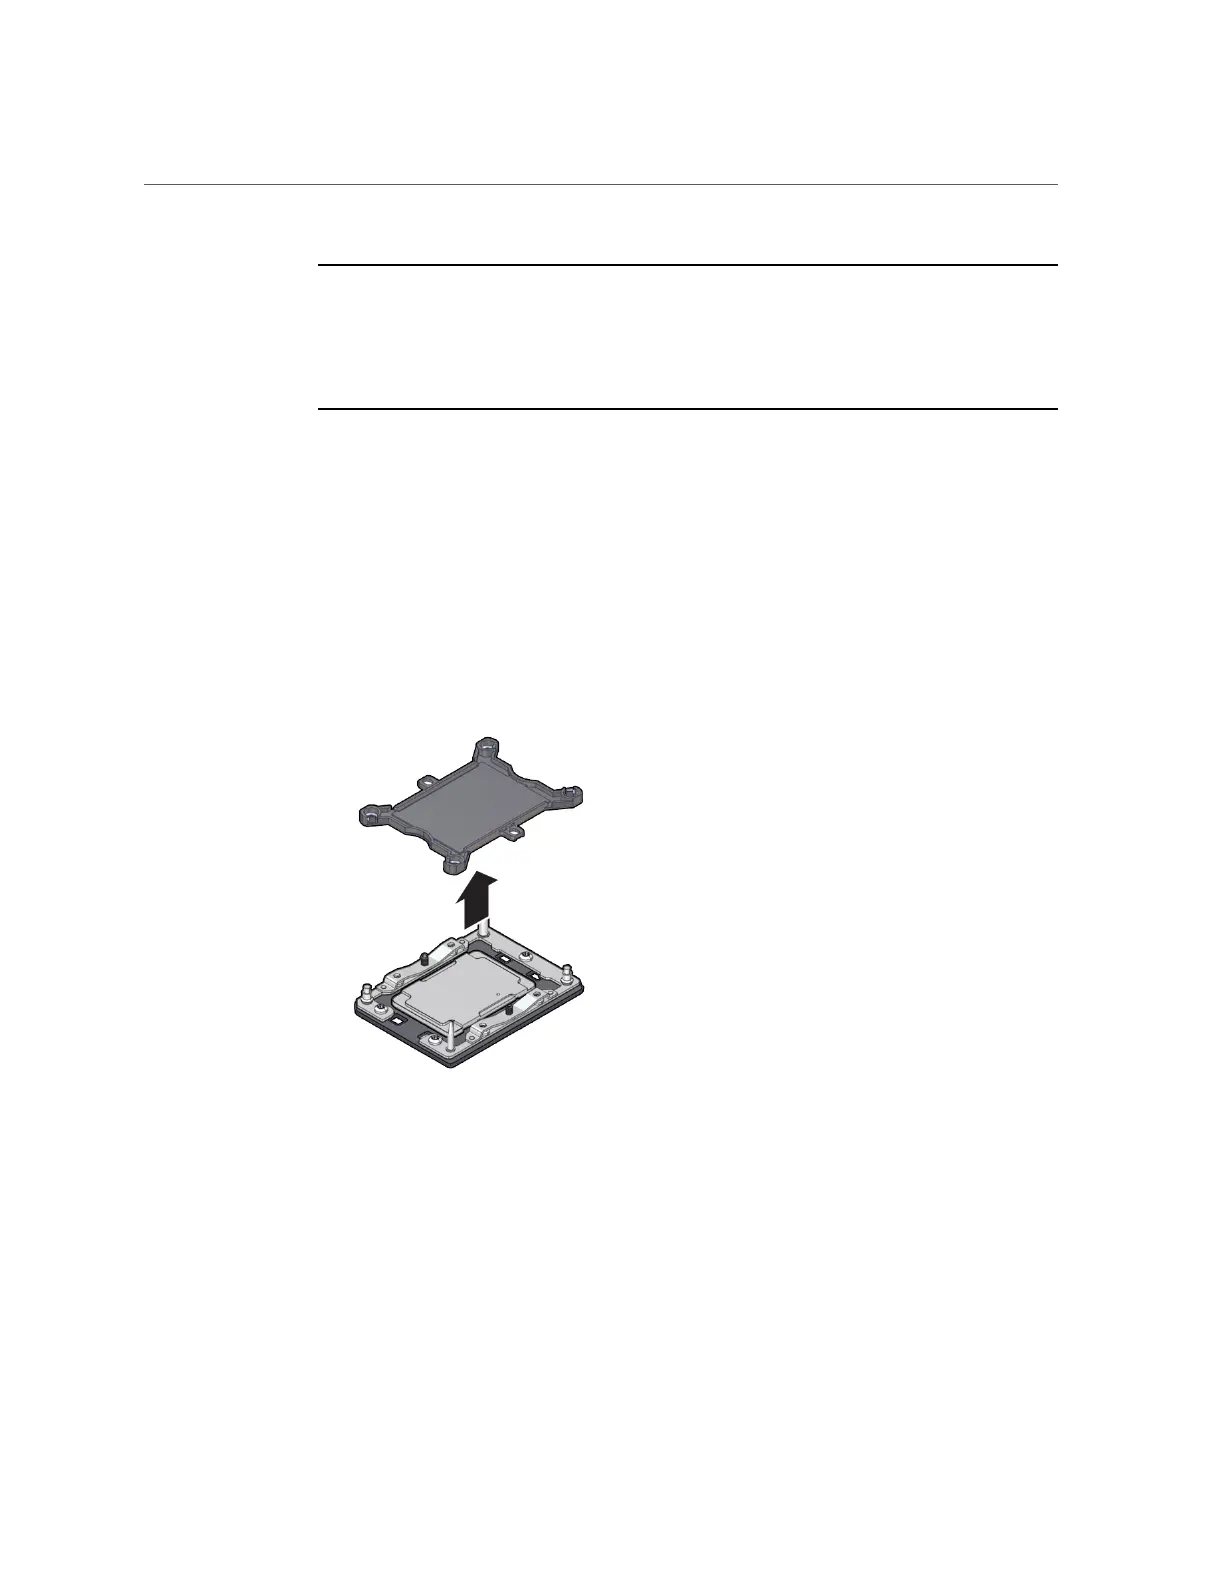
Remove the processor socket covers from the replacement motherboard and
install the processors.
a.
Grasp the processor socket cover finger grips (labeled REMOVE) and lift the
socket cover up and off the processor socket.
b.
Install a processor into the socket from which you removed the processor
socket cover.
See “Install a Processor” on page 144.
c.
Repeat Step 7a and Step 7b to remove the second processor socket cover
from the replacement motherboard and install the second processor.
Servicing the Motherboard (FRU) 203