3-74 Installing the Drive
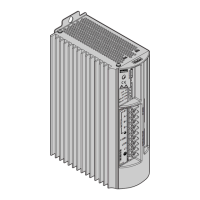
DC590+ Series DC Digital Drive
Side
View
2cm
Remove
2 screws
Frame H: Additional Information
Removing the Cover (Frame H)
The cover is manufactured from sheet metal and weighs:-
• 2Q Non-Regenerative = 10kg (22 lbs)
• 4Q Regenerative = 15kg (33 lbs)
To remove the cover use a flat headed screwdriver to undo the two screws at the base of the cover.
Now lift the cover base outwards and upwards, once the cover has been raised two centimetres it can now be
removed.
To replace the cover follow the procedure in reverse, engaging the locating studs at the top, moving into final
location and tightening fixing screws.
NOTE This cover is essential for the correct cooling of the drive. If it is not replaced after
installation, the drive will overheat.
Changing DC Output Terminals (Frame H)
• Remove the left-hand cover plate(s) and retain the cover and screws.
• Remove and retain the 12 M6 nuts clamping the outgoing terminals to the cross plates.
• Remove the 12 M6 bolts securing the outgoing busbar assembly. Remove the assembly.
• Carefully remove the gasket(s) for use on the left-hand side.
• Refit the cover to the right-hand side of the drive. Refit the gasket to the left-hand side of the drive.
• Refit the terminal assemblies.
NOTE The 2Q terminal assembly is not polarised and may be fitted in any orientation. The 4Q terminal assemblies are
handed and must be reversed to fit on the left-hand side.
• Move the terminal markers as appropriate, the A+ terminal will still be at the bottom or AC input at the end of the product.
• Tighten terminal assembly bolts to the torque given in Appendix E: "Technical Specifications" - Termination Tightening Torque
(Frame H).
 Loading...
