Workshop
Manual
Rolls-Royce Silver Shadow
I)
Bentley
T
Series
Chapter
M
Armature insulation-TO test
5.
Fit the wiper arms and blades. then
cheek
the
(see Fig.
M75)
1.
Subject the armature to an insulation test.
setting of the parking switch
as
desc rlt)~d in
Parking Switch
-
To adjust.
2.
Check the armature windings for short and
open circuits.
S.
If
the commutator is worn, it can be lightly
W
heelboxes
skimmed in a lathe using a diamond-tipped tool.
The wheelboxes are lubricated on initial
assembly
4.
After skimming, undercut the armature and and do not require any maintenance. They are
remove all burrs by lightly polishing with
fine
secured in position on the scuttle by a chromium
emery.
plated nut fitted to the outside of the car.
Loose wheelboxes are a contributory factor to
both noisy and faulty wiper operation, therefore
Cable rack and tubing-To examine
ensure that they are secure at all times.
In the unlikely event of a failure of one of the
1.
Badly kinked or flattened tubing must be
wheelboxes. it must be renewed.
renewed. Any bends of a radius less than nine
inches must be reformed. Access to the cable rack
tubing is gained by the removal of the top roll as
described in Chapter S
-
Body, and by the removal
of the refrigeration system evaporator box as
described in Chapter
C
-
Air Conditioning System.
2.
Insert the hook of a spring balance into the
hole on the cross-head (see
Fig.
M73) and withdraw
the rack with the balance. The maximum permissible
force required should not exceed
2,72
kg. (6 Ib.).
Cable rack drive-To renew
1.
Remove the wiper blades and arms.
2.
Disconnect the rack from the wiper motor as
described in Wiper motor
-
To remove.
3.
Remove the rack from the tubing by carefully
pulling from the motor end to release the rack from
the wiper arm wheelboxes.
4.
Lubricate the new rack with 'Rocol' M.T.
265
grease, then fit into the tubing. It may be necessary
to rotate the
wheelbox spindles slightly in order to
engage the gears with the rack. Fit the rack to the
motor.
Wheelbox-To renew
1.
Remove the top roll and instrument panel as
described in Chapter
S
-
Body.
2.
Remove the air conditioning equipment located
behind the
facia, for full details refer to Chapter C
-
Heating, De-misting and Ventilating System.
3.
Remove the wiper blade and arm.
4.
Remove the flexible drive.
5.
Unscrew and remove the chrome nut and with-
draw the wheelbox.
Anti-streak mechanism
The anti-streak mechanism fitted to the
'
Lucas'
6.W.
and 16.W. wiper motors enables the wiper arms
and blades to make a complete wiping cycle before
coming to rest in the parked position, thus ensuring
there are no streaks on the screen.
It is imperative, when the mechanism has been
dismantled, that it is correctly assembled (see
Fig.
M76).
1.
The tag on the driving plate and .the recess in
the wave
washer face towards the outside of the
gearwheel.
2.
Rotate the eccentric so that the plastic slide
is depressing the park switch, fit the wave washer
with marks uppermost and just behind tag. Fit the
driving plate bush and driving plate with the latch
just behind the tag.
3.
It is possible to assemble these components
180°from the position previously described. This
must be avoided as the mechanism will 'lock and the
driving plate will fracture before the motor is
parked.
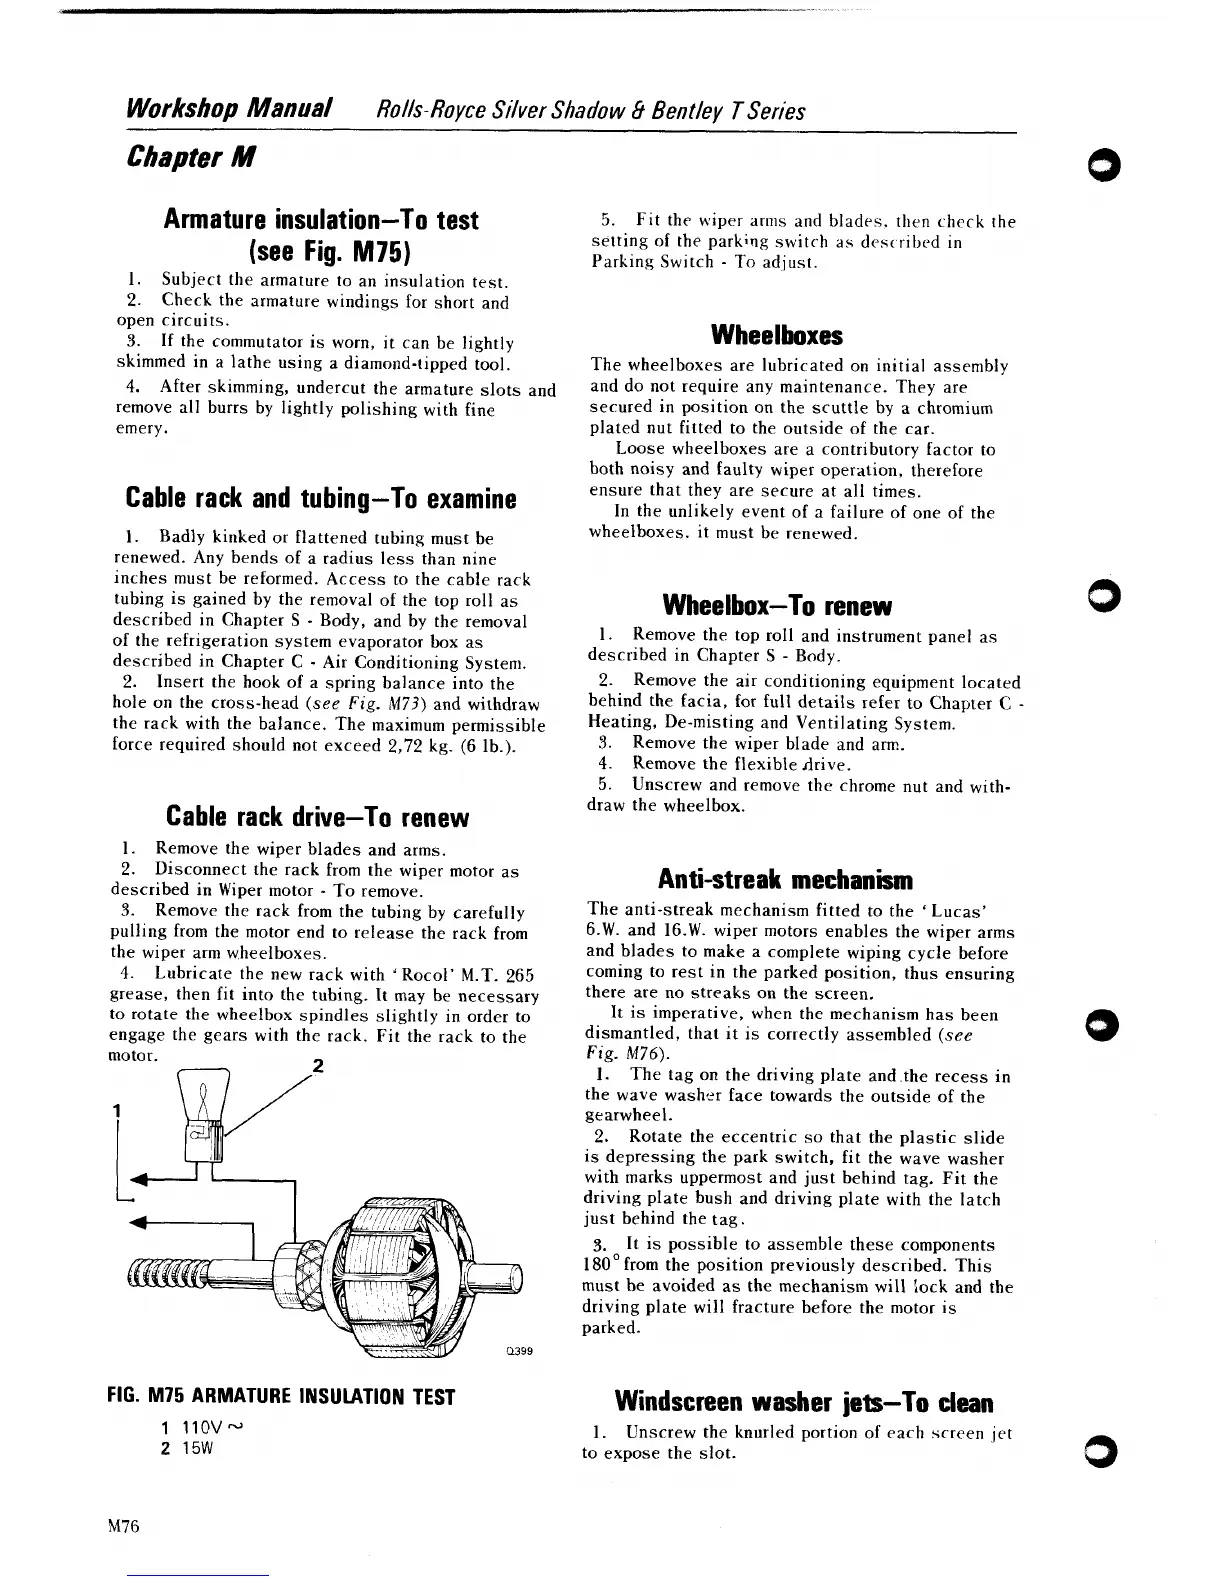
FIG.
M75 ARMATURE
INSULATION TEST
Windscreen washer
jets-TO
clean
1.
Unscrew the knurled portion of each screen jet
to expose the slot.