STONEX R2
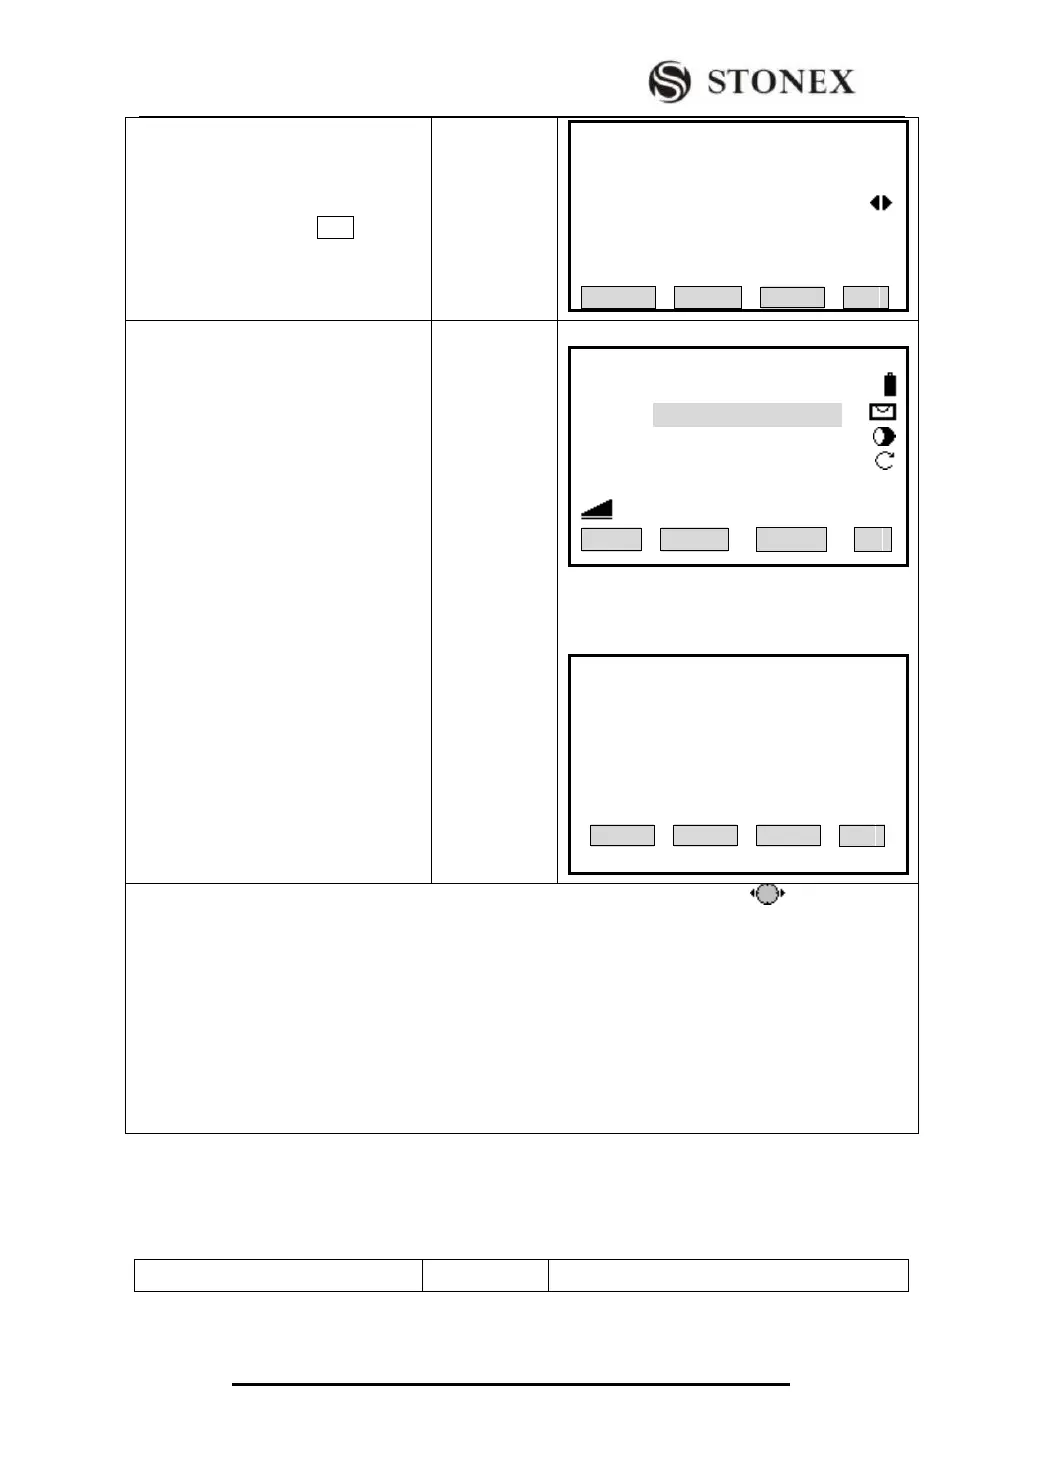
②Expand/edit the coding attributes, as
one item is input, press ENT to move
the cursor to the next item.
Edit the
coding
attributes
+
[ENT]
【Code Search】1/2 ▼
Select / Input new code!
Search: SAN
Code : SAN
Desc : --- ---
Info1 : --- ---
Info2 : --- ---
RECORD ADD OK
③ The edited code can be kept in
measurement document.
A: Press [F1](RECORD) to return to
measure function, set the input code as
the code of the present measuring point
and add a new coding datum to
Measurements document. ‴ 2)
B : Press [F2] (ADD), a dialog
appearing as the right picture. The
same code can not be added repeatedly,
press [F4] to return. ‴3)
C: Press [F4] (OK) only to set the
inputted code as the code of the present
measuring point and return to the
measure function. ‴4)
A:press[RECORD]
B:Press[ADD]
【Measure】 3/4
Pt ID: A1
Code:
RHT: 1.500 m
HZ: 0°00′00″
V: 90°00′00″ Ⅰ
: ---.--- m
All CODE EDM ↓
【Code Search】
Code Exist!
OK
‴1) A wildcard“*”can also be input to search all codes in code storeroom, press to display each
code. Press [PAGE] to see the other pages of coding attributes.
‴2)The added coding data can be found in Measurements of File Management.
‴3)The same code name can not be added repeatedly in code storeroom
‴4) Press [OK] to conclude the coding function, the coding blocks are kept in the system temporarily, and
they can only be recorded together with the practical measurement point.
The settings of coding record in “Settings” or “Main settings” are “save before and save after”, here
explain separately as follows:
save before:to save coding data before practical survey data
save after :to save the coding data closely after practical survey data
Please inquire in “measurements‟ document.
2)If the code does not exist in code storeroom, input each item of coding attributes
manually