Service Parts Disassembly 8-27
Low Paper Lever (PL3.2.7), Indicator (PL3.2.8) and
Indicator Guide (PL3.2.10)
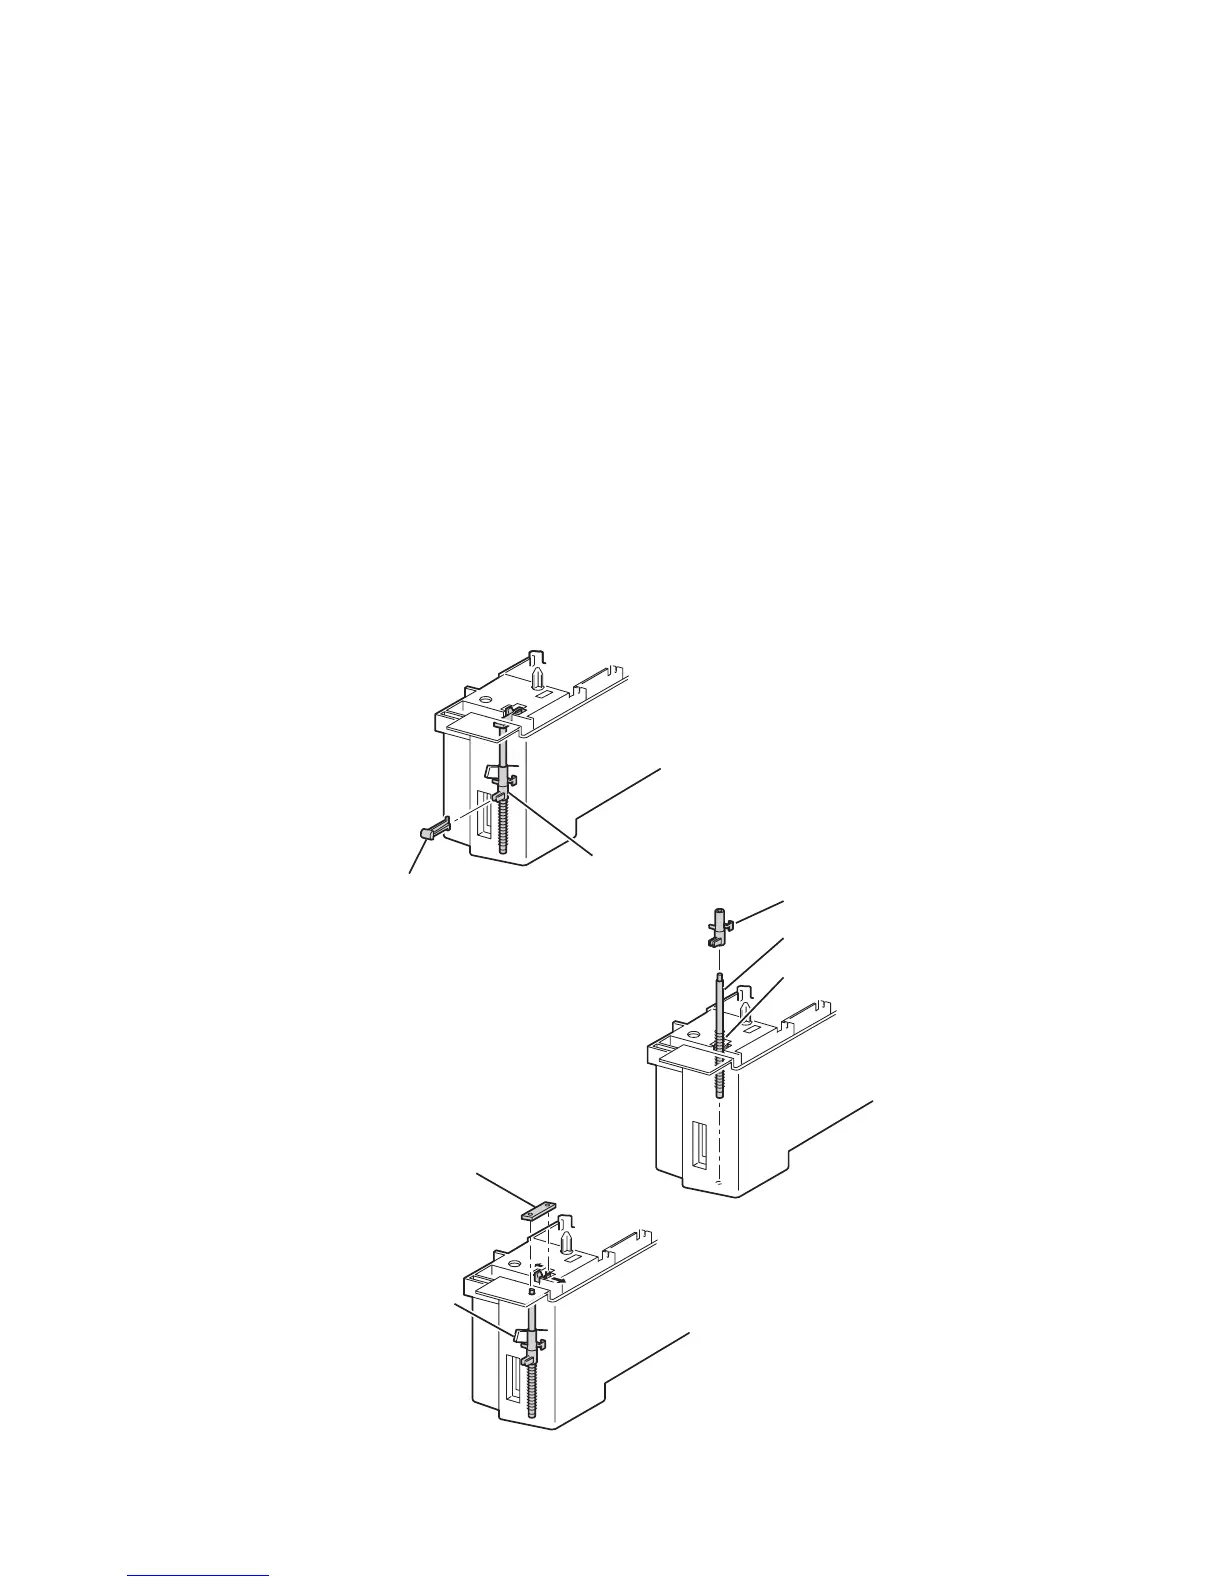
Removal - Indicator and Guide Indicator
1. Remove the Printer Chassis from the Paper Feeder Assembly (page 8-20).
2. Remove the Feeder Right Housing (page 8-23).
3. Grasp the tip of the Paper Level Indicator (item #1) using needle nose pliers, and
pull the Indicator forward to remove it from the Feeder Right Housing.
4. Release the 2 tabs securing the Shaft Holder (item #5) to the housing.
5. Lift the Shaft Holder, Guide Indicator (item #2) together with the Indicator
Spring (item #4) and Shaft Indicator (item #3) out of the housing assembly.
Note
When reinstalling the indicator and guide components, ensure that the Low
Paper Lever (item 6) is positioned on top of the Guide Indicator before
installing the Paper Level Indicator.
6250-147
1
2
5
6
2
3
4

 Loading...


