Agilent 5DX Service Guide 4-29
5DX Series 3 Startup Procedure For the Agilent 5DX System
10. Power on the Power Distribution Unit by toggling the PDU power switch to the
On position. Verify that the green LED is on.
11. Double click the Start 5DX Interface desktop icon to launch the 5DX User
Interface.
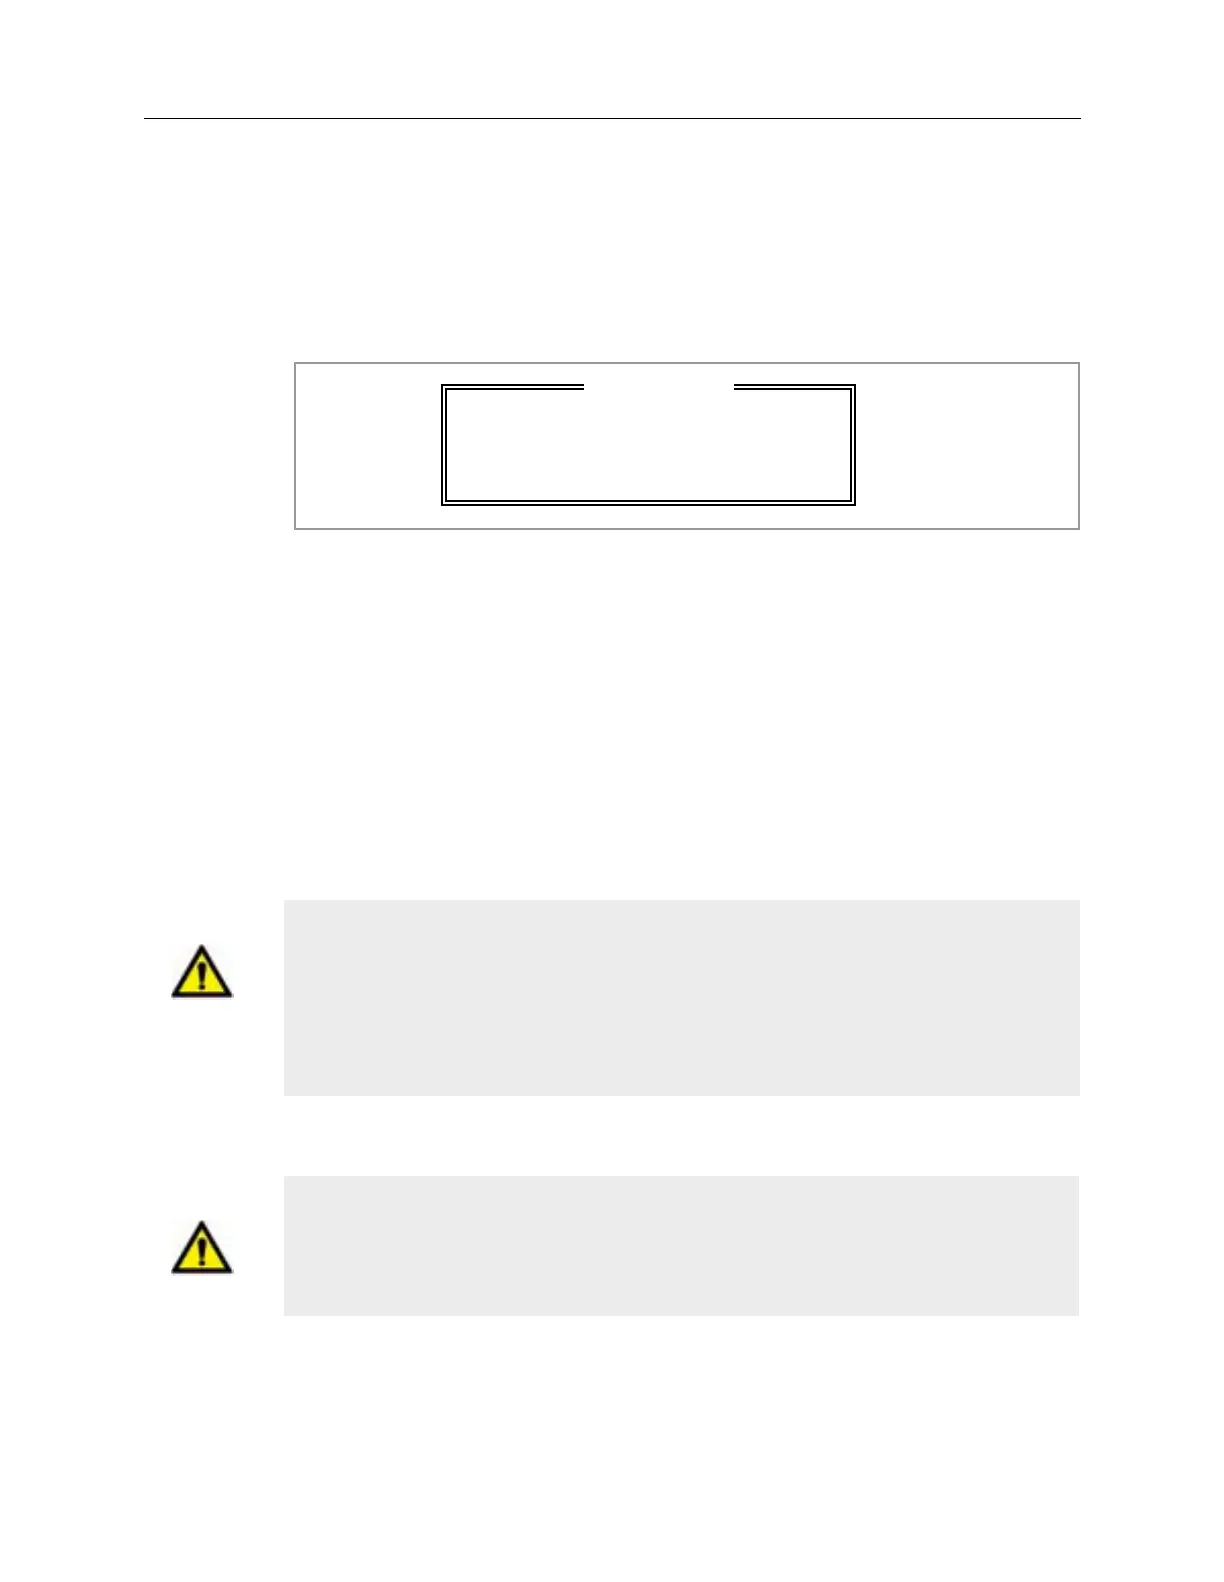
12. The Warning dialog box as shown in Figure 4-19 will appear.
Figure 4-19: Warning Dialog Box
13. The 5DX Logon dialog box will appear. Type a valid user name and press
Enter.
14. Select Startup from the System Access menu and press Enter.
15. Select Automatic Startup and press Enter.
16. Verify that the Safety Interlock subsystem is engaged. The Safety Interlocks
Closed Laser On indicator located on the Operator Control Console as shown
in Figure 4-17 is used to verify that the Safety Interlock subsystem is engaged.
The indicator will light only when all of the safety interlocks are closed.
17. Turn the X-ray Control Key to the Enable position.
18. Press the X-ray Control ON button. If X-rays have been off for an extended
period of time, then the 5DX System will perform a COLD start. The 5DX will
proceed to configure itself to System Ready status.
WA R N I NG X-rays and laser emissions are present inside of the 5DX System during
operation. Mechanical motion is present inside of the 5DX System during
operation. To ensure the safety of all users, the 5DX System has safety interlocks
to prevent accidental exposure to X-rays, lasers and mechanical motion. Never
defeat the basic safety interlock connections. Defeating the safety interlocks may
cause exposure to X-rays, eye damage or physical harm.
Caution The X-ray Tube has components that need to warm up prior to generating X-
rays. When X-ray Control power has been off for one hour or more, the startup
time may be as long as fifteen minutes. Attempting to bypass this startup
requirement may result in permanent damage to the X-ray Tube.
W A R N I N G
Run Automatic Startup for Proper
Operation!
Press Any Key to Continue
 Loading...

