Example 11: Frequency Measurements Using a Separate Source Measurement Examples
7-32 PN: 10585-00001 Rev. P ML2437A/38A OM/PM
Press [START] and using the keypad, input the frequency at which the sweep starts.
Press [Enter] to accept the value.
Press [STOP] and using the keypad, input the frequency at which the sweep stops.
Press [Enter] to accept the value.
The following screen is displayed:
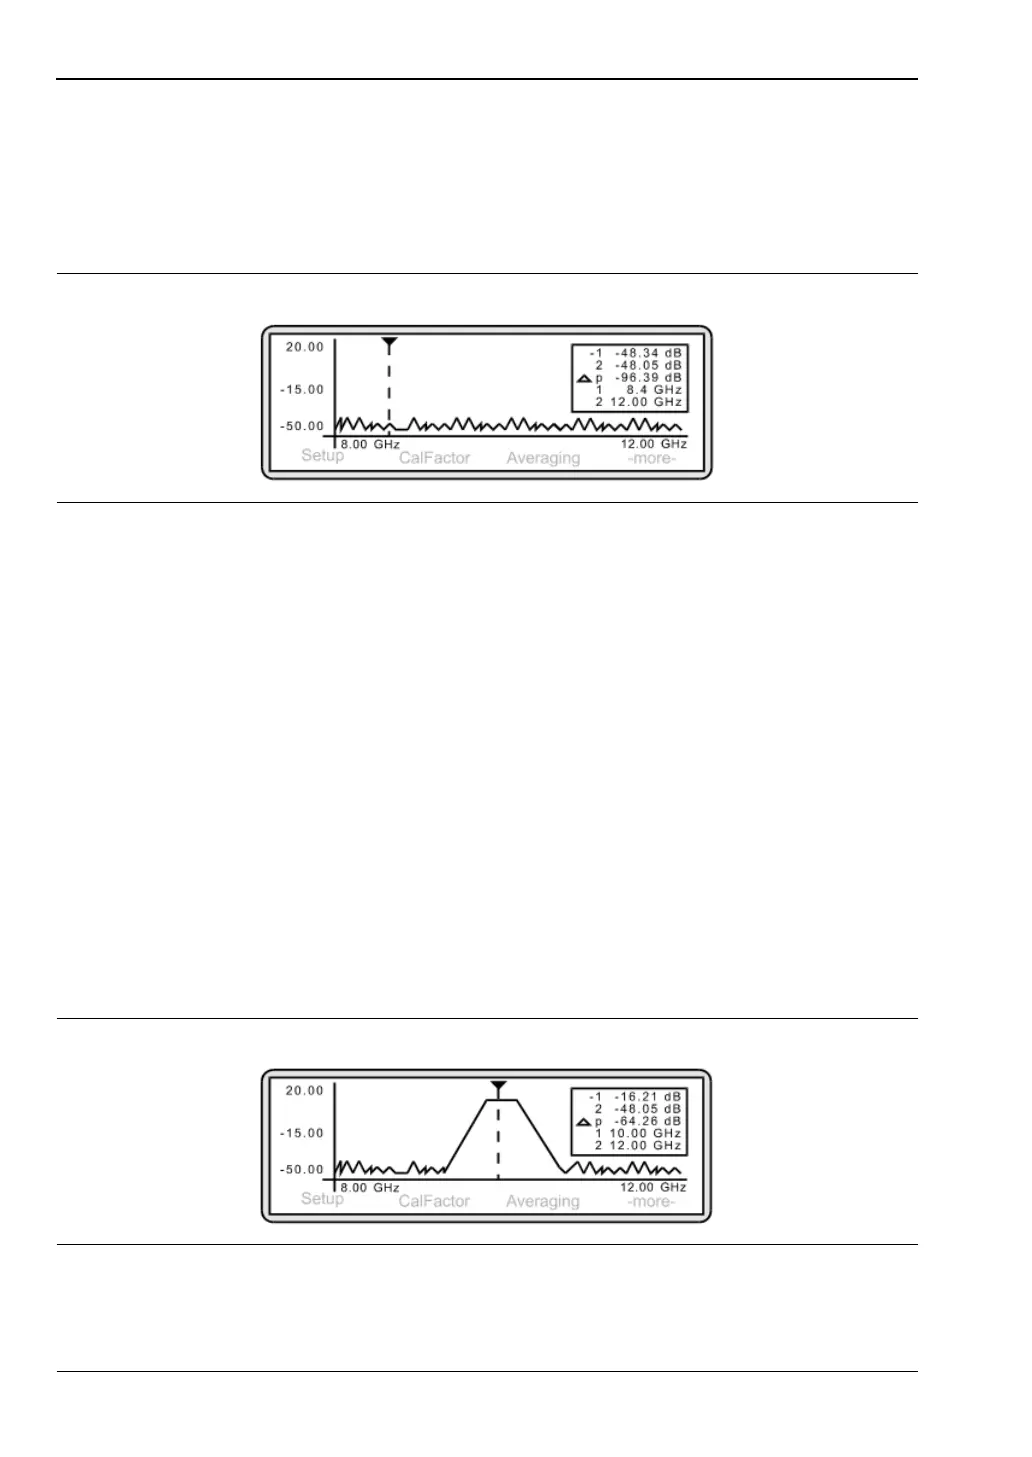
Note that the frequency axis reflects the Start and Stop settings. Each time you
measure at different frequencies, it is necessary to re-input the [START] and [STOP]
values.
To achieve the maximum dynamic range, apply the highest levelled output power for
the source as possible i.e. +20 dBm.
3. Changing the power axis
To change the power axis, press [System]
> [Control] > [-more-] > [SCALE].
Press [TOP] and/or [BOTTOM] to set the dB values as required. Press [Enter] to accept
the values.
In Source Sweep mode, you are unable to measure levels of less than -50 dBm.
In Source Sweep mode, the calibration factor is handled in a different manner since it is
defined by the current frequency of the source. Press [Sensor]
> [Cal Factor].
Press [SOURCE] and toggle the setting by repeatedly pressing the soft key until the
V/GHz is displayed.
To display the Measurement screen, press any hard key.
Figure 7-48.
Figure 7-49.