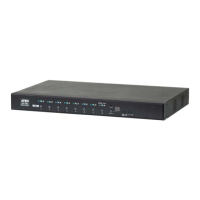
Chapter 1. Introduction
67
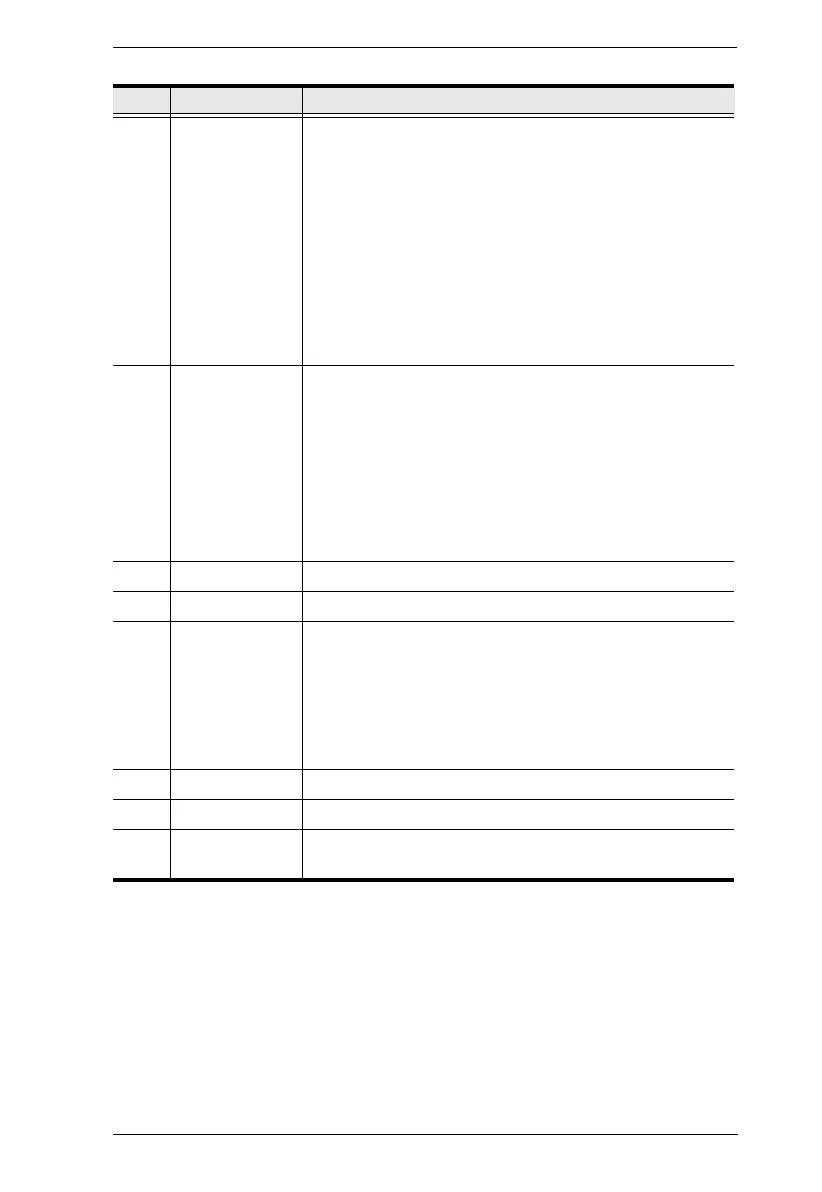
3 reset button This button must be pushed with a thin object, such as the
end of a paper clip.
Press and release to reboot the device.
Power off, hold reset then power on the device while
pressing reset to recover from a firmware upgrade
failure.
Press and hold it in for more then three seconds
resets the unit back to its factory default settings*.
Note: The Reset to Factory Default function resets everything but
the login information (username/password) to the factory default
settings. To reset the login information, refer to Reset All Information
on page 423.
4 LAN LED This LED indicates the network status.
Lights when connected to the LAN and blinks when the
Ethernet connection is active:
Orange: 10 Mbps
Orange + Green: 100 Mbps
Green: 1000 Mbps
Off when not connected to the LAN.
5 power LED Lights blue to indicate the unit is turned on.
6 LAN port The cable that connects the unit to the LAN plugs in here.
7 RS-232 port This RS-232 serial port is for connecting to the computer for
serial control.
Note: When a LAN connection is detected serial
commands bypass the KE8900ST and are sent across the
network to the receiver. When no LAN connection is
detected serial commands are automatically directed to the
KE8900ST for local configuration and control.
8 HDMI output The cable from the local HDMI monitor plugs in here.
9 power jack The cable from the DC power adapter connects here.
10 grounding
terminal
The wire used to ground the unit connects here.
No. Component Description
 Loading...