8. Lamp and lamp house
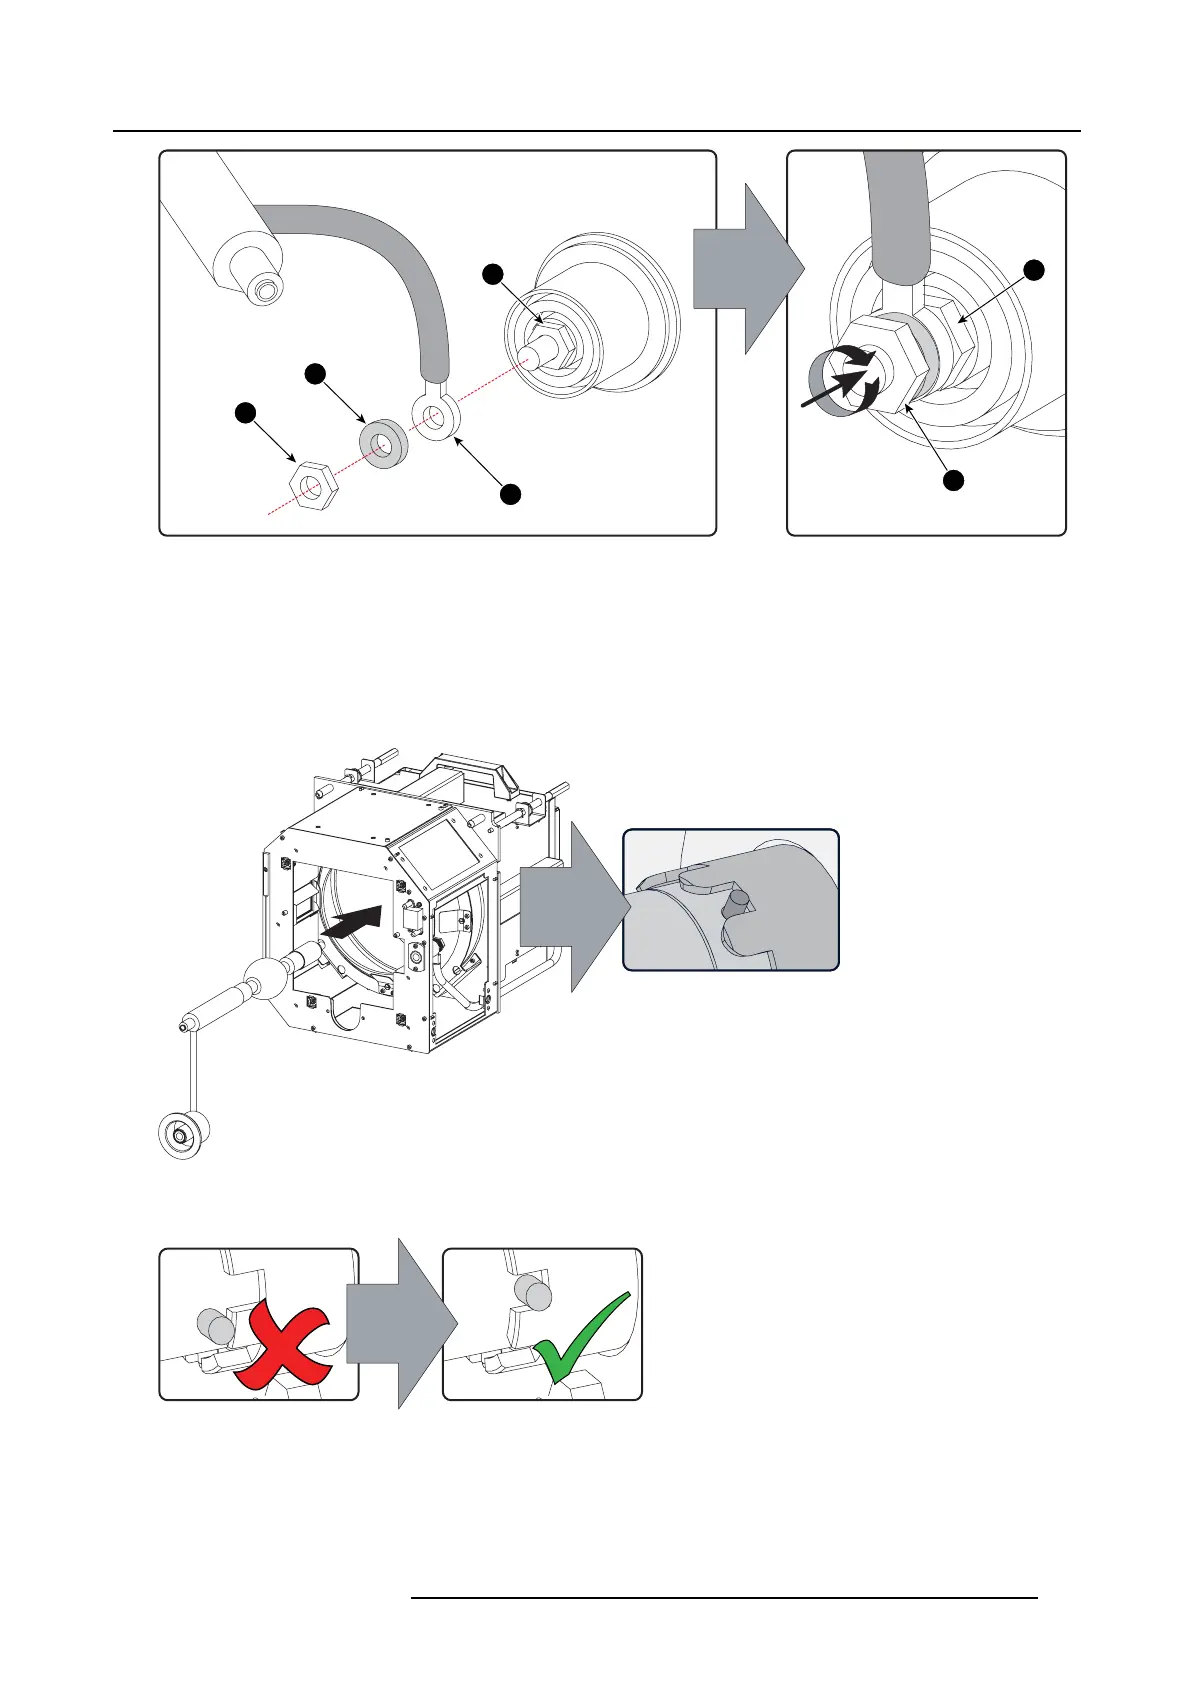
9 Nm
5
7
7
6
4
4
Image 8-17
Anode lug installation
4. R emov e the protective container or unwr ap the protective cloth from the xenon lamp.
Warning: Ensure that you wear protective clothing, a full face shield and protective gloves.
Tip: W rite down the serial number of the lamp. You w ill need this while updating the lamp parameters after installation of the
lamp. The serial number of the lamp is engraved in the neck of t he xenon lamp.
5. Gently guide the xenon lamp into position inside the Lamp House as illustrated. Anode socket hanging ver tical down. W hile
inserting the lam p, rotate it slightly, engaging the pins of the
cathode adapter in the foreseen slots. This is to ensure the lamp
cathode is completely inserted.
Image 8-18
Lamp bulb installation
Warning: Make sure that the both pins of the cathode adapter are engaged in the foreseen slots.
Image 8-19
6. Insert the anode socket
into position as illustrated.
Caution: Avoid any tension on the anode wire, ensuring there is no mechan ical stress on the lam p.
R5905312 HDF W SERIES 24/01/2013
129

 Loading...


