● T
o cancel scanning, press [Cancel]
[Yes] . Canceling Scanning(P. 215)
● When scanning is completed, the destination folder is displayed on the scr
een of the selected computer.
* By default, a subfolder with the scanning date is created in the [Documents] folder (Windows) or the
[Pictures] folder (macOS), and the scanned data is saved to that folder.
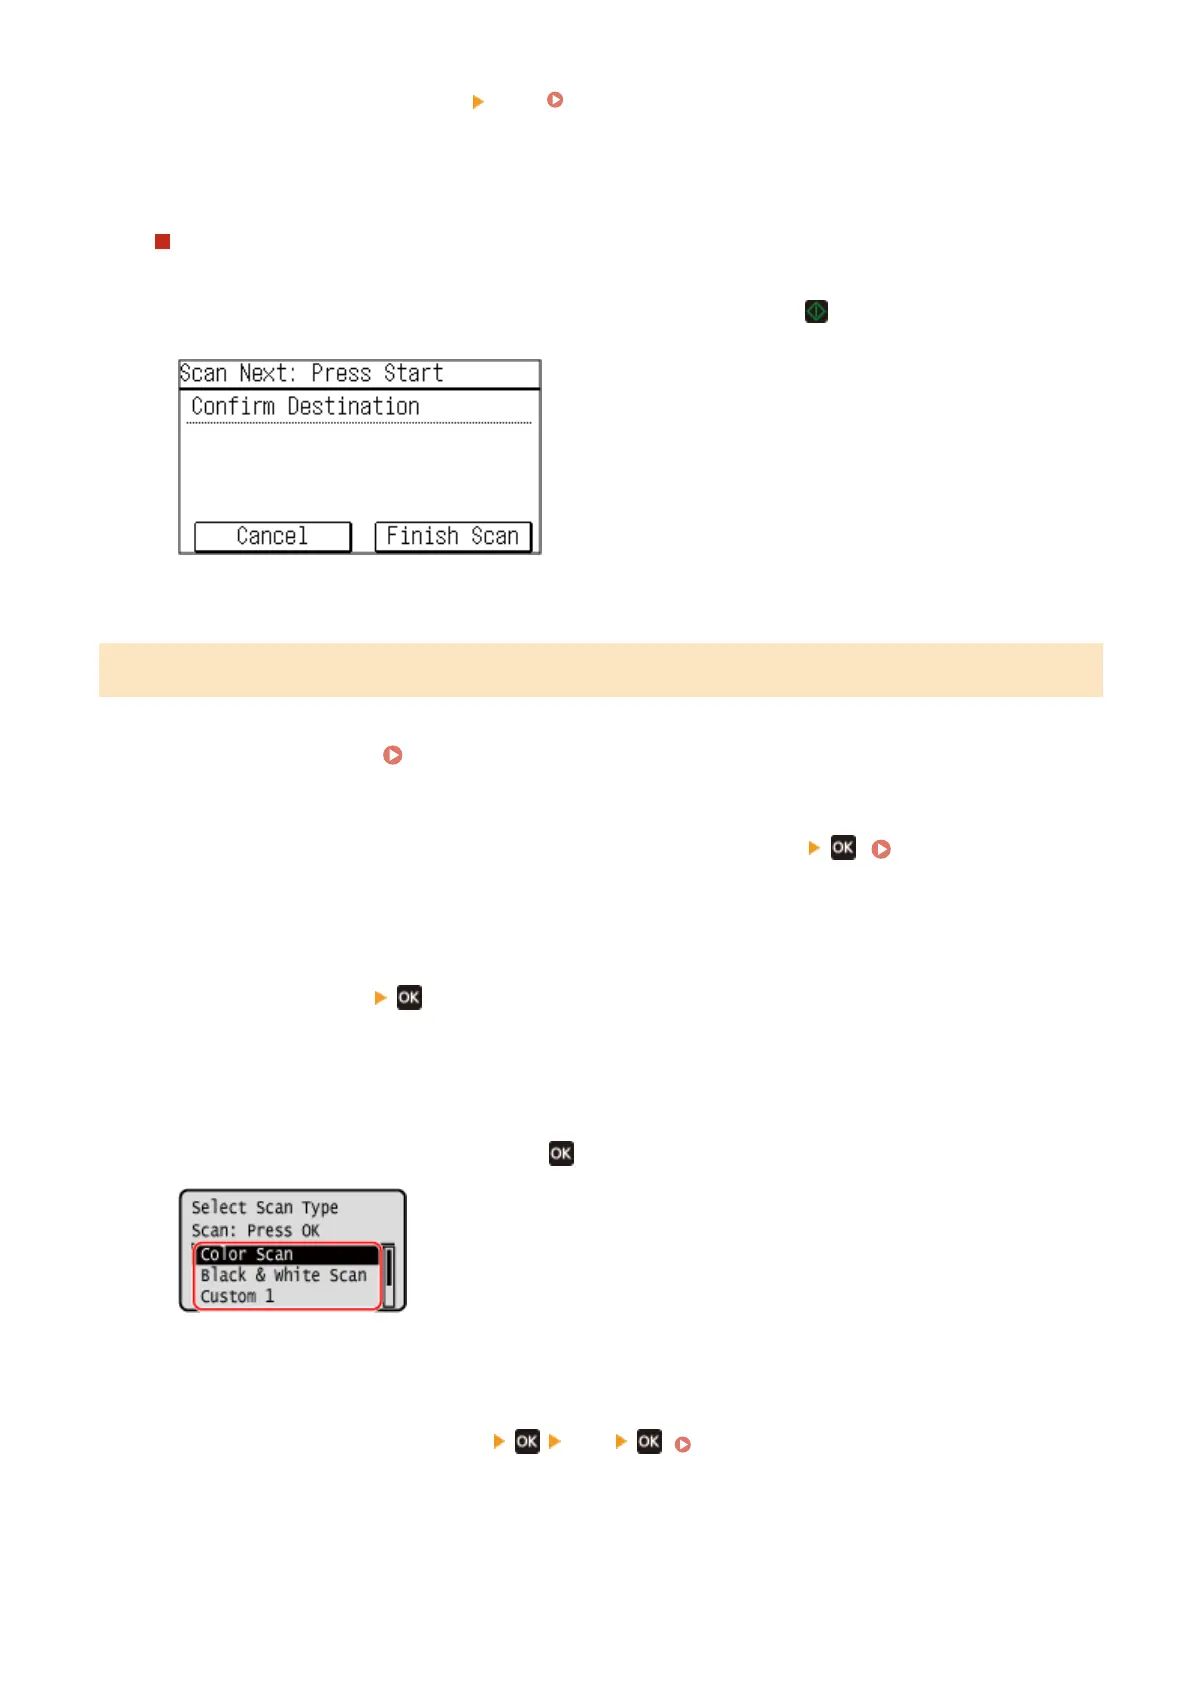
When [Scan Next: Press Start] appears
When an original is placed on the platen glass and is scanned, the scr
een for scanning additional originals is
displayed.
To continue scanning originals, place them on the platen glass, and press
.
Pr
ess [Finish Scan] to save the scanned data.
* If the size of the original is different, part of the image may be missing, or the image may be scanned
smaller.
5 Lines LCD Model
1
Place the original.
Placing Originals(P. 130)
2
On the operation panel, press [Scan] in the [Home] screen . [Home]
Screen(P. 113)
➠ The scan type selection screen is displayed.
3
Press [Computer] .
➠ The scr
een to select the computer to be used as the save location is displayed.
When you are using the machine only with a USB-connected computer, the scan screen is displayed.
4
Select the scan setting, and press
.
➠ Scanning of the original starts.
● The scanned data format, save location on the computer, and other settings ar
e set for each scan setting.
The original is scanned according to the selected scan setting.
● To cancel scanning, press [<Cancel>]
[Yes] . Canceling Scanning(P. 215)
● When scanning is completed, the destination folder is displayed on the scr
een of the selected computer.
* By default, a subfolder with the scanning date is created in the [Documents] folder (Windows) or the
[Pictures] folder (macOS), and the scanned data is saved to that folder.
Scanning
205