Deleting a Canvas Size
1
Select the Custom Canvas Size Name you want to delete from the Paper Size List.
2
Click the Delete button.
Note
• Sizes that have a red circle in the Name cannot be deleted.
Creating and Printing a Layout Image for Mounting on a Frame
Creating and Printing a Layout Image for Mounting on a Frame
The procedure for creating and printing a layout image for mounting on a frame is as follows.
1
Start Photoshop.
2
Open the image to lay out and edit the image in Photoshop as needed.
3
Select imagePROGRAF Layout Plug-In from Auto-
mate in the Photoshop File menu.
Run the Layout Plug-In to display the Layout Plug-In
Main Window.
Note
• The Layout Plug-In can handle images with a width and height of less than 60,000 pixels. For images with a
width or height of 60,000 pixels or more, either reduce the selection range or reduce the image through image
processing before performing step 3.
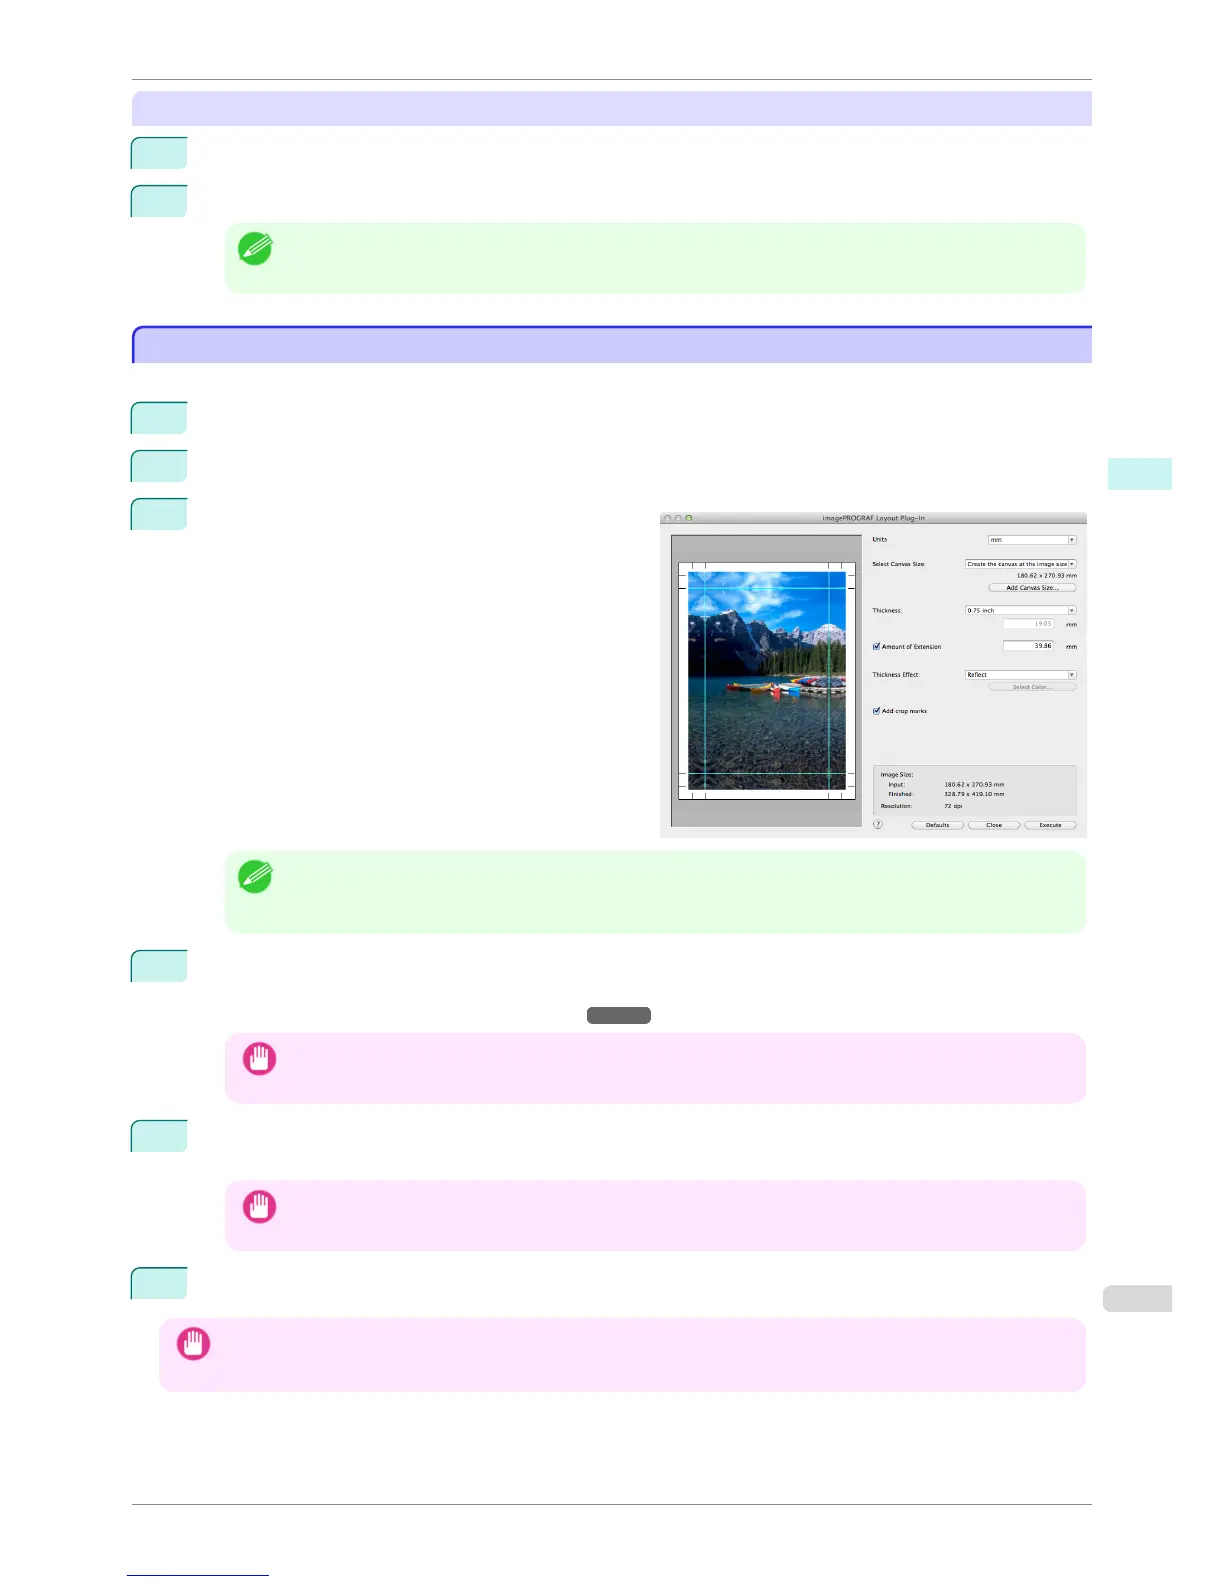
4
Select the canvas size that matches the frame for mounting the image and create a layout image by adding
effects such as frame side effects.
For details, see "Layout Plug-In Main Window." ➔ P.277
Important
• The created layout image cannot be modified in Photoshop.
5
Once you have finished creating the layout image, run the Print Plug-In for Photoshop and print on paper
that is larger than the size of the layout image.
Important
• When you click the Close button to close the Layout Plug-In, the created layout image is discarded.
6
Mount the printed layout image on the frame.
Important
• Fully dry the printed paper before mounting it on the frame.
• Take care when mounting on the frame. The ink may peel off if you touch the printed surface.
iPF8400S
Creating and Printing a Layout Image for Mounting on a Frame
User's Guide
Mac OS Software Layout Plug-In for Photoshop
455