·94·
Operating manual
CNC 8055
CNC 8055i
5.
EDIT
·T· MODEL
SOFT: V02.2X
Edit
Also, the softkeys will show the following options:
[STRAIGHT] To edit a straight section.
[CLOCKWISE ARC] To edit a clockwise arc.
[COUNTERCLOCKWISE ARC]To edit a counterclockwise arc.
[CORNERS] To insert rounding, chamfers, tangential entries and exits.
[MODIFY] To modify the edited profile.
[NEW PROFILE] To edit a new profile.
[FINISH] It must be pressed when all the sections of the profile have been
defined.
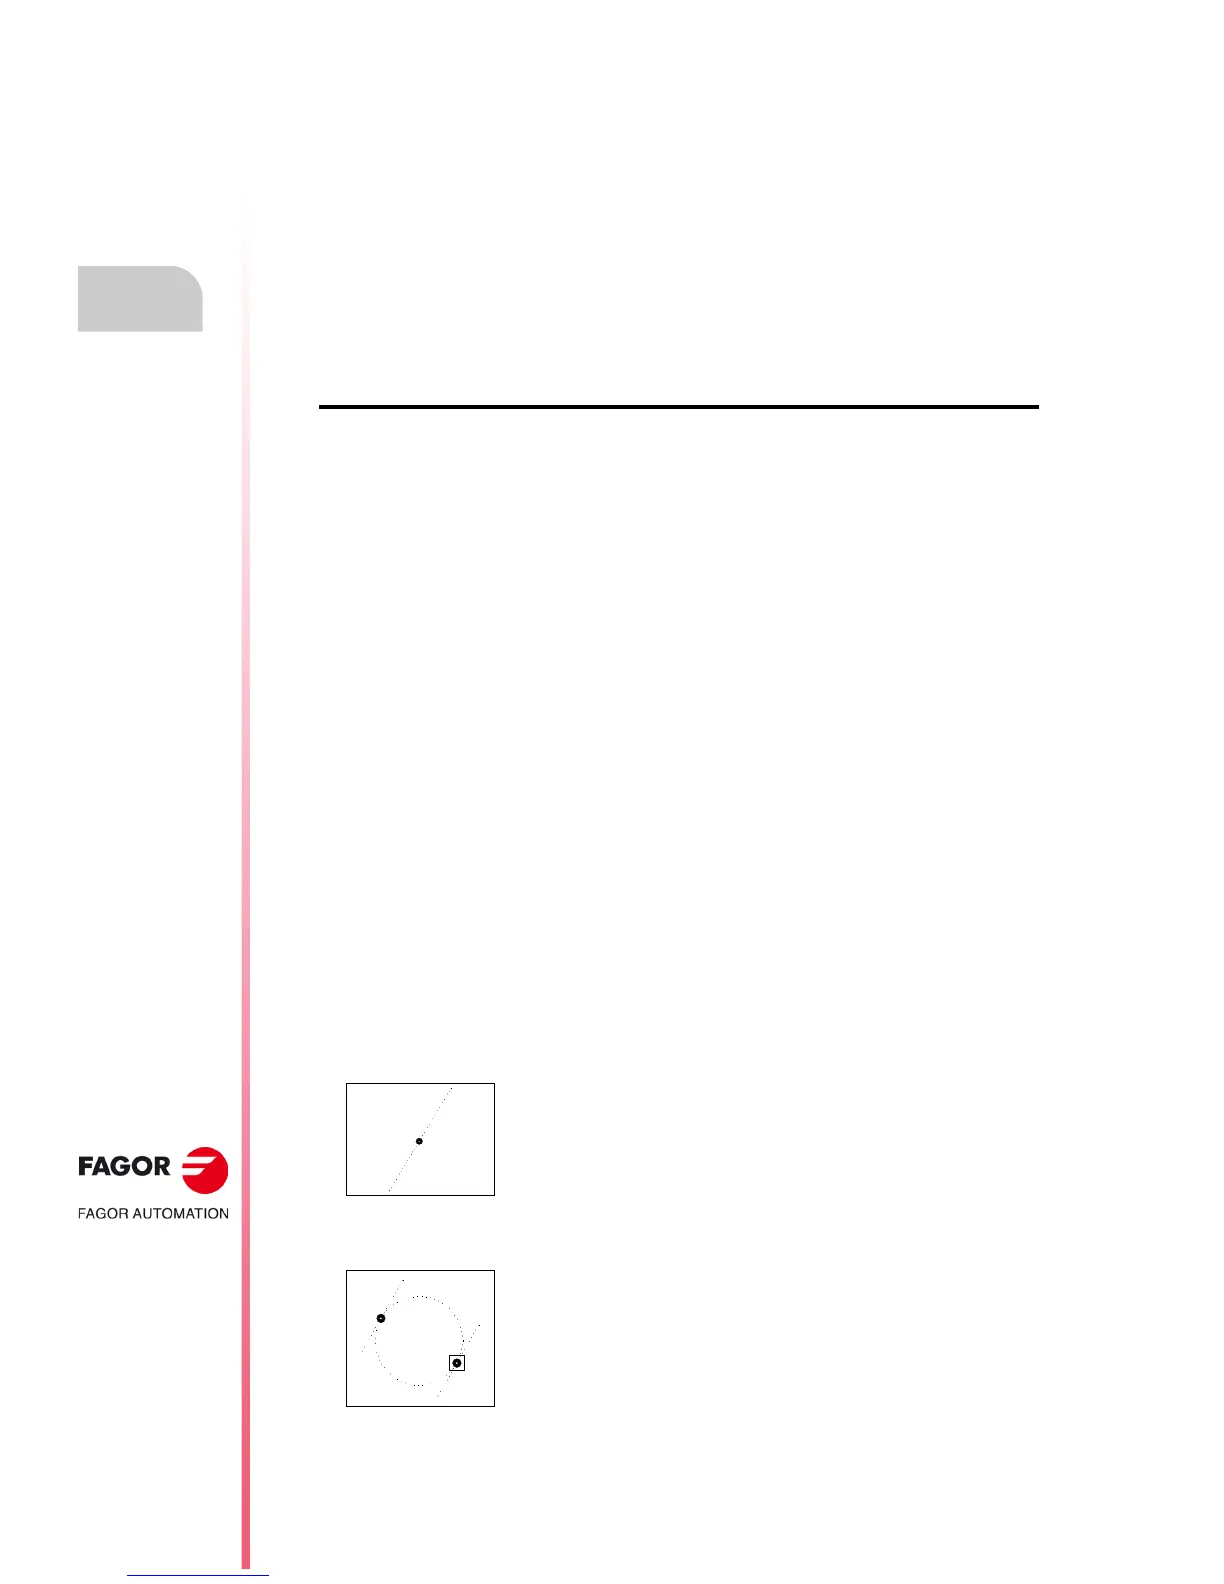
Definition of a straight section
The final point of the straight line may be edited both in Cartesian and Polar coordinates as well
as in absolute and incremental coordinates. The type of coordinates at the beginning of the editing
operation will be the same as that of its starting point.
When selecting [STRAIGHT LINE] accessing this mode, the CNC shows the following screen:
• Cartesian coordinates.
X1, Y1 Coordinates of the section's starting point. They cannot be modified
because they belong to the endpoint of the previous section.
X2, Y2 Coordinates of the section's endpoint.
Angle of the line referred to the abscissa axis.
TANGENCY Indicates whether the line to be drawn is tangent to the previous section
or not.
• Polar coordinates.
r1, 1 Radius and Polar angle of the starting point of the segment. They cannot
be modified because they belong to the endpoint of the previous section.
r2, 2 Radius and Polar angle of the final point of the segment.
Angle of the line referred to the abscissa axis.
TANGENCY Indicates whether the line to be drawn is tangent to the previous section
or not.
All parameters need not be defined; but it is recommended to define all the known data. To define
a parameter, press the corresponding softkey, key in the desired value and press [ENTER]. The
value may be defined by a numeric constant or by any expression.
Once all the known parameters have been defined, press the [VALIDATE] softkey and the CNC will
show the section that has been defined. If there is not enough data to show the section, the CNC
will show a dotted line indicating its orientation.
If there are more than one possibility, all the possible options will be shown and the desired one
(highlighted in red) must be selected using the [] and [] keys.
Use the [] and [] keys to choose whether all the possible options are shown or only the one
highlighted in red. Once the desired option is selected, press [ENTER] for the CNC to assume it.
X1=0
Y1=0
X2
Y2
= 60
X1
Y1
X2
Y2
= 60
TANGENCY = YES
 Loading...