To replace a component, and to test whether the problem is resolved:
1 Replace the aected component.
Warning—Potential Damage: Do not perform a POR (Power‑On Reset) until the problem is resolved. If a
POR is performed at this point, the replacement part can no longer be used in another printer and must
be returned to the manufacturer.
2 Enter the Diagnostics Menu. The Diagnostics Menu allows you to temporarily use the replacement part.
Warning—Potential Damage: Some printers will automatically perform a POR if the Diagnostics Menu is
not opened within
five
seconds. If a POR is performed at this point, the replacement part can no longer
be used in another printer and must be returned to the manufacturer.
3 Use the Diagnostics Menu to test the replacement part. Do a feed test to check if the problem is resolved.
• If the problem is not resolved—Turn o the printer, and then reinstall the old part.
• If the problem is resolved—Perform a POR.
Removal procedure
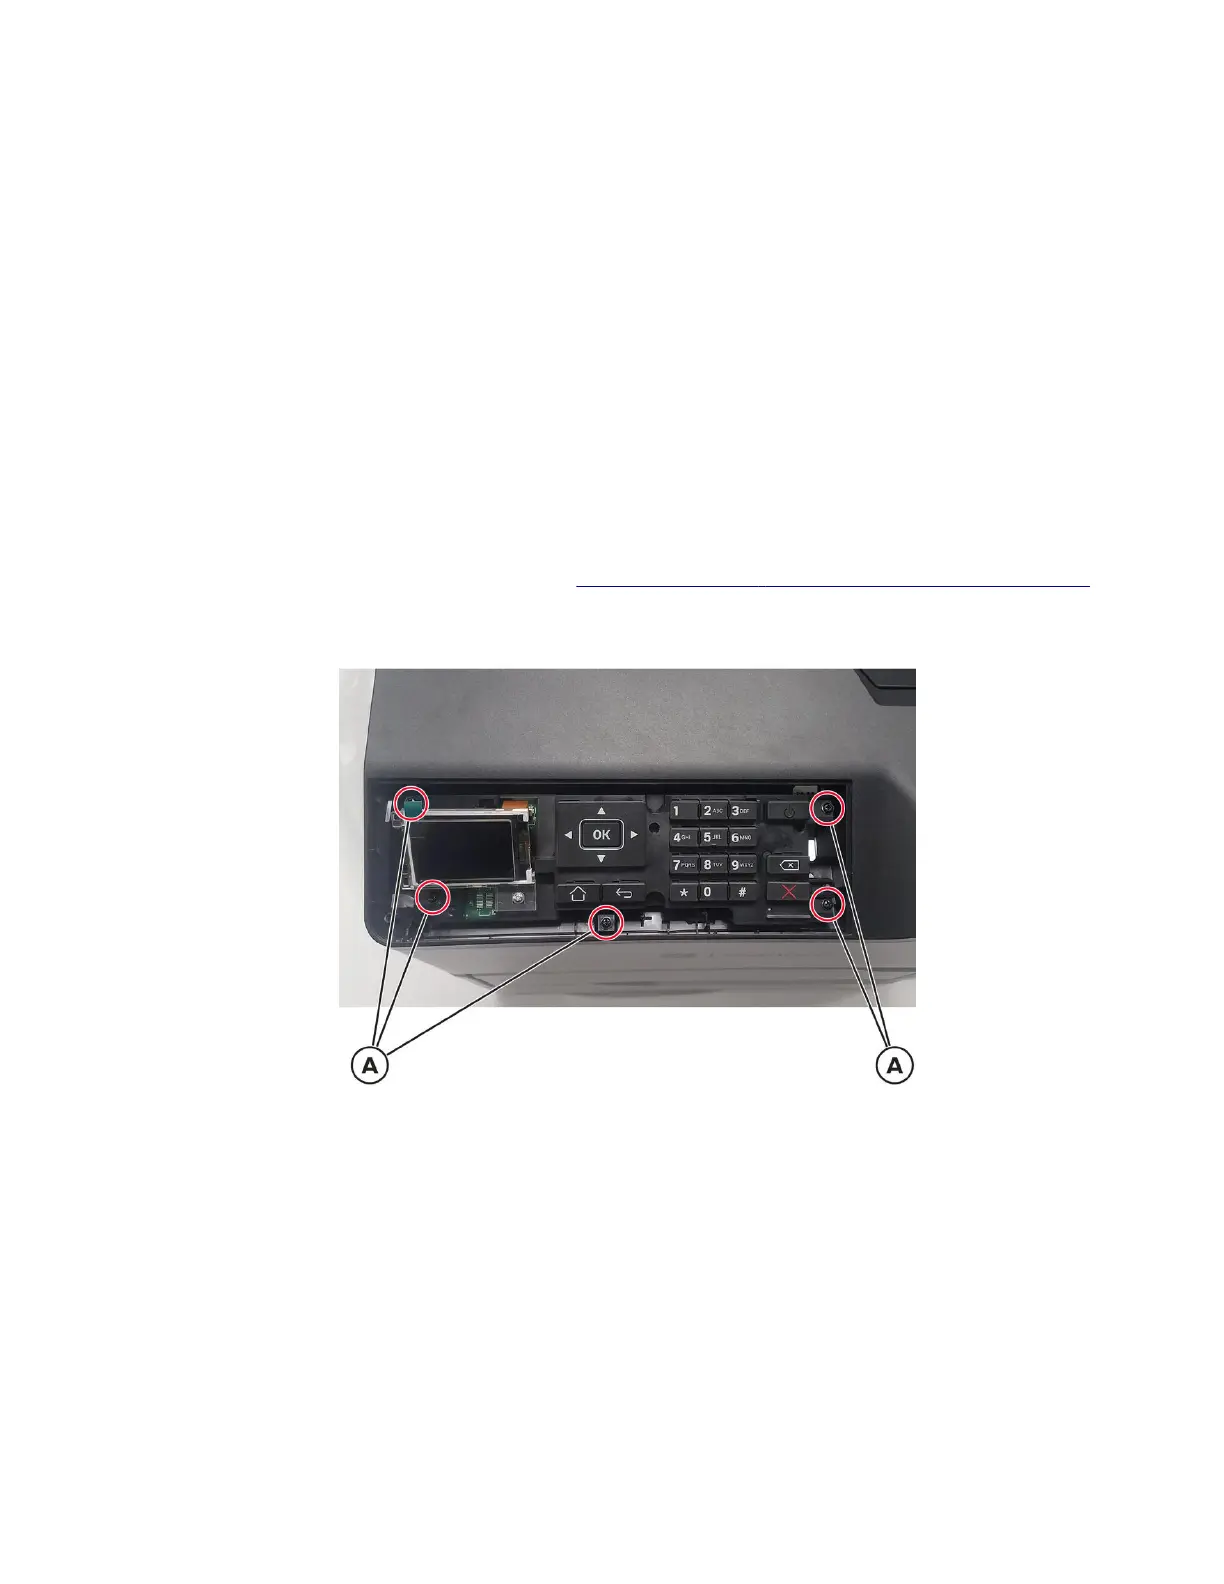
1 Remove the control panel (2.4‑inch) cover. See “Control panel (2.4‑inch) cover removal” on page 444.
2 Remove the five screws (A), and then pull the control panel.
4064
Parts removal
445