L-INX User Manual 163 LOYTEC
Version 4.0 LOYTEC electronics GmbH
3. Enter a name for the schedule and a description. Note, that the schedule automatically
detects a calendar, if it has previously been created.
4. Click Create Schedule. The new schedule appears in the data point list of the
Scheduler sub-folder.
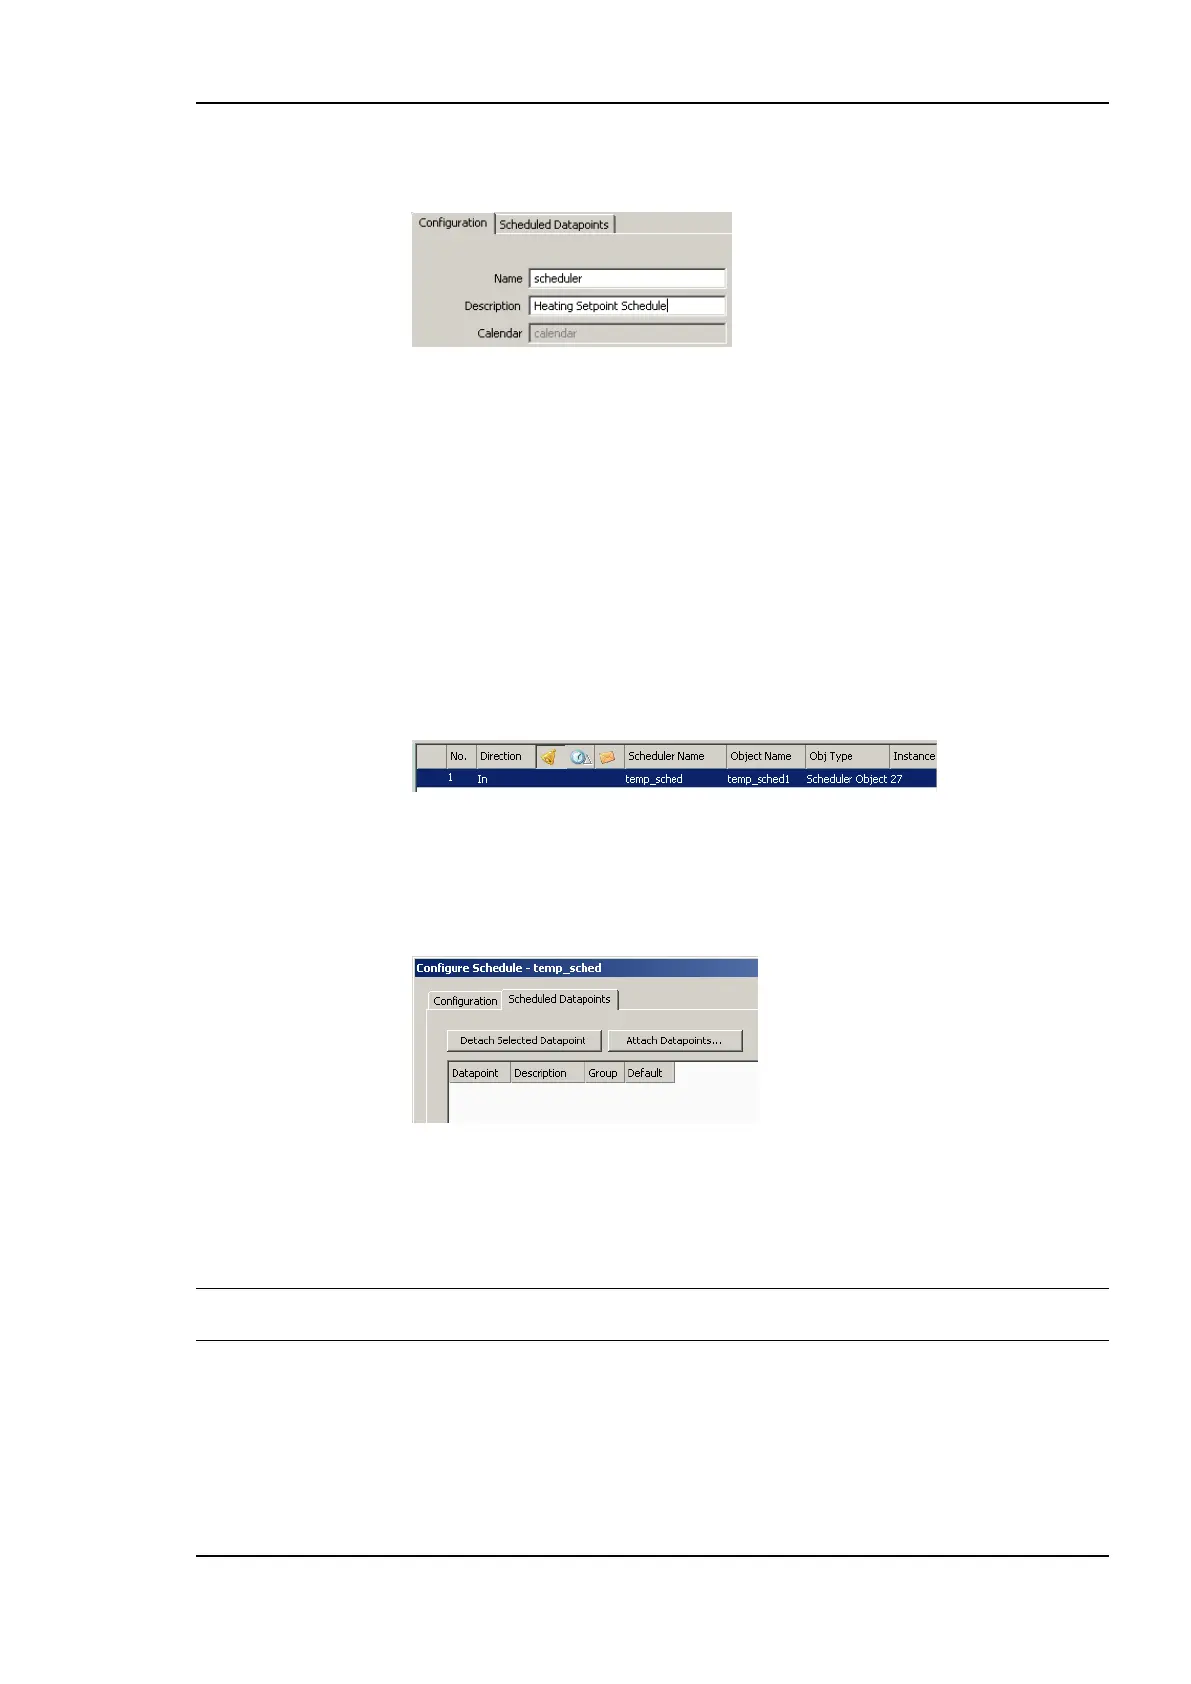
6.12.4 Configure Scheduled Data Points
When a local scheduler has been created, it needs to be configured, which data points it
shall schedule. This is done by attaching data points to the scheduler. Note, that there may
be limits, how many and which data points may be attached (see Section 5.5.3).
This configuration must be done as an initial setup. The daily schedules, however, can be
changed later in the Web UI or over the network.
To Attach Data Points to a Scheduler
1. Select the scheduler data point in the Scheduler sub-folder.
2. Right-click and select Configure Schedule from the context menu. The same dialog
which appears when a new scheduler is created is shown and allows configuring the
scheduler. Of course, this step can also be done directly when the data point is created.
3. Select the tab Scheduled Datapoints.
4. Click the button Attach Datapoints. This opens another data point selector window.
5. Select the data points to attach and click OK. For each of the attached data points, one
or more lines appear in the list below the attach button. If the attached point is a
structure, there will be one line for each element of the structure.
Tip! Data points can also be attached to a scheduler by selecting a data point in the data point
manager, drag it onto a scheduler data point and drop it on the scheduler data point.
6. Enter a short text in the Description field in the second column of each line. This text
will serve as a label, which will be shown on the device‘s UI to identify the data point.